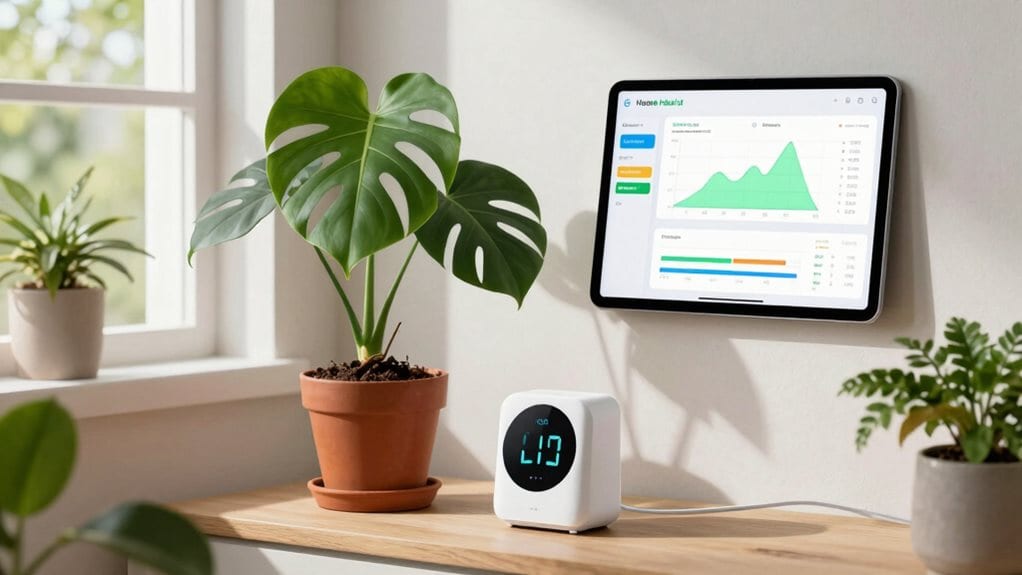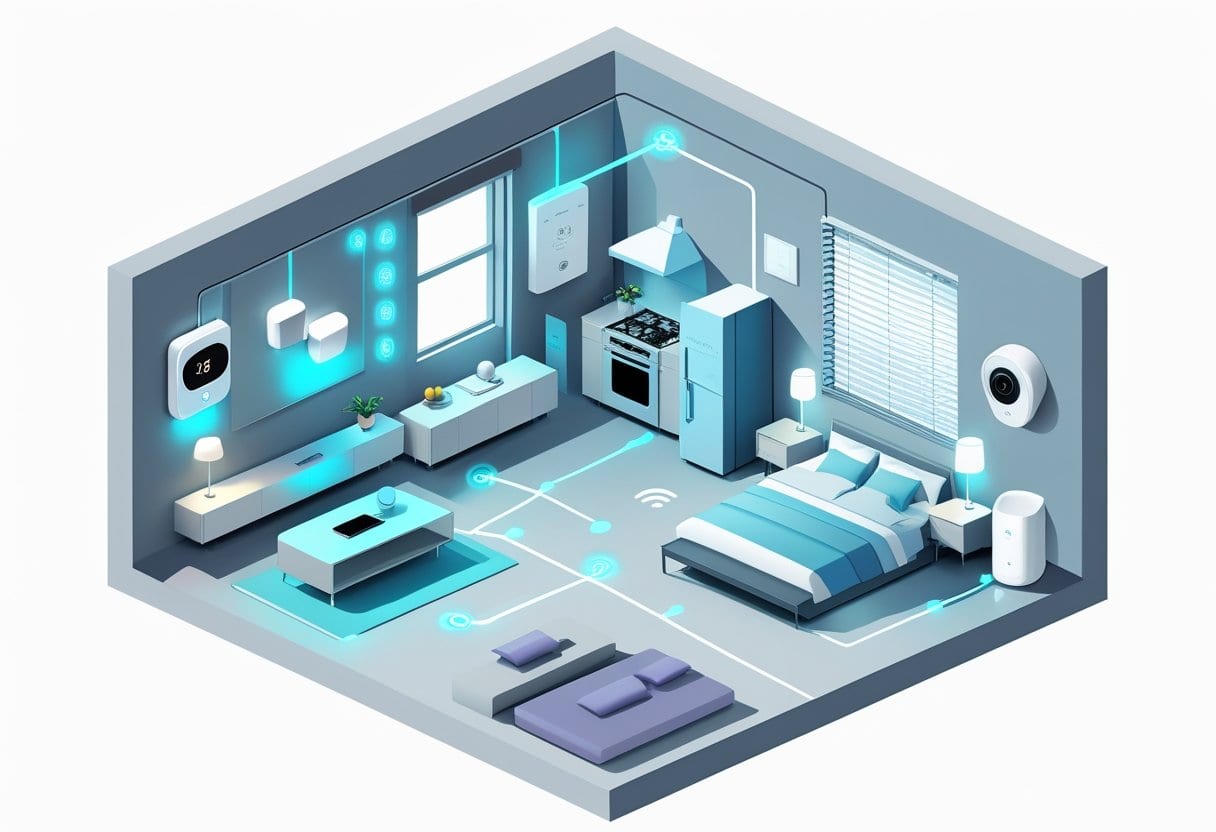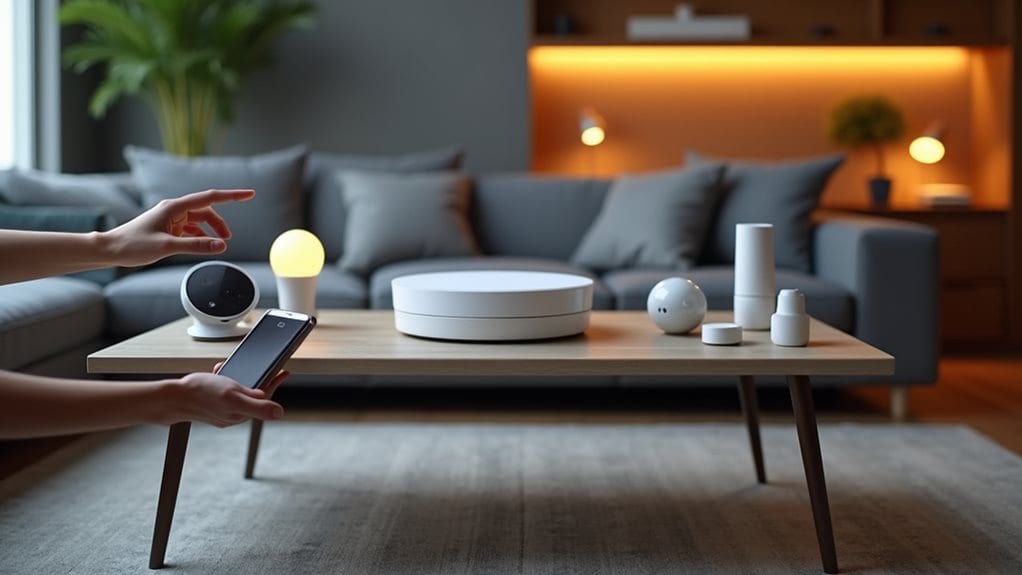
Home Assistant doesn’t require coding for basic setup and use. You can control your smart home through its intuitive GUI, which offers device discovery, automation creation, and dashboard customization without programming knowledge. While YAML configuration is available for advanced customizations and complex automations, the visual editors and pre-built community templates help you accomplish most tasks code-free. As your skills grow, you can gradually explore the template language and more sophisticated features to improve your smart home experience.
The No-Code Experience: Getting Started With Home Assistant
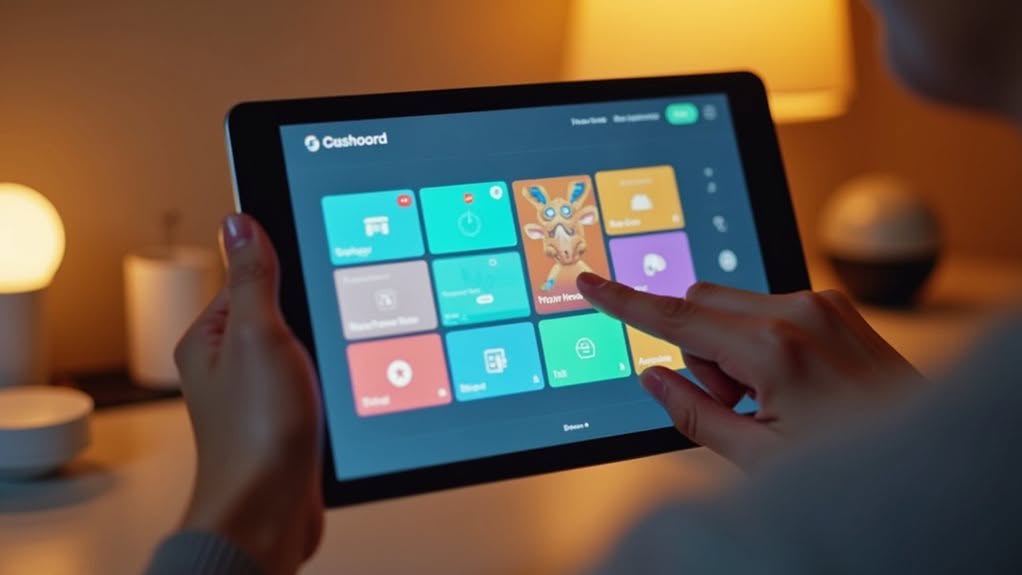
While many smart home platforms require technical knowledge, Home Assistant has evolved to provide an extensive no-code experience for users of all skill levels. The platform’s interface allows you to set up and control your smart home without writing a single line of code.
When you first launch Home Assistant, it automatically detects Wi-Fi and Ethernet devices on your network, prompting you to add them through simple UI interactions. The system guides you through setup with visual cues and straightforward instructions.
Home Assistant’s dashboard offers tile-based configurations and drag-and-drop functionality for customizing your smart home layout. You’ll find intuitive card-based controls that let you create automations graphically rather than through programming. The new AI Tasks feature simplifies complex operations by handling advanced processes like image recognition without requiring you to code. Home Assistant emphasizes simplicity and accessibility for beginners while still offering powerful capabilities for advanced users.
For everyday tasks, the AI integration now understands natural language commands, making interaction even more accessible.
Setting Up Devices and Automations Through the GUI
Home Assistant’s intuitive GUI enables you to set up devices and create automations without writing a single line of code.
You can add new devices through the point-and-click interface, where Home Assistant automatically discovers compatible hardware on your network and walks you through the configuration process. Home Assistant emphasizes local control of your smart devices, providing better privacy compared to cloud-based alternatives.
The visual automation builder lets you create complex routines by selecting triggers, conditions, and actions from dropdown menus, making it straightforward to automate your smart home based on time, device states, or user presence. Navigating to Settings > Automations & Scenes provides access to the automation creation tools where you can define your smart home behaviors.
Setting Up Devices and Automations Through the GUI
Once connected to your Home Assistant system, you’ll find that creating powerful automations doesn’t necessarily require any coding skills.
The built-in Automations Editor under Settings provides an intuitive interface for building custom logic.
The editor breaks down automations into three main components: Triggers (what starts the automation), Conditions (when it should run), and Actions (what happens). You can select from drop-down menus to configure each element without writing a single line of code. Transform your living space with smart home systems that integrate seamlessly with Home Assistant’s user-friendly interface.
For even easier setup, you can use community-created blueprints that provide pre-built automation templates. The Home Assistant UI has made significant improvements in 2024, making automation creation more accessible than ever before. Simply import a blueprint and customize it by selecting your specific devices and preferences through form fields.
The companion apps further improve this experience by exposing mobile device sensors as potential triggers, allowing you to create sophisticated automations entirely through the graphical interface. With access to over 1,000 built-in integrations, you can connect virtually any smart device to your Home Assistant ecosystem without programming.
Point-and-Click Device Setup
Adding devices to your Home Assistant system is remarkably straightforward with its point-and-click setup process. The “Devices & Services” page in Settings serves as your central hub for managing all connected devices and integrations.
When adding a new device, Home Assistant automatically scans your network to discover compatible equipment, eliminating the need for manual configuration. After installation, your device will appear with a flashing red light indicating it’s powered on and ready to connect. The intuitive user interface is designed to be beginner-friendly, making the setup process accessible even for those new to smart home technology.
- Most devices can be added with just a few clicks after they’re discovered on your network
- Special devices like Everything Presence Lite can be configured via USB connection
- Companion apps enable device addition using Bluetooth and QR code scanning
- Alternative setup methods exist for devices that can’t be discovered automatically
- Each integration includes a guided setup wizard that walks you through the process
You won’t need to write a single line of code during this entire setup procedure.
Visual Automation Builder
While setting up devices is straightforward in Home Assistant, creating automated behaviors between those devices is equally user-friendly through the Visual Automation Builder.
The improved automation editor features a sidebar that keeps your main overview visible while you adjust specific triggers, conditions, or actions. On mobile devices, this sidebar transforms into a resizable sheet that pops up from the bottom for easier editing.
You can create automations from scratch or use community blueprints for common scenarios like motion-activated lights. The interface supports duplicating actions and quick enabling or disabling of automations without coding. Creating automations has become even more accessible with AI-generated automations that don’t require any coding knowledge. The dashboard’s drag and drop functionality allows you to easily arrange and organize your automation cards for better visibility and access.
For testing, you’ll find helpful tools like the trace timeline that shows when automations last triggered. This feature helps you investigate and debug any unexpected behavior directly through the visual interface.
Creating Dashboards and Visualizations Without Programming
Home Assistant’s dashboard creation capabilities stand out as one of its most user-friendly features, requiring absolutely no coding knowledge to get started.
The intuitive drag-and-drop interface lets you arrange cards and sections exactly how you want them, while native cards for various devices provide instant visualization options.
You can further improve your dashboards with these no-code options:
- AI Agent HA creates complete dashboards through simple English conversations
- Entity and Entities Cards display individual or grouped devices without configuration
- Custom themes and icons personalize your interface without touching code
- Conditional visibility shows or hides elements based on time or other factors
- Media control and gauge cards offer specialized visualizations for different device types
Advanced tools like Ha-Fusion provide even more customization while maintaining a code-free experience.
When YAML Configuration Becomes Necessary
While Home Assistant’s user interface handles many tasks without coding, you’ll need to work with YAML configuration in several specific situations.
YAML becomes necessary when creating complex automation scenarios that go beyond the automation editor’s capabilities, integrating devices not officially supported through the UI, or customizing your dashboard‘s appearance with advanced themes and layouts.
Understanding basic YAML syntax gives you considerably more control over your smart home system when the standard interface reaches its limits.
Complex Automations Scenarios
Although the user interface in Home Assistant handles basic automations with ease, you’ll eventually encounter scenarios that demand direct YAML configuration. These situations typically involve complex logic flows that exceed the UI’s capabilities.
- Coordinating multiple devices with interdependent conditions (like motion sensors, temperature thresholds, and time-based triggers working together)
- Implementing custom logic gates (AND/OR/NOT combinations) that the UI condition builder can’t support
- Creating time-based automations with specific offsets or repeating intervals
- Processing incoming data from MQTT payloads or webhooks using advanced templating
- Designing adaptive automations that respond differently based on historical data patterns
YAML provides the flexibility needed for these advanced use cases, allowing you to define nested conditions, dynamic variables, and complex action sequences that would be impossible through the UI alone.
Unsupported Device Integration
Despite Home Assistant’s user-friendly interface covering many popular devices, you’ll eventually encounter hardware that lacks official integration support in the GUI. When this happens, you’ll need to use YAML configuration as an alternative.
Unsupported devices require manual entries in your configuration.yaml file, which follows specific syntax rules. Each integration appears once in the file, with platforms and entities properly nested beneath it.
Proper indentation is critical—use two spaces per level and avoid tabs completely. Even minor syntax errors can prevent Home Assistant from starting properly.
You can organize complex configurations by splitting them into separate files using !include directives.
Remember that any changes to YAML files require a system restart to take effect, which can slow down your troubleshooting process.
Customizing Frontend Appearance
Even though Home Assistant provides a user-friendly interface for basic configuration, customizing your frontend appearance often requires diving into YAML code.
While you can toggle between light and dark themes through the UI, more advanced styling requires manual YAML editing.
Custom frontend modifications that typically need YAML include:
- Creating and defining custom themes with specific colors, typography, and UI element styles
- Setting up custom panels or JavaScript-based user interfaces under the `panel_custom` section
- Managing complex dashboard layouts with advanced cards not available in the UI editor
- Applying persistent entity customizations like friendly names and icons via `customize.yaml`
- Configuring frontend extensions that can’t be fully managed through the standard interface
Remember that changes to appearance-related YAML files require a Home Assistant restart to take effect.
Template Language: The Middle Ground Between GUI and Coding
While Home Assistant offers a user-friendly graphical interface for basic setups, you’ll find its template language provides a powerful middle ground between point-and-click simplicity and full programming.
This system uses Jinja2, which allows you to combine dynamic data with static text or logic without writing traditional code.
Templates can be embedded in automations, notifications, and dashboards to manipulate data dynamically. You don’t need programming expertise to get started—just an understanding of basic logic concepts.
For example, you can create dynamic notifications like “Motion detected in kitchen at {{ now() }}” or build custom sensors that derive new data from existing information.
The Template Editor in Home Assistant’s frontend makes creation, testing, and debugging straightforward.
While more complex than GUI configuration, templates remain more accessible than full coding projects.
Advanced Customization: Where Programming Knowledge Helps
Beyond template language, Home Assistant offers powerful customization options that benefit from programming knowledge. When you want to fine-tune your smart home setup beyond what the GUI allows, coding skills become valuable assets.
- YAML configuration editing enables detailed customization of unsupported entities and integration behavior.
- Visual Studio Code add-ons provide syntax validation and streamlined file editing for complex configurations.
- Scripts written in YAML format allow multi-step routines with conditions, variables, and dynamic data integration.
- Custom dashboard modifications typically require coding since the UI has limited advanced customization options.
- HACS (Home Assistant Community Store) installations often need coding knowledge to properly configure and manage.
While you can accomplish basic tasks through the interface, programming knowledge reveals the full potential of your smart home system’s customization capabilities.
Community Solutions vs. Custom Development
Home Assistant’s ecosystem thrives on the dynamic relationship between community-developed solutions and custom programming approaches.
You’ll find thousands of ready-made projects shared by the community that require minimal coding knowledge to implement. These community solutions offer a low barrier to entry through pre-built integrations and automations that need configuration rather than programming.
Popular projects include DIY ePaper displays and smart controllers that work with ESPHome. Community add-ons extend functionality with features like ad blocking and media streaming support, all installable without coding skills.
The Home Assistant Community Store (HACS) provides easy access to custom integrations for various smart devices.
While community solutions cover many needs, custom development becomes necessary for niche automation scenarios or unsupported devices, requiring Python skills and understanding of Home Assistant’s architecture.
Learning Paths for Different User Skill Levels
Learning to use Home Assistant effectively follows distinct pathways based on your technical expertise and automation goals. The platform offers multiple entry points and progression routes, allowing you to advance at your own pace.
Your Home Assistant journey adapts to your skills, offering flexible learning paths that grow with your automation ambitions.
- Beginner path: Start with installation, UI navigation, and connecting basic devices without any coding.
- Intermediate development: Learn YAML configuration, script writing, and automation optimization beyond the visual editor.
- Advanced customization: Explore Python-based add-ons, complex automations, and API integrations.
- Practical learning: Use structured video tutorials, documentation, and weekend challenges for hands-on experience.
- Progressive timeline: Master basics within days or weeks, while advanced skills may require months of consistent practice.
Each stage builds upon previous knowledge, creating a natural progression from no-code solutions to more technical implementations as your comfort level increases.
Frequently Asked Questions
Can I Run Home Assistant on Low-Powered Devices Like Raspberry Pi?
Yes, you can run Home Assistant on Raspberry Pi devices. It’s officially supported on Pi 3, 4, and 5, with Pi 3B+ or later recommended for ideal performance. The Pi’s energy efficiency makes it perfect for 24/7 operation.
How Does Home Assistant Handle Integrations With Proprietary Smart Home Systems?
Home Assistant integrates with proprietary systems through native integrations requiring credentials, hubs that translate protocols, and Matter bridges. You’ll access your devices via configuration files, while maintaining compatibility through approved connection methods.
What Security Measures Protect My Home Assistant Installation From Unauthorized Access?
You’ll protect your Home Assistant by using strong passwords, enabling multi-factor authentication, isolating IoT devices on a dedicated network, avoiding port forwarding, implementing a VPN for remote access, and keeping everything updated regularly.
Can Home Assistant Function Without Internet Connection for Local Devices?
Yes, Home Assistant functions without internet for local devices using Zigbee, Z-Wave, or local Wi-Fi protocols. Your automations will continue working, though cloud-dependent services and certain integrations won’t be available offline.
How Often Do Updates Require Reconfiguring Existing Automations or Integrations?
Most updates won’t affect your automations. Official integrations rarely break (every few months), while third-party ones might need more attention. Major version updates (several times yearly) are most likely to require adjustments.
Final Thoughts
You don’t need coding skills to enjoy Home Assistant’s core features. The intuitive GUI lets you set up devices, create automations, and build dashboards without programming knowledge. While YAML and templates offer more customization for advanced users, most functions work through point-and-click interfaces. As your smart home grows, you can gradually learn more technical aspects or rely on community solutions, making Home Assistant accessible regardless of your technical background.