
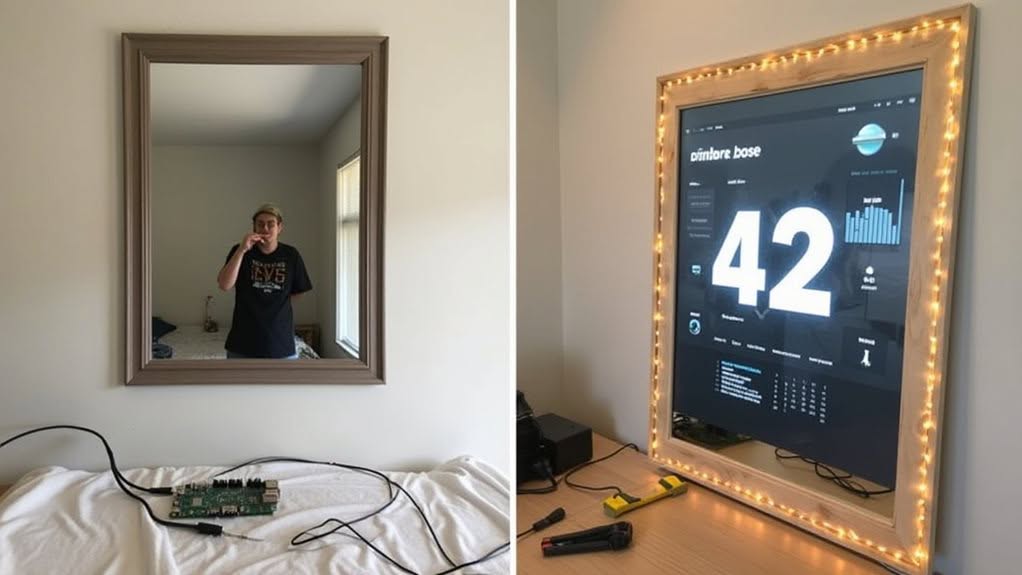
Building a Home Assistant smart mirror requires gathering crucial hardware (Raspberry Pi 4, two-way mirror, display), setting up the Pi with Home Assistant software, mounting the mirror with reflective side out in a custom frame, configuring a streamlined dashboard with weather and calendar widgets, and integrating smart features through modules like MMM-IFrame. You’ll need to guarantee proper power supply (3A) and establish secure network connectivity. The complete process combines woodworking, basic electronics, and software configuration for a fully functional smart home display.
Gathering Essential Hardware Components
Building a successful smart mirror project begins with collecting three essential categories of hardware components. These include computing equipment, display materials, and structural elements.
For the computing core, select a Raspberry Pi 4 with at least 16GB of Class 10 microSD storage and a 5V/3A power adapter to prevent voltage issues. The Raspberry Pi is ideal because of its low energy consumption while still providing sufficient processing power for smart mirror applications. Consider utilizing a pre-configured Smart Home Hub to simplify your software setup process.
Your display needs include an IPS monitor with HDMI connectivity, preferably 21-27 inches for ideal viewing. Pair this with either acrylic two-way mirror material or glass with reflective film applied. I found that acquiring a monitor was relatively simple by visiting a local electronics repair shop where I purchased one for an affordable price.
The structural components consist of mounting hardware and a custom frame, typically wooden, to house all elements securely.
Consider adding optional components like a USB microphone for voice control, a camera module, or a PIR motion sensor to improve functionality.
Setting up the Raspberry Pi With Home Assistant
Once you’ve gathered all your hardware components, the next crucial phase involves configuring the Raspberry Pi with Home Assistant, which will serve as the operating system and control center for your smart mirror.
After booting up your Raspberry Pi, access the Home Assistant interface by entering “homeassistant.local:8123” in your browser. Be patient, as the interface may take up to 5 minutes to appear on newer Pi models.
When the setup wizard launches, create your user account with a secure password and enter your geographical location. This information facilitates time-based features and local weather data.
For dependable setup, use a wired Ethernet connection and confirm your power supply delivers sufficient amperage (3A for Pi 4/5). Home Assistant OS provides a minimalistic operating system specifically designed for running the Home Assistant ecosystem efficiently.
If you encounter persistent issues, try reflashing your SD card or connecting a monitor via HDMI for troubleshooting.
For more reliable network connectivity during your smart mirror setup, it’s recommended to use DHCP reservation instead of manually configuring a static IP address on the device.
Preparing and Mounting the Two-Way Mirror
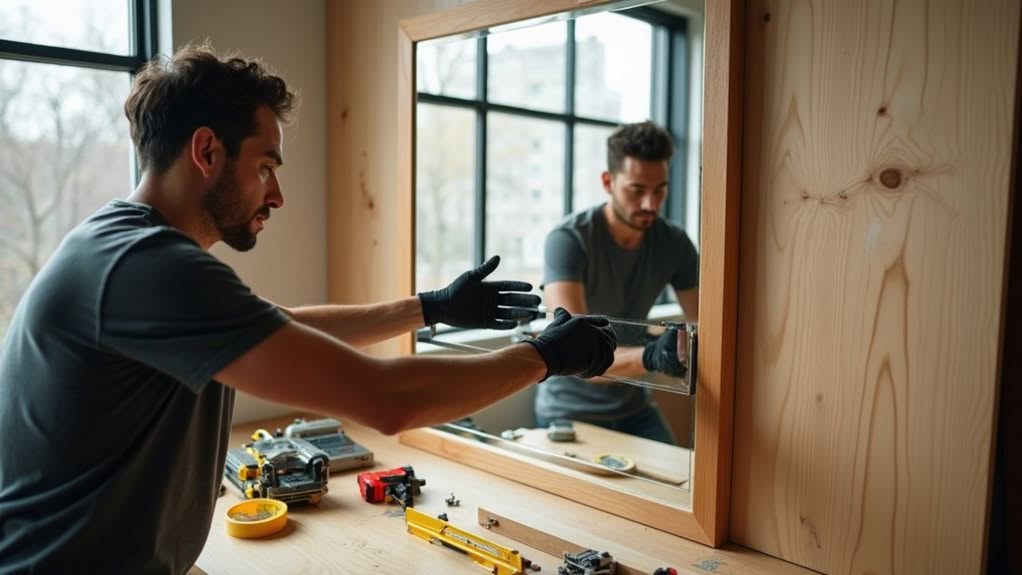
Now that your Raspberry Pi is properly configured, the success of your smart mirror depends on the careful selection and installation of its most visible component: the two-way mirror.
Standard two-way mirrors offer 70% reflection and 30% transparency, closely resembling conventional mirrors while allowing display visibility. For most DIY projects, 1/4 inch (6.35mm) glass thickness provides an ideal balance of durability and light transmission.
When installing the mirror, place it reflective-side-out in your prepared frame, guaranteeing the display sits directly behind it. Remove any original frame backing to accommodate the mirror’s thickness, and use the tabs or custom brackets to secure both components. Clean the back of the mirror thoroughly before installation to ensure optimal display visibility through the glass. Many builders use 40-inch TVs behind their mirrors for substantial display area while maintaining the elegant appearance of a traditional mirror.
For budget-conscious builders, acrylic mirrors with reflective film offer a lighter, less expensive alternative, though they require extra care to prevent scratching during installation.
Configuring Your Smart Mirror Dashboard
The successful configuration of your smart mirror dashboard serves as the foundation for an intuitive, functional interface that delivers information at a glance.
Begin by creating a dedicated non-admin Home Assistant user specifically for your mirror to improve security.
Then, develop a custom Lovelace dashboard organized into logical sections for weather, calendar, and home controls.
Enable kiosk mode to remove distracting UI elements and apply a dark theme to minimize reflections. Consider installing the recommended Blackened Theme for optimal visibility on your mirror display.
Limit your layout to 10 columns or fewer to maximize readability on your mirror’s display.
For secure access, configure trusted networks to allow your mirror’s static IP address to bypass login while maintaining security.
Install useful HACS components like custom cards to display sensor data, media controls, and other real-time information from your smart home.
Consider using Grafana playlists to cycle through multiple dashboards that show different aspects of your home automation system in a clean, organized manner.
Installing and Integrating Smart Features
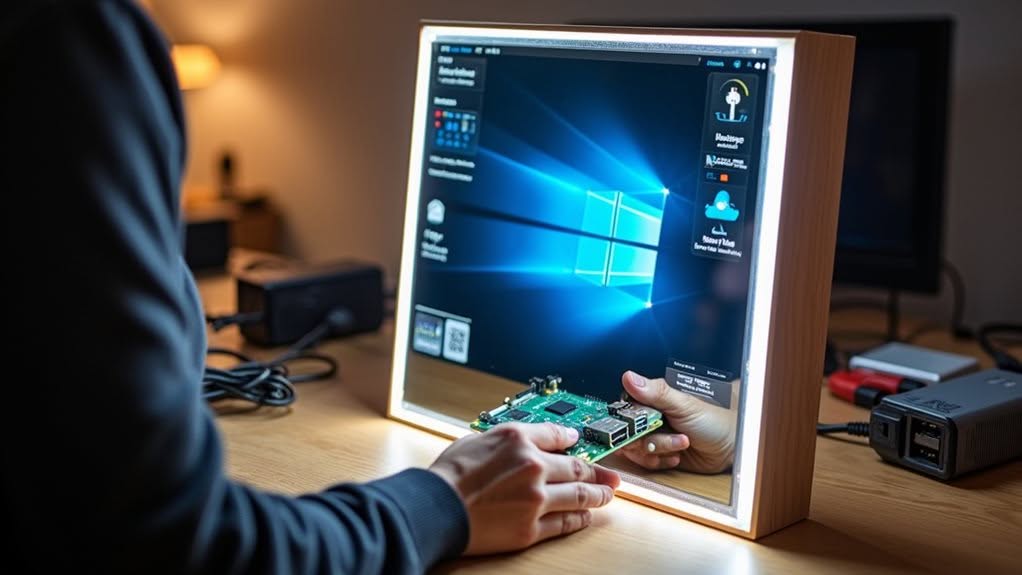
With your dashboard configured, you’ll need to install the hardware and software components that power your smart mirror’s functionality. A Raspberry Pi makes an excellent foundation due to its affordability and compatibility with Home Assistant. Consider using the Raspberry Pi Zero 2 for a compact and efficient smart mirror setup.
For the operating system, consider BalenaOS for simpler deployment or Raspbian for a traditional setup. Install Home Assistant and configure trusted networks to bypass login from your mirror’s static IP address.
Enhance your mirror with specialized modules like MMM-IFrame to display external dashboards and HomeAssistant-Sensors for real-time data updates. A blackened theme will improve visibility in low-light conditions. The HomeAssistant-Sensors module requires a long-lived token from your Home Assistant instance to establish proper connectivity.
Maintain security by implementing SSH key pairs for remote access and setting up regular software updates.
Create custom switches in Home Assistant to remotely control your smart mirror’s power state.
Frequently Asked Questions
How Much Does a Complete Smart Mirror Project Typically Cost?
Your first smart mirror will cost between $100-$400 for a DIY medium-sized project. You’ll spend $20-$50 on frame materials, $80 for a monitor, $50-$80 on computing hardware, and $30-$50 on additional supplies.
Can I Use an Old Tablet Instead of a Raspberry Pi?
Yes, you can use an old tablet instead of a Raspberry Pi. You’ll access Home Assistant through a browser or app, but you’ll still need a separate server to host your Home Assistant instance.
How Do I Waterproof My Mirror for Bathroom Installation?
Apply silicone sealant around all mirror edges, use waterproof backing paint, and mount it at least 8 inches above splash zones. Don’t forget to seal any cutouts and install on a waterproof wall surface.
Will the Mirror Work if My Internet Connection Goes Down?
Yes, your mirror will work offline. Core functions like time and local sensors will operate normally, but internet-dependent features like weather and news won’t update until your connection is restored.
How Can I Reduce Power Consumption for Continuous Operation?
Use LED lighting, implement motion sensors and timers, choose energy-efficient components like ESP32, enable sleep modes, and position your mirror near windows. You’ll greatly reduce power consumption while maintaining functionality during continuous operation.
Final Thoughts
You’ve now built a fully functional smart mirror that combines the elegance of a mirror with the intelligence of a home assistant. Your new device will serve as both a practical household fixture and an information hub. With your Raspberry Pi running Home Assistant, your custom dashboard, and integrated smart features, you’ve created a personalized tech centerpiece that improves your daily routine while showcasing your DIY skills.


