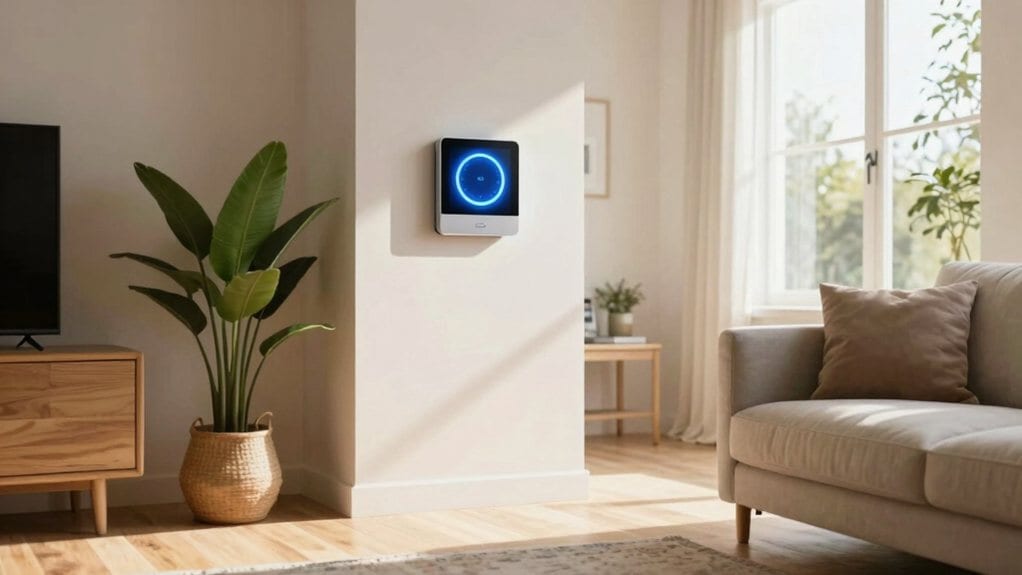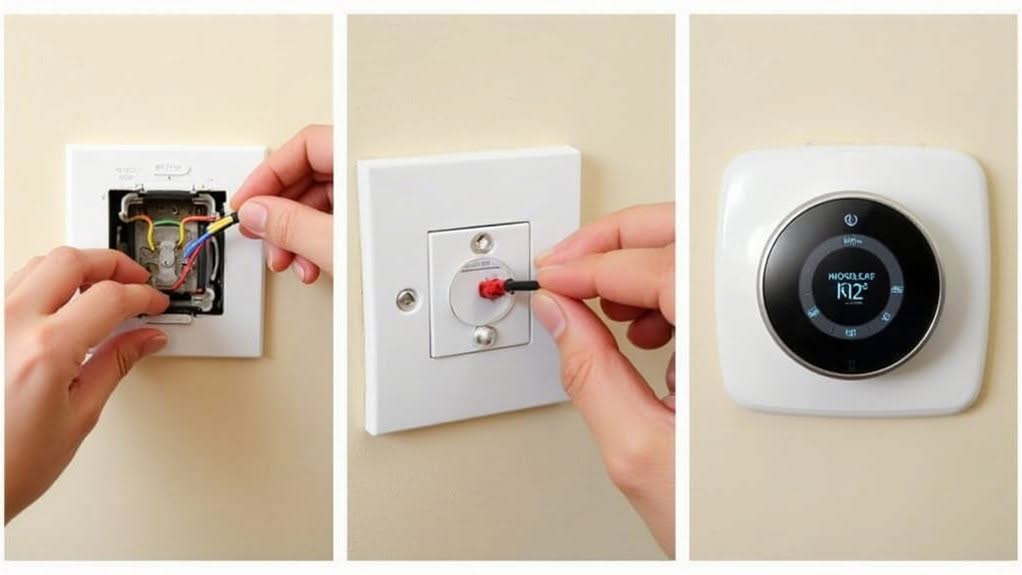
Installing a Nest thermostat yourself is straightforward with three crucial steps. First, turn off power at the circuit breaker, remove your old thermostat, and take photos of the wiring for reference. Second, mount the Nest base plate using the built-in level, then connect your labeled wires to the corresponding terminals. Finally, attach the display unit, restore power, and follow on-screen prompts to connect to Wi-Fi and complete setup. These key phases guarantee a successful changeover to smarter temperature control.
Preparing Your Home and Removing the Old Thermostat
Before you begin installing your new Nest Thermostat, safety must come first with proper power disconnection. Turn off power at the main electrical panel or breaker box, as well as at the thermostat.
Verify the system is truly off by attempting to activate your HVAC—no response confirms successful shutdown.
Document your current setup by taking clear photos of the existing wiring. Label each wire with the provided stickers or masking tape, noting both color and terminal connection.
Carefully remove the old thermostat’s faceplate, then unscrew the baseplate from the wall. Make sure to remove any jumper wires connecting the thermostat terminals before disconnecting the main wires. Disconnect wires one by one, keeping them from falling into the wall.
Assess your wall for damage and clean the surface thoroughly.
Gather all Nest components and necessary tools before proceeding to the next installation phase.
For easier wire management during installation, wrap wires around a pencil to prevent them from falling back into the wall while you work.
Consider upgrading to a WiFi-enabled model for remote temperature control and improved energy efficiency in your home.
Mounting the Nest Base and Connecting the Wires
With the old thermostat removed and your wall prepared, you’re ready to install the Nest base plate and connect your HVAC system’s wires.
Position the base plate over the exposed wires and use the built-in level bubble to guarantee perfect horizontal alignment.
Secure the connections by following these crucial steps:
- Strip wire ends to expose about ⅜ inch of copper for secure connections
- Label each wire using the provided stickers that match terminal markings
- Insert wires firmly into their respective terminals until the retaining button snaps
- Tuck excess wires neatly into the wall cavity to prevent pinching
- Use included screws to mount the base plate, being careful not to overtighten
For junction box installations, attach the steel plate first, then secure the Nest base and trim plate to it.
Double-check all connections before proceeding to the next step. You can also mount the Nest Thermostat base in a horizontal position when this allows you to secure at least one screw into a wall stud for better stability.
If your system has separate RC and RH wires, the Nest thermostat’s built-in jumper will automatically handle the hot/cold determination.
Attaching the Display and Setting Up Your Smart System
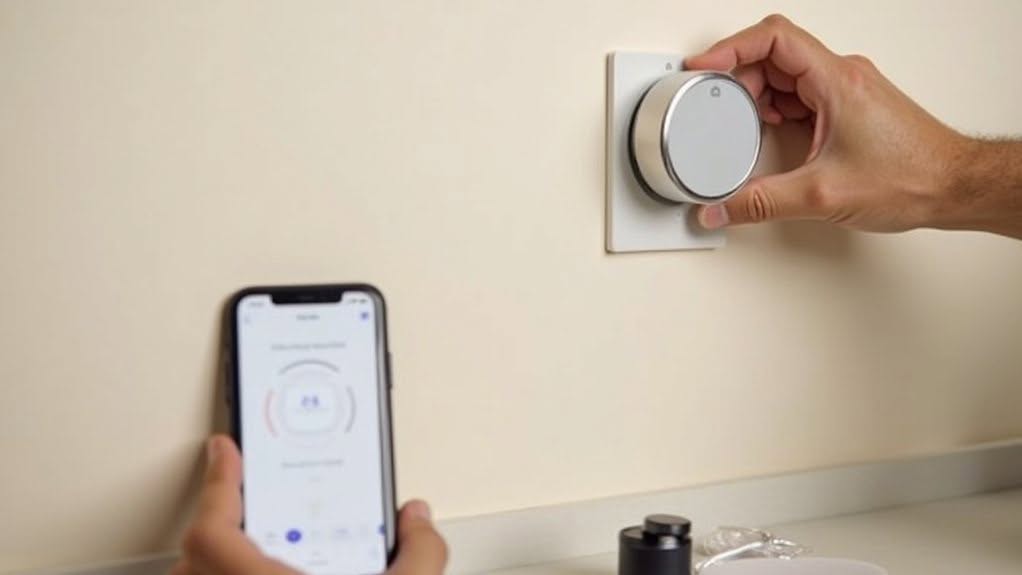
Now that your Nest base is securely mounted, you’ll need to attach the display and set up the smart features of your thermostat. Align the display with the base, making sure the Nest logo is at the top, and press evenly until you hear a distinct click. The display should sit flush with no gaps.
Restore power at the circuit breaker. Your Nest will automatically power on and begin the setup process. Follow the on-screen prompts to select your language and connect to Wi-Fi.
For a more guided experience, download the Nest app. It provides custom wiring diagrams and step-by-step instructions. The app also enables remote access to your thermostat settings and energy dashboard.
Complete the setup by confirming your Wi-Fi connection and account details. Customize your settings for ideal comfort and efficiency.
Frequently Asked Questions
Can I Install Nest Thermostat Without a C-Wire?
Yes, you can install Nest without a C-wire, but reliability varies by model. Consider using a Nest Power Connector or repurposing an unused wire if you experience power issues or erratic operation.
Will Nest Work if My Home Wi-Fi Temporarily Disconnects?
Yes, your Nest will still control heating and cooling if Wi-Fi disconnects. You’ll lose remote access and updates, but temperature regulation continues normally. The thermostat will automatically reconnect when your Wi-Fi returns.
How Do I Recalibrate Temperature Readings if They Seem Inaccurate?
Access your thermostat’s Settings menu, find Temperature Offset, and adjust based on comparison with a reliable thermometer. Input a positive value to increase the reading or negative to decrease it. Save your changes.
Can Multiple Users Control the Nest From Different Smartphones?
Yes, multiple users can control your Nest thermostat from different smartphones. You can either share your account credentials or set up Family Accounts for up to 10 people with their own individual access.
Does Nest Thermostat Work During Power Outages?
Yes, your Nest thermostat works during power outages using its internal battery backup, but only for a few hours. You’ll have basic manual control at the device, though smart features and Wi-Fi connectivity won’t be available.
Final Thoughts
You’ve successfully transformed your home’s climate control with your new Nest thermostat. By following these three crucial steps, you’ve not merely upgraded your HVAC system but also gained access to energy-saving features and remote temperature management. Remember to use the Nest app to customize your heating and cooling schedules. With proper installation complete, you’ll enjoy both improved comfort and potential savings on your energy bills.