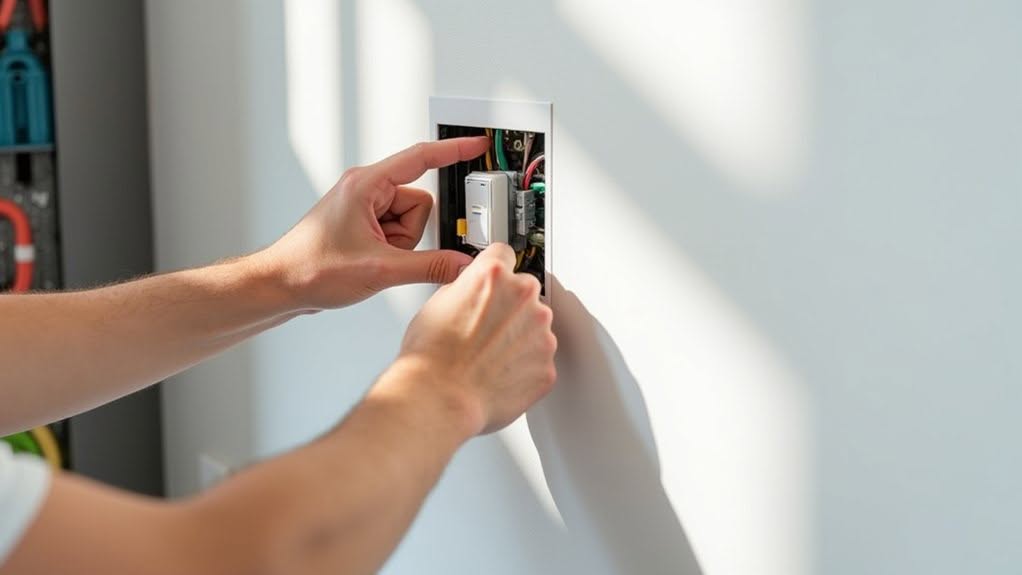
Installing smart light switches involves three key steps. First, turn off power at the circuit breaker, verify with a voltage tester, and gather necessary tools including screwdrivers and wire nuts. Second, remove the old switch by disconnecting wires (take a photo for reference), then connect your smart switch‘s ground, neutral, line, and load wires according to instructions. Finally, download the manufacturer’s app, connect the switch to your Wi-Fi network, and program your desired settings. Proper installation transforms your lighting into an automated system you can control remotely.
Preparation and Safety: Turning Off Power and Gathering Tools
The first vital step in installing a smart light switch is to turn off power to the circuit you’ll be working on.
Locate your home’s circuit breaker panel and switch off the appropriate breaker. Don’t rely solely on breaker labels—they can be inaccurate.
Verify the power is truly off with a non-contact voltage tester. Check all wires in the switch box to confirm they’re not live. Working on energized circuits can cause severe or fatal electric shock.
Always conduct circuit identification before starting any smart switch installation to ensure you’re working on the correct electrical lines.
Gather these important tools before beginning:
- Non-contact voltage tester
- Phillips and flathead screwdrivers
- Wire stripper and cutter
- Pliers
- Electrical tape and wire nuts
Make certain you’re working in a completely dry environment.
Never stand in water or on damp surfaces while handling electrical components.
Getting shocked while working on electrical components is unpleasant but rarely fatal if proper safety precautions are followed.
Removing Old Switches and Connecting Smart Switch Wiring
With your safety precautions in place and tools gathered, you’re ready to tackle the actual switch replacement.
First, identify and label all wires connected to your old switch using electrical tape or tags before disconnecting anything.
Turn off power at the circuit breaker and verify with a voltage tester before touching any wires.
Unscrew the switch plate and carefully pull the old switch from the wall, then disconnect wires by loosening terminal screws.
Locate and connect the ground wire (bare or green) to your smart switch’s green terminal.
Next, connect the neutral (white) wire to the switch’s white terminal.
Attach the line wire (usually black) to the line terminal and the load wire to the load terminal.
Taking a photo of the original wiring configuration before disconnection serves as a helpful reference image if you encounter any confusion during installation.
If your neutral wire isn’t connected to the old switch, look for white wire bundles in the back of the wall box, as these are typically neutral wires essential for smart switch functionality.
For 3-way setups, identify traveler wires and connect them according to the manufacturer’s instructions.
Setting Up and Configuring Your Smart Switch System
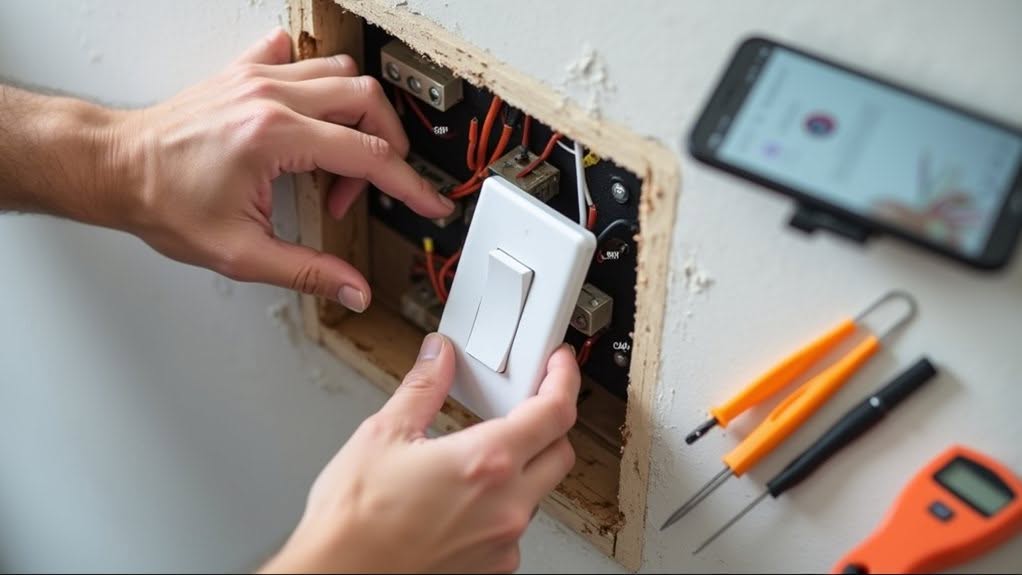
Once your smart switch is properly wired and installed in the wall box, you’ll need to connect it to your home network and configure its settings.
Download the manufacturer’s dedicated mobile app and enable both Bluetooth and Location services on your smartphone.
Connect your switch to your home’s 2.4GHz Wi-Fi network through the app, which may involve scanning a QR code or entering a pairing code. The switch’s LED indicator will confirm successful connection.
Use the app to set up convenient features like automatic schedules, timers, and scene controls. You can program lights to turn on at sunset or off when you leave home. These systems ultimately save energy by providing complete control of your lighting from anywhere.
For hands-free operation, integrate your switch with voice assistants like Amazon Alexa or Google Home through their respective apps. This allows simple voice commands to control your lighting.
Testing the setup thoroughly is essential before finalizing the installation to ensure all connections and functionality work properly.
Frequently Asked Questions
Can I Install Smart Switches Without a Neutral Wire?
Yes, you can install smart switches without a neutral wire. Choose switches specifically designed for no-neutral installations like Leviton Decora Smart Dimmers or GE CYNC models that use alternative wiring methods to function properly.
Will Smart Switches Work With LED or Dimmer-Compatible Bulbs?
Yes, smart switches work with LED bulbs. For dimming functionality, you’ll need dimmer-compatible LEDs specifically. Check manufacturer compatibility lists to avoid flickering issues and guarantee your bulbs meet the switch’s minimum load requirements.
How Many Smart Switches Can One Wi-Fi Network Handle?
Your average home Wi-Fi router can handle 20-50 smart switches before issues arise. You’ll get better performance with newer dual-band routers or mesh systems, especially if you’re spreading switches throughout your home.
Do Smart Switches Require a Separate Hub or Bridge?
Many smart switches require a hub or bridge, especially those without a neutral wire. However, some Wi-Fi or Bluetooth models work independently. You’ll need to check your specific switch’s requirements before purchasing.
Can Smart Switches Be Installed in Outdoor or Bathroom Locations?
Yes, you can install smart switches outdoors and in bathrooms, but you’ll need specially rated models. Choose weather-resistant switches for outside and moisture-resistant ones for bathrooms, always following local electrical codes for safety.
Final Thoughts
You’ve now successfully installed and configured your smart light switches, transforming your home into a more efficient, connected space. Remember to test each switch thoroughly and keep the manufacturer’s instructions for future reference. While the installation process requires careful attention to wiring safety, the benefits are substantial. Your new ability to control lighting remotely, set schedules, and integrate with other smart home systems makes the effort worthwhile.