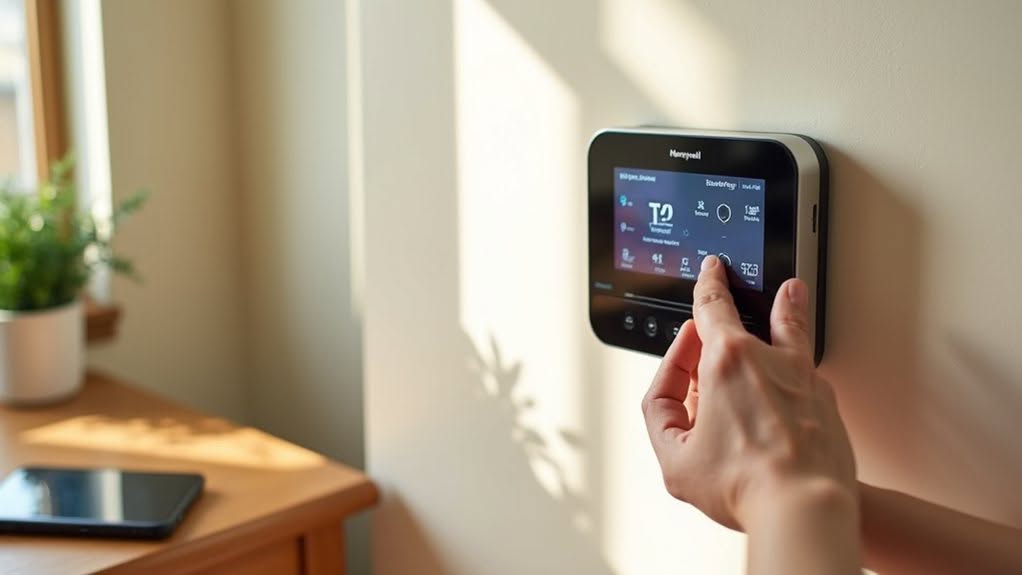
To set up your Honeywell thermostat, first turn off power at the breaker and remove the old unit. Mount the base plate using a level and appropriate screws. Connect each labeled wire to its matching terminal on the base. Restore power, then configure initial settings including system type and temperature preferences. Program your desired schedule next. Finally, enable Wi-Fi, connect to your home network, and set up the mobile app for remote access. The detailed steps below will guarantee proper installation and functionality.
Tools and Materials You’ll Need
Five important tools are required before beginning your Honeywell thermostat installation.
You’ll need a small flat-edge screwdriver for removing the old thermostat plate and a #2 Phillips screwdriver for the mounting screws. A drill with appropriate bits is necessary for wall anchors, while a level guarantees your thermostat sits straight. Remember to use a torpedo level for ensuring proper alignment of your new thermostat.
Finally, a non-contact voltage tester verifies the power is off before handling any wiring.
Your installation package should include the thermostat unit with base plate, mounting screws, wall anchors, and wire labels for easy reconnection.
Many models also come with a trim kit to hide previous holes.
For safety and convenience, consider gathering protective gloves, electrical tape, a small container for screws, and a flashlight to improve visibility during installation. Upgrading to a smart thermostat can significantly reduce your monthly energy costs. If you’re unsure about your home’s wiring configuration, refer to the installation manual included with your thermostat or access it online.
Turning Off Power and Removing Old Thermostat
With all necessary tools and materials ready, safety must take priority for your Honeywell thermostat installation.
First, switch off your HVAC system at the circuit breaker or fuse box. Confirm power is completely disconnected by checking that the thermostat display is blank. Remove any batteries to guarantee total power loss. Unlike regular operation where selecting system off disables heating and cooling, physical power disconnection is required during installation. Understanding how to use the permanent override function will be helpful once your installation is complete.
Use a voltage tester to verify no current is flowing through the wires before proceeding. This step is crucial for your safety.
Remove the thermostat cover to expose the wiring connections. Take a clear photo of the wire configuration or label each wire with tape according to its terminal.
Carefully loosen terminal screws with a screwdriver and disconnect each wire. Remove mounting screws to detach the base plate, then inspect wires for damage before proceeding to installation.
Mounting the Honeywell Base Plate
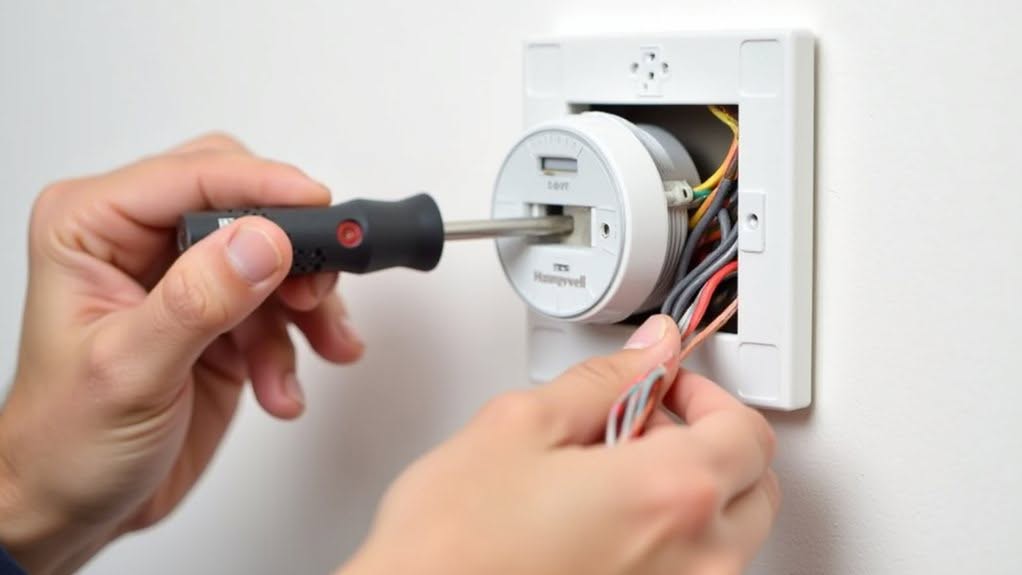
Proper mounting of the Honeywell base plate creates the foundation for your thermostat’s functionality and appearance. Position it where your old thermostat was located or at your desired new spot.
Use existing screw holes when possible and level the base plate with a torpedo or bubble level. This prevents operational issues and maintains aesthetic appeal.
Mark the screw holes on the wall once the plate is correctly positioned. Drill appropriate pilot holes before inserting screws or anchors.
If there’s no solid backing behind drywall, use the supplied wall anchors for secure mounting. The color of the anchor determines the drill bit size needed. Before securing the base plate, ensure you slide wires through the opening to prevent them from falling back into the wall. When positioning the UWP, you should patch and repaint any wall areas that need cosmetic repair.
Tighten mounting screws by hand only to avoid cracking the plastic base plate. Verify the base remains level as you secure it to guarantee proper thermostat connection.
Connecting the Wiring Correctly
Connecting your Honeywell thermostat’s wiring correctly guarantees reliable operation and prevents potential damage to your HVAC system.
Match each wire to its corresponding terminal on the base plate, following the labels. The most common wires include R (power), C (common), W (heat), Y (cooling), and G (fan). For heat pump systems, also connect the O/B wire to control the reversing valve.
Strip about 3/8 inch of insulation from each wire end before securing them in the terminal blocks. Tighten screws firmly but not excessively to avoid wire damage.
If your system lacks a C wire, consider using a C-wire adapter to provide continuous power. If you have dual R wires, remember to remove any jumpers between terminals when connecting both RC and RH wires. Tape off any unused wires to prevent short circuits.
After connecting all wires, verify your work against the wiring diagram in the manual before powering up. Always connect the R and C wires to ensure your thermostat has reliable power without relying solely on batteries.
Powering Up and Initial Configuration
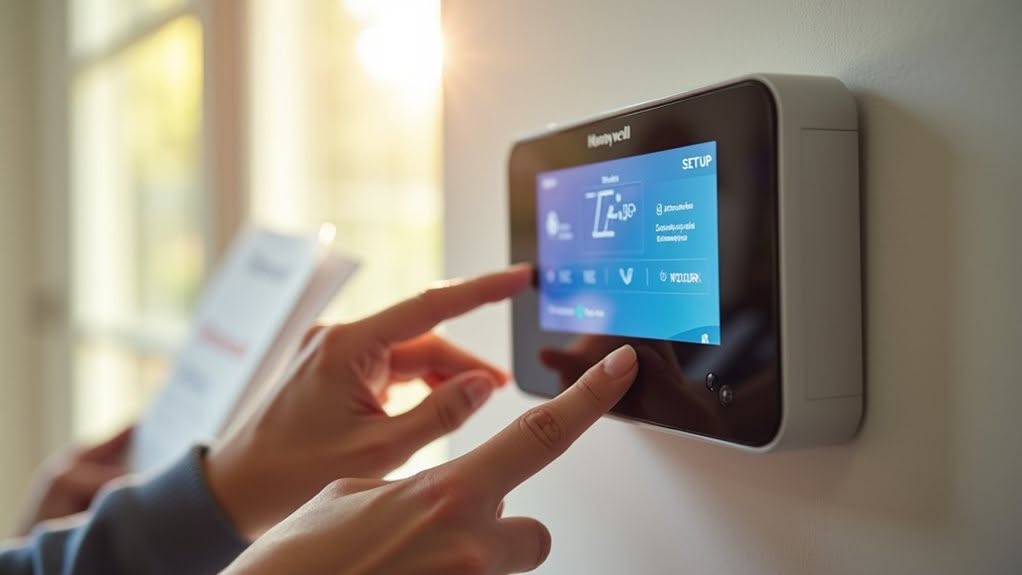
Once your wiring connections are complete, it’s time to power up your Honeywell thermostat and begin the initial setup process. Restore power at the breaker, and you’ll see the display activate, indicating the unit is ready for configuration.
The thermostat typically enters Initial Setup (ISU) automatically. If not, press and hold the bottom left button and Up arrow simultaneously for about 5 seconds to access it manually.
Navigate through the ISU menu to set vital parameters like system type, number of heating/cooling stages, and temperature scale preference. You can select either Fahrenheit or Celsius for your temperature display according to your preference. Use the arrow buttons to adjust values and confirm with select or next.
Set the correct date and time, as these are critical for scheduled operations.
After configuration, perform a system test to verify proper functionality of heating, cooling, and fan controls. You’ll need to keep the MAC ID card handy during setup for Wi-Fi configuration and device registration.
Programming Temperature Schedules
Programming temperature schedules in your Honeywell thermostat maximizes both comfort and energy efficiency throughout your day.
Begin by pressing the Menu button, then select Schedule or Prog to enter setup mode.
Choose which days you’d like to program—you can group weekdays together and weekends separately to match your lifestyle.
For each day, you’ll set four periods: Wake, Away, Home, and Sleep.
Adjust the start time and desired temperature for each period using the arrow keys. It’s smart to set lower heating temperatures during Away periods to save energy.
You can program directly on the thermostat or use the Honeywell Home app for remote access. Both methods require saving your schedule when finished.
Review your schedule periodically and adjust seasonally for peak performance.
Setting Up Wi-Fi and Remote Access
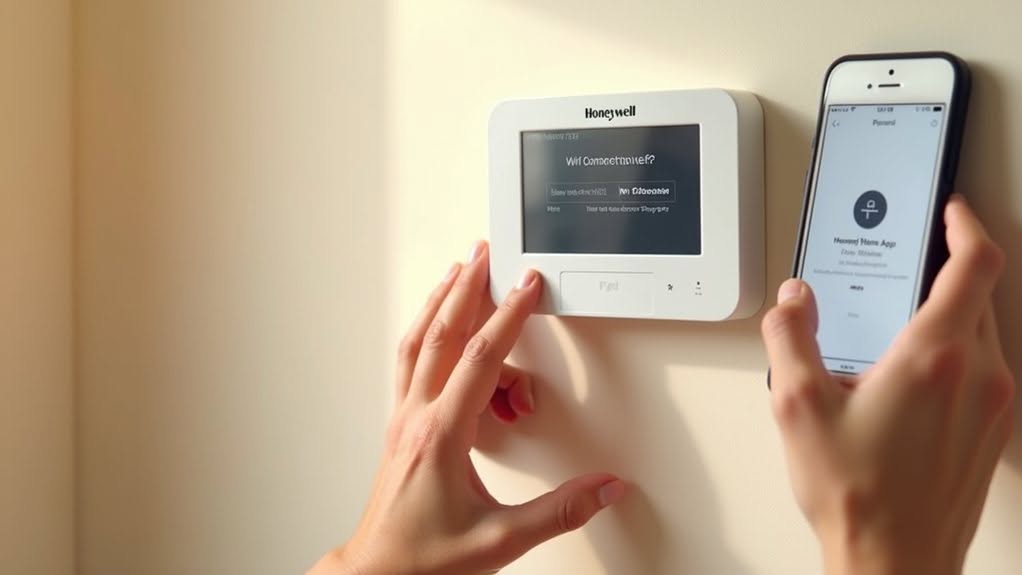
With your Honeywell thermostat properly mounted, you’ll gain tremendous flexibility by connecting it to your home’s Wi-Fi network.
Begin by accessing the Main Menu icon in the lower-left corner of your display and selecting the Wi-Fi option.
Toggle the “Enable WiFi” slider, then select your home network from the available list. Enter your network password accurately to avoid connection failures.
Wait up to three minutes for connection confirmation. Once connected, you’ll see “Wi-Fi Setup Connection Success” and a signal strength indicator.
For remote access, register a Total Connect account when prompted on the thermostat screen. This allows you to control your thermostat from anywhere using the Honeywell Home or Total Connect Comfort app on your smartphone or tablet.
If connection issues occur, try restarting your thermostat or moving it closer to your router.
Frequently Asked Questions
Can I Install a Honeywell Thermostat Without a C-Wire?
Yes, you can install some Honeywell thermostats without a C-wire. You’ll need to use battery power, install a C-wire adapter, or choose a model like the RTH111 series that doesn’t require a C-wire.
How Do I Troubleshoot if My HVAC System Doesn’t Respond?
Check your power supply first, then verify thermostat settings are correct. Try resetting your HVAC system completely. Examine air filters and vents for blockages. If these steps fail, you’ll likely need professional assistance.
Will My Thermostat Work During a Power Outage?
Your thermostat’s basic functions won’t work during a power outage unless it has battery backup. While settings are typically preserved, you’ll need to reset the time when power returns. WiFi features will be unavailable until electricity is restored.
Can I Lock the Screen to Prevent Unauthorized Temperature Changes?
Yes, you can lock your thermostat screen. Use the Menu button to access “LOCK” settings and select Partial Lock for temperature-only adjustments or Full Lock to prevent all changes. A password protects these settings.
How Often Should I Replace the Batteries in My Thermostat?
You should replace your thermostat batteries about once a year or when you see low battery warnings. Don’t wait for a blank display. Some models will beep or display “BATT” when batteries reach critical levels.
Final Thoughts
You’ve successfully installed your Honeywell home thermostat in seven manageable steps. With your device properly mounted, wired, and configured, you now have complete control over your home’s temperature settings. The Wi-Fi connectivity enables convenient remote access through your smartphone or tablet. Your new thermostat will help maintain comfortable indoor temperatures while potentially reducing energy costs through efficient programming and scheduling options.