
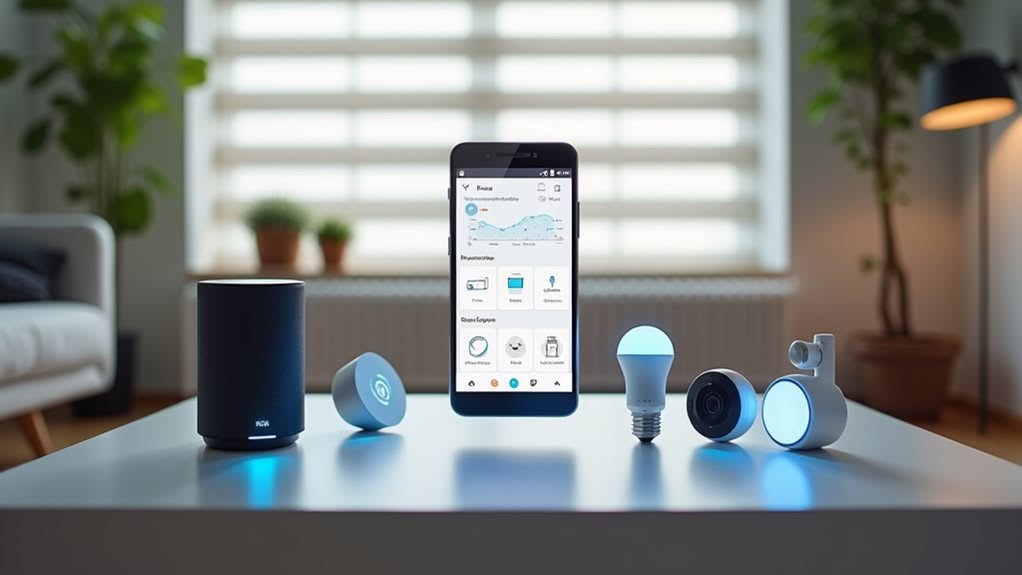
To integrate Smart Life with Home Assistant, you’ll need to install the Smart Life app, create an account, and add your devices first. Then, in Home Assistant, go to Settings > Integrations, search for “Tuya,” and select Smart Life. Retrieve your User Code from the Smart Life app under Account and Security settings. Scan the displayed QR code to authorize the connection, and your devices will appear automatically. The steps guarantee reliable control of your smart home ecosystem.
Prerequisites for Smart Life Integration
Before you can start integrating Smart Life with Home Assistant, you’ll need to prepare several key elements to ascertain a seamless setup process.
First, install the Tuya Smart or Smart Life app on your mobile device and create a user account. Add at least one compatible IoT device to your account and ascertain it’s connected to your home Wi-Fi network.
Your Home Assistant installation should be version 2024.2.0 or later, running on Windows 10 or Home Assistant OS. Verify it’s accessible at the correct network address.
Connect all devices to the same local Wi-Fi network, preferably with 2.4 GHz support since many Tuya devices require this frequency. Use WPA2 or better encryption for security.
Obtain your Smart Life user code from the app’s Account and Security settings for authentication during integration setup.
Be aware that compatibility is limited to specific device categories including switches, lights, fans, and thermo-hygrometers, so verify your devices are supported before proceeding.
Remember that all your devices must be added in Smart Life before they can be properly recognized and integrated with Home Assistant.
For optimal protection of your connected home environment, consider adding smart security systems that integrate with both platforms to monitor your property remotely.
Installing and Configuring the Smart Life App
With your prerequisites in place, you’ll need to set up the Smart Life app on your mobile device.
Download the app from either Google Play Store or Apple App Store, depending on whether you’re using Android or iOS.
After installation, you’ll be prompted to create an account or log in with existing credentials. This account is crucial for managing your devices remotely.
Once logged in, add your smart devices by tapping the “+” icon and following the on-screen instructions. The app provides a step-by-step setup guide to help users through the process.
You’ll need to connect your devices to a 2.4 GHz WiFi network during this process.
Name your devices clearly for easier identification later.
This naming will be particularly helpful when you integrate with Home Assistant or use voice controls.
The Smart Life app enables you to create customized automation scenes that can be triggered by smart buttons with specific functions like single taps, double taps, or long presses.
Setting Up Your Home Assistant Environment
Before integrating Smart Life with Home Assistant, you’ll need to confirm you’ve met all necessary prerequisites for your setup.
You can easily check that your Home Assistant instance is properly configured by accessing the System Health panel in your Settings menu.
Once your system is ready, proceed to the Integrations Dashboard where you’ll be able to add new connections to your smart home network. For beginners, the plug-and-play solution with Home Assistant Green offers an affordable and simple way to get started. When troubleshooting setup issues, ensure that your GitHub fork is up-to-date with the main repository to avoid build failures.
Prerequisites Check
Guaranteeing your system meets all requirements stands as the crucial first step in creating a reliable Home Assistant environment.
Before installation, verify your hardware compatibility with the platform.
Home Assistant operates on various systems, from Raspberry Pis to x86-64 computers. You’ll need to choose between Home Assistant Operating System or Container for your installation type. For Raspberry Pi installations, a class 10 MicroSD card or better is essential for optimal performance.
A stable internet connection is fundamental for downloading updates and connecting your smart devices. Your system should have access to uninterrupted power to prevent disruptions in automation services.
If you’re using an x86-64 system, UEFI boot capability is required for running Home Assistant Operating System. This guarantees proper system functionality and compatibility. Most systems manufactured in the last decade have UEFI support built-in.
Check these prerequisites carefully to avoid technical issues during setup and facilitate seamless operation of your smart home platform.
Integration Dashboard Navigation
Successfully guiding the Integration Dashboard forms the backbone of your Home Assistant experience. Home Assistant provides multiple customizable dashboards, including default options like Overview, Areas, and Energy that you can build upon.
Each dashboard consists of cards, sections, and views that display information and control your devices. You can organize these elements into thematic groups for better navigation.
To improve your dashboard experience, consider using navigation buttons and subviews, which allow deeper navigation without leaving the main screen. The back button feature lets you return to previous views easily. Subviews are especially effective for touch screens as they reduce scrolling and confusion when switching between multiple views.
For device-specific optimization, create separate dashboards for different locations in your home. Wall-mounted tablets benefit from kiosk mode, while the Navbar Card tool provides responsive navigation options. The new drag and drop functionality makes it significantly easier to rearrange elements when designing your dashboard layout.
Remember to streamline your navigation by using sections logically and referring to official documentation for thorough guidance.
Connecting Smart Life to Home Assistant
Connecting your Smart Life devices to Home Assistant offers multiple integration methods, each with different complexity and functionality levels.
You’ll need to authenticate through the Smart Life app using your User Code and scanning the QR code displayed by Home Assistant during setup.
Once connected, Home Assistant will discover your devices automatically, though you might need to troubleshoot connectivity issues if certain devices don’t appear right away.
Integration Methods Compared
When you’re ready to integrate Smart Life devices with Home Assistant, several distinct methods offer different balances of convenience, control, and reliability. Each approach has specific advantages depending on your technical comfort level and priorities.
Cloud-based integration through the official Tuya/Smart Life API provides extensive device support and remote access, but may introduce slight delays in response times.
Local network integration eliminates cloud dependency, offering faster response times and improved privacy.
- Cloud API integration works with the broadest range of devices but requires internet connectivity
- Local control via Localtuya provides faster response times and works during internet outages
- HACS add-ons offer extended support for specific brands not covered by official integrations
- Device compatibility varies between Smart Life and Tuya apps, sometimes requiring re-pairing
Authentication Process Walkthrough
The process of integrating Smart Life devices with Home Assistant requires careful attention to specific authentication steps.
Begin by confirming you’ve installed the Smart Life or Tuya Smart app and created an account with at least one connected device. You’ll need Home Assistant Core v2024.2.0 or newer.
First, retrieve your User Code from the Smart Life app by accessing “Me” > settings icon > “Account and Security” > “User Code.”
Next, in Home Assistant, go to “Settings” > “Devices & Services” > “Integrations” and search for “Tuya.” Enter your User Code when prompted.
Home Assistant will display a QR code. Open your Smart Life app, tap “+” > “Scan,” and scan this code.
Once validated, your Smart Life devices will appear in Home Assistant.
Device Discovery Tips
Successfully discovering and connecting your Smart Life devices to Home Assistant requires following specific steps and understanding key compatibility factors.
Before attempting integration, verify your devices are properly set up and working in the Smart Life app.
For peak discovery, you’ll need to choose between cloud-based or local control methods based on your device types. The Smart Life (Beta) integration offers simplified setup through QR code scanning, eliminating the need for Tuya cloud subscriptions.
- Always add devices to the Smart Life app first before attempting Home Assistant discovery
- Use the correct pairing mode (AP mode may be required for some devices)
- Remove and re-add problematic devices in the Smart Life app if they don’t appear
- Keep both Home Assistant and Smart Life integration versions updated
If certain devices aren’t discovered automatically, check Home Assistant logs for authentication or configuration errors.
Scanning the QR Code and Authorizing Access
Connecting your Smart Life devices to Home Assistant requires scanning a unique QR code to establish a secure link between the two platforms.
Navigate to Home Assistant’s Settings menu, select Devices & Services, then choose Integrations. Add the Tuya integration to generate your QR code.
Open your Smart Life or Tuya Smart app and tap the profile icon (“Me”) in the bottom right corner. Select the gear icon, then tap “Scan” to activate your device’s camera.
Point your camera at the QR code displayed in Home Assistant. After scanning, you’ll need to confirm the authorization request on your phone.
Once confirmed, Home Assistant will import all compatible devices from your Smart Life account.
Remember that some device types may not be supported by the integration.
Managing and Organizing Your Smart Devices
Once your Smart Life devices are connected to Home Assistant, organizing them effectively becomes your next priority. Home Assistant offers several powerful tools to group and categorize your smart devices for easier management and automation.
Start by assigning devices to areas that reflect their physical locations in your home, such as “Living Room” or “Kitchen.” This creates a logical structure that mirrors your actual living space.
- Use consistent naming conventions (function + location) for quick identification
- Create device groups to control multiple devices with a single command
- Assign labels and categories to classify devices beyond physical location
- Organize your dashboard with area-specific cards for intuitive control
Properly organized devices will simplify your automations and make your smart home experience more intuitive and efficient.
Troubleshooting Common Integration Issues
Even the most carefully configured smart home systems can encounter occasional hiccups. When your Smart Life devices disconnect intermittently, try restarting Home Assistant or reloading the integration to restore connectivity.
If you’re facing setup errors, remove and re-add the integration, or update Home Assistant to the latest version. Checking error logs can provide specific guidance for troubleshooting.
Authentication issues often occur after updates, requiring you to re-enter your user code. Consider migrating to the Tuya integration for more stable connections if this becomes frequent.
Avoid running SmartLife and Tuya integrations simultaneously, as this can cause conflicts. Choose one integration for all your devices to guarantee compatibility.
Always back up your Home Assistant configuration before making notable changes, allowing you to restore your setup if troubleshooting steps don’t resolve the issue.
Frequently Asked Questions
Can I Use Smart Life With Home Assistant Without Internet Connection?
No, you can’t fully use Smart Life with Home Assistant without internet. Initial setup requires internet, and while LocalTuya offers some offline control afterward, you’ll still face limitations without cloud connectivity.
How Often Do I Need to Reauthorize the Smart Life Integration?
You’ll need to reauthorize the Smart Life integration frequently – after Home Assistant restarts, updates, or unpredictably within days. Since version 2024.2.1, many users report needing to rescan the QR code after each reboot.
Will Entity IDS Change After Integration Updates?
Generally, your Smart Life entity IDs remain stable after integration updates. However, if you completely delete and reinstall the integration or migrate from Smart Life to Tuya, you’ll likely get new entity IDs.
Does Smart Life Integration Impact My Device Battery Life?
Yes, Smart Life integration can impact battery life. Your Wi-Fi devices will drain faster than Zigbee or BLE alternatives due to frequent polling and continuous Wi-Fi communication. Minimize polling frequency to extend battery life.
Can I Control Devices Through Both Home Assistant and Smart Life?
Yes, you can control your devices through both Home Assistant and Smart Life simultaneously. When properly integrated, actions in one platform will reflect in the other, giving you flexible control options from either interface.
Final Thoughts
You’ve now successfully integrated Smart Life with Home Assistant in just seven steps. This connection gives you extensive control over your smart devices from a single interface. Remember to regularly check for updates to both platforms to maintain peak performance. If you encounter issues, revisit the troubleshooting section or consult community forums. With this setup complete, you’re ready to enjoy the convenience of your fully automated smart home.


