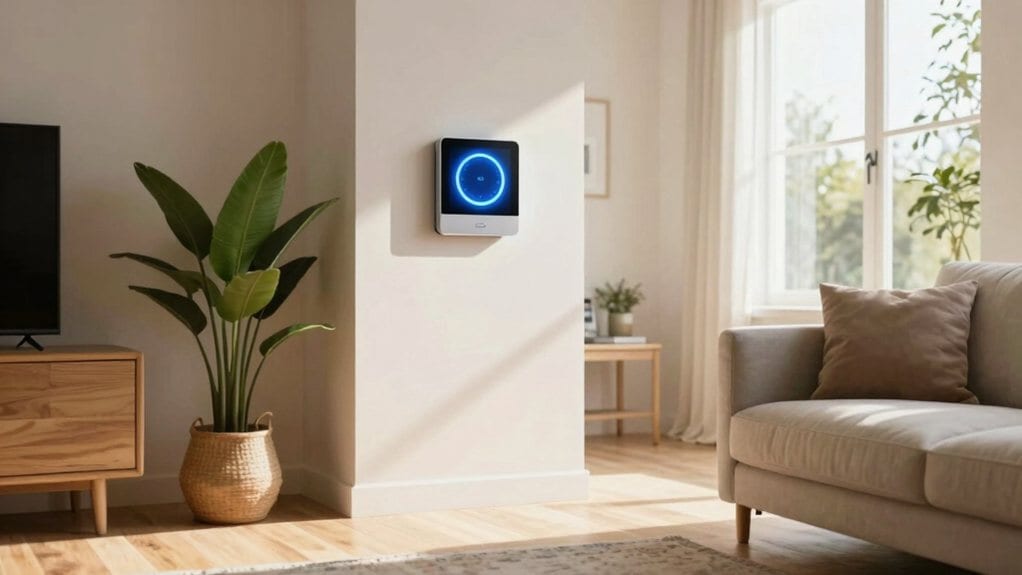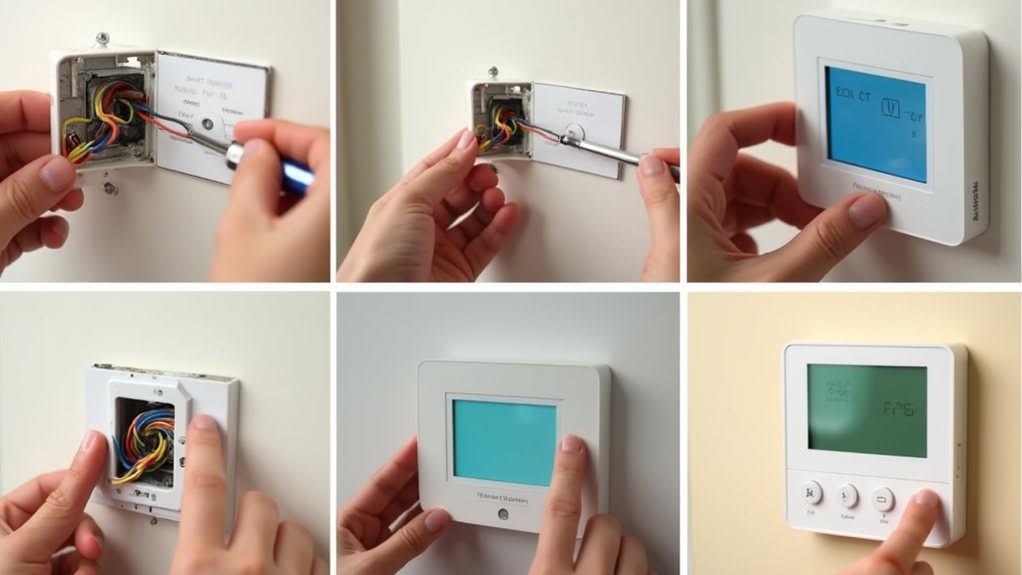
Installing your Hive Smart Thermostat involves five key steps: First, prepare by turning off power and choosing an appropriate wall location. Second, carefully remove your old thermostat, labeling all wires. Third, mount and wire the Hive receiver unit near your boiler. Fourth, install the thermostat base, connecting the proper wires. Finally, pair your devices and test the system to verify everything works correctly. Following these steps will guarantee your smart heating system functions properly.
Preparing Your Home and Safety Precautions
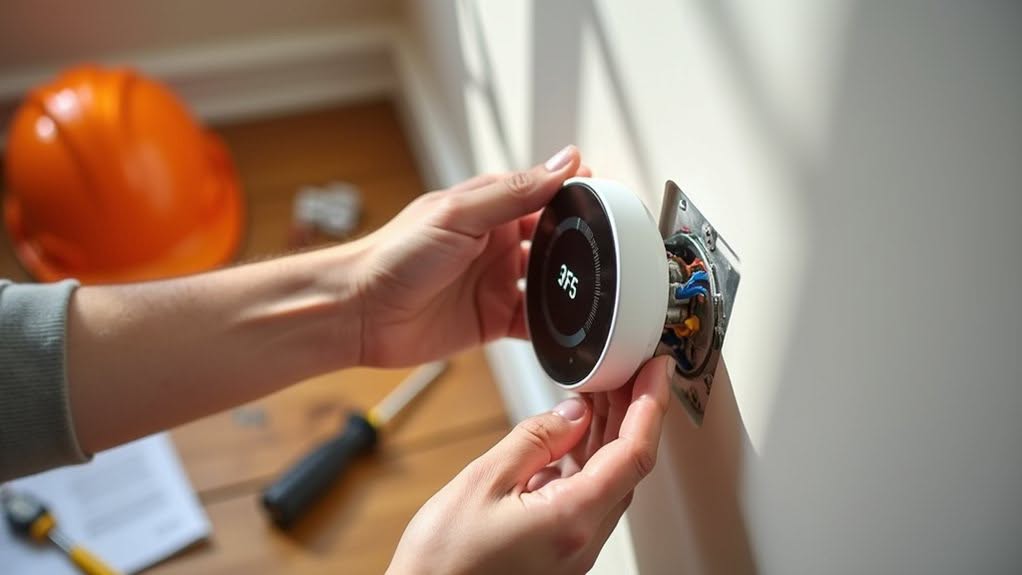
Before you begin installing your Hive Smart Thermostat, proper preparation is essential to guarantee both safety and ideal performance.
First, turn off power to your heating system at the mains to prevent electrical hazards during installation. Use a voltage tester to confirm all power is truly off before proceeding with any wiring work. Check for hidden cables or pipes behind your mounting wall before drilling any holes.
Select an internal wall approximately 1.5 meters above floor level for mounting your thermostat. Avoid locations near heat sources, direct sunlight, or drafty areas that could cause inaccurate readings.
Connect your Hive Hub to your router using the Ethernet cable and power it up. Wait for the hub to cycle through its status lights until it flashes amber, indicating it’s ready for pairing. Modern WiFi thermostats offer convenient remote temperature control through smartphone apps and voice assistants.
Use appropriate wall fixings, such as size 6 screws, to guarantee secure mounting. Gather all necessary tools and materials including screwdrivers, voltage tester, and the complete Hive Thermostat kit before starting installation.
Removing Your Old Thermostat System
Once you’ve completed all safety preparations, you’ll need to safely remove your existing thermostat before installing the Hive Smart Thermostat.
Begin by shutting off power at the circuit breaker that controls your thermostat, then verify it’s off with a voltage tester.
Remove the thermostat’s faceplate by gently pulling it off or unscrewing it from the wall. You’ll see the wiring connected to labeled terminals on the base plate.
Follow these steps to properly disconnect your old system:
- Take a clear photo of the current wiring configuration for reference
- Label each wire according to its terminal designation (R, W, Y, G, etc.)
- Loosen terminal screws and carefully disconnect each wire
- Remove the mounting plate from the wall, keeping all wires accessible
Clean the wall area before proceeding with your Hive installation. Thermostats typically have two components – a face plate and a back plate that need to be separated during removal. After installation, your new smart thermostat will provide remote control capabilities through your smartphone for convenient temperature adjustments from anywhere.
Mounting and Wiring the Hive Receiver Unit
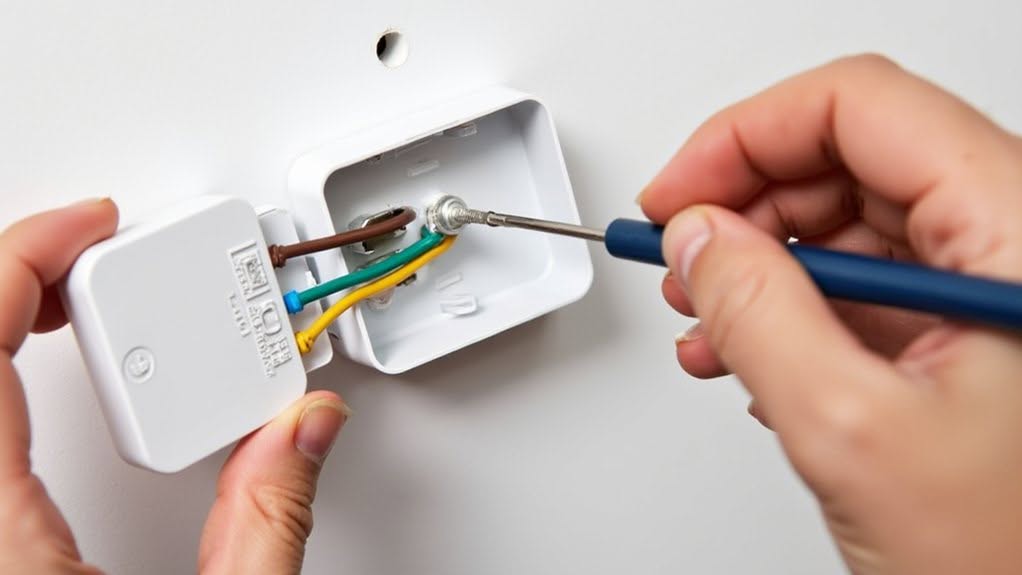
With your old thermostat safely removed, you’ll now focus on installing the Hive receiver unit.
First, locate the wiring centre, typically found near your hot water cylinder or in the kitchen.
Turn off the spur switch and remove the fuse to safely isolate the circuit. Use a multimeter to confirm zero voltage between the live and neutral wires before proceeding.
Mount the receiver at approximately 1.5 meters height, away from heat sources and moisture. Secure it firmly to the wall using the supplied screws. Ensure the receiver is positioned at least 300 mm away from any metal objects to prevent signal interference.
Ensure the receiver is positioned to avoid interference from devices that could affect its connectivity performance.
Carefully connect the wiring from your old system to the Hive receiver, following the manufacturer’s diagram for correct terminal connections.
Double-check all connections before restoring power.
After reinstalling the fuse and switching power back on, wait five minutes for the receiver to initialize with a green light.
Installing the Hive Thermostat Base and Power
The proper installation of the Hive thermostat base is critical for guaranteeing reliable temperature control in your home. Your thermostat requires a permanent live (L) and neutral (N) power connection, with 230V AC at 50Hz for standard UK installations.
Mount the base approximately 1.5 meters above floor level, away from heat sources and drafts for accurate temperature readings. The wiring terminals must be connected correctly to prevent system malfunction. Make sure to mark the blue wire with brown tape if it’s carrying a live signal for safety identification. Always isolate the mains electricity supply before beginning any wiring work to ensure your safety.
- Turn off power to your heating system before beginning installation.
- Mount the wiring plate on a flat vertical surface using supplied screws.
- Connect the appropriate wires to labeled terminals (L, N, and switched live).
- Restore power and check the LED indicator for proper operation.
Always follow local wiring regulations and consult a qualified electrician if you’re unsure about any connections.
Pairing Devices and Testing Your New System
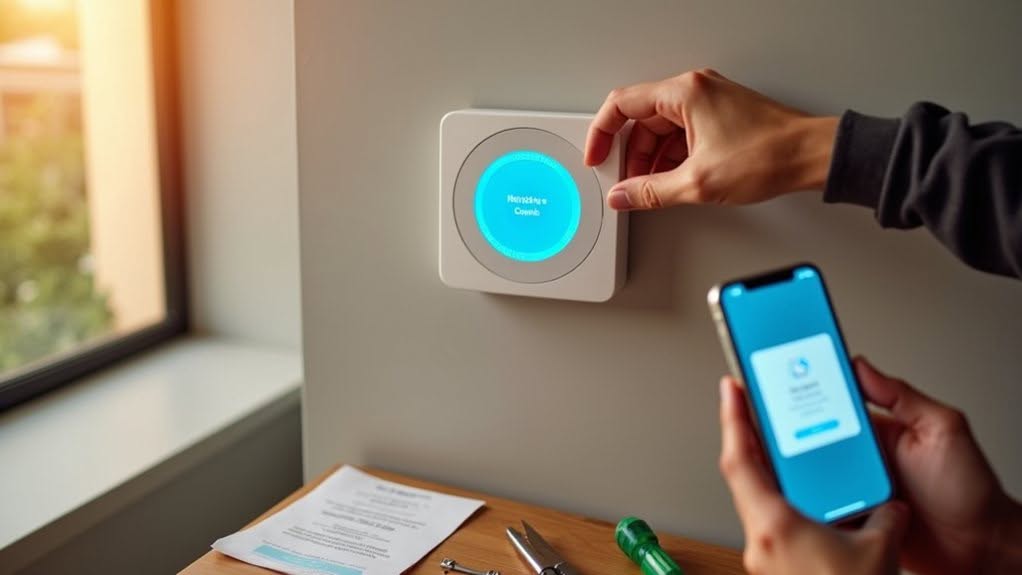
After you’ve completed the physical installation of your Hive thermostat components, you’ll need to establish communication between all devices in your system.
First, check your hub has a flashing amber light, indicating it’s in pairing mode. If it shows a solid amber light, power cycle the hub to reset it. Don’t insert batteries into your thermostat until the hub is properly blinking.
Once the hub is ready, insert batteries into your thermostat. The display will show “Search” as it attempts to connect. Upon successful pairing, your thermostat will display “Pairing successful!” followed by the current temperature. When inserting the battery, you may need to hold specific buttons simultaneously for 10 seconds to initiate the setup countdown.
Ensure your boiler is set to winter mode for proper heating function during system testing.
Check your receiver for a solid green light (standard system) or blue light (gravity-fed system).
Test the system by using the override heating function on the receiver to confirm proper boiler response.
Frequently Asked Questions
Can I Install Hive Thermostat Without an Existing Wired Thermostat?
Yes, you can install a Hive thermostat without existing wiring, but you’ll need to install a receiver unit wired to your boiler. Consider hiring a professional for this more complex installation process.
Will Hive Thermostat Work During Wifi or Internet Outages?
Yes, your Hive thermostat will continue working during WiFi or internet outages. It’ll follow your pre-programmed schedule and you can still make manual adjustments directly on the device, though remote app control won’t be available.
How Much Energy Savings Can I Expect With Hive?
You can expect around 6% reduction in gas consumption with your Hive thermostat, potentially saving up to £192 annually. This translates to approximately 508 kg of CO₂ emissions saved per year for an average household.
Can Multiple Smartphones Control One Hive Thermostat System?
Yes, you can control your Hive thermostat from multiple smartphones. Simply download the Hive app on each device, log in with the same account credentials, and you’ll all have full access to your system.
Is Professional Installation Required for Warranty Coverage?
No, professional installation isn’t required for warranty coverage. You’ll get a two-year warranty with third-party or DIY installation, but choosing Hive’s professional installation extends your coverage to three years instead of the standard two.
Final Thoughts
You’ve successfully installed your Hive smart thermostat by following these five crucial steps. With your system properly mounted, wired, and tested, you’re now ready to enjoy precise temperature control and energy savings. Remember to keep your installation guide handy for future reference, and don’t hesitate to contact Hive customer support if you encounter any issues with your new smart home technology.