
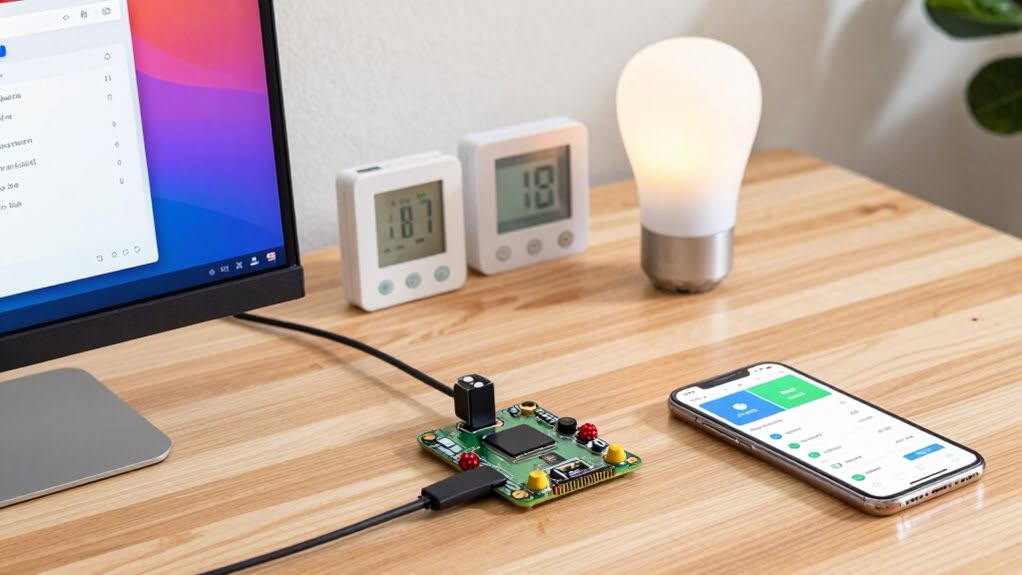
To set up Home Assistant in under 30 minutes, start by selecting appropriate hardware like a Raspberry Pi 4 (4GB) or Intel NUC with an SSD for storage. Download and flash the Home Assistant OS image using Balena Etcher. Power on your device, connect it to your network, and access the interface at http://homeassistant.local:8123. Add smart devices through the Integrations section, assign them to rooms, and create basic automations. The detailed step-by-step process will transform your smart home experience.
Choosing the Right Hardware for Your Needs


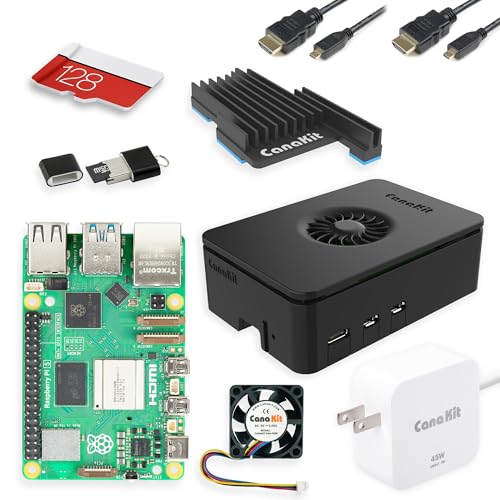

When setting up Home Assistant, selecting appropriate hardware forms the foundation of your smart home system. Your choice will depend on the complexity of your planned setup and future expansion needs.
For beginners, the Raspberry Pi 4 with 4GB RAM and a 128GB SSD provides an excellent starting point. This configuration handles basic automations and several integrations without performance issues.
If you’re planning a more advanced setup with cameras or AI features, consider an Intel NUC or a generic x86-64 PC with at least 4GB RAM. These options offer better processing power for demanding tasks. Several models come with pre-installed Home Assistant for a true plug-and-play experience.
Storage reliability is essential for long-term use. Always choose SSD or eMMC flash over SD cards, as they provide better durability and faster performance. Heat management is also critical to ensure your system maintains optimal performance throughout continuous operation.
A 256GB SSD gives you ample room for growth. The Raspberry Pi Smart Home Hub can be transformed into a powerful control center for all your connected devices with the right software configuration.
Installing Home Assistant Operating System
Once you’ve selected a compatible device for your smart home hub, it’s time to install Home Assistant Operating System.
You’ll need to download the appropriate image file for your hardware from the official Home Assistant website, then use a tool like Balena Etcher or Rufus to flash this image onto your storage device. Home Assistant OS is recommended for most users as it provides convenient maintenance and supports add-ons.
After flashing the image, insert the storage device into your hardware, power it on, and allow Home Assistant to boot up for the first time. Before booting, ensure you’ve disabled Secure Boot in your system BIOS to prevent installation issues.
Installing Home Assistant Operating System
There are four main steps to install Home Assistant Operating System (HAOS) on x86-64 hardware.
First, prepare your boot media by downloading the Ubuntu Desktop ISO and writing it to a USB drive using BalenaEtcher or Rufus.
Next, configure your computer’s BIOS/UEFI settings. Enter the BIOS menu, enable UEFI Boot Mode, disable Secure Boot if needed, and set the system to boot from your USB drive. This setup works best with Mini PCs featuring sixth or seventh generation Intel processors for optimal performance. Choosing these hardware options emphasizes local installation rather than relying on cloud-based solutions for better privacy.
Third, boot into the Ubuntu live environment, download the Home Assistant OS image for x86-64 systems, and use disk imaging tools to write it to your target storage device.
Finally, reboot your system to start Home Assistant OS. Connect to your network via Ethernet and access the interface at http://homeassistant.local:8123 to complete the initial setup wizard.
Choose Your Hardware
Selecting the right hardware forms the foundation of your Home Assistant Operating System installation and directly impacts your smart home’s performance and capabilities.
For beginners, a Raspberry Pi 4 with at least 4GB RAM offers an excellent starting point. This provides sufficient processing power for controlling dozens of smart devices while maintaining responsive performance. RAM requirements increase with system complexity, so 32 GB RAM is recommended for optimal performance in more advanced setups.
If you prefer a ready-to-use solution, Home Assistant Green or Yellow devices eliminate setup complexity with their purpose-built design.
For larger setups with cameras or advanced automation, consider an Intel NUC or repurposed PC with 8GB+ RAM.
Storage choices are equally important. Always choose an SSD over microSD cards for reliability, connecting via USB3 adapter on Pi systems. Using an SSD will significantly increase your system’s long-term reliability compared to SD cards that are prone to failure.
For connectivity, plan ahead for Zigbee or Z-Wave integration with compatible USB controllers.
Flash the Image
With your hardware selected, the next step involves installing the Home Assistant Operating System onto your chosen device.
First, download the latest Home Assistant OS image for x86-64 architecture from the official website. You’ll also need Ubuntu desktop ISO and a USB flashing tool like Balena Etcher or Rufus.
Create a bootable Ubuntu USB drive using your flashing tool. Boot your computer from this USB and select “Try Ubuntu” when prompted. This gives you a working environment without installing anything permanently.
Once in Ubuntu, download the Home Assistant OS image and use disk imaging tools to flash it onto your target drive (SSD or USB). Using an external data disk can significantly improve your Home Assistant system’s overall performance compared to SD cards.
Double-check you’re selecting the correct drive before proceeding.
Reboot your computer and adjust BIOS settings to boot from your newly flashed Home Assistant drive.
Connecting to Your New Home Assistant Instance
Once you’ve successfully installed Home Assistant, connecting to your new instance requires a few straightforward steps to get started.
First, confirm your Home Assistant device is powered on and connected to your router via Ethernet cable for a stable connection.
Open a web browser on any device on your network and access the Home Assistant interface by typing `http://:8123` in your address bar.
If you don’t know the IP address, check your router’s DHCP client list or use an IP scanner.
Consider setting up a static IP or DHCP reservation for your Home Assistant device.
This guarantees you’ll always find your instance at the same address, making future access more convenient.
After connecting, you’ll be greeted by the Dashboard view which displays your automatically discovered devices and entities.
Setting Up Your First Smart Devices
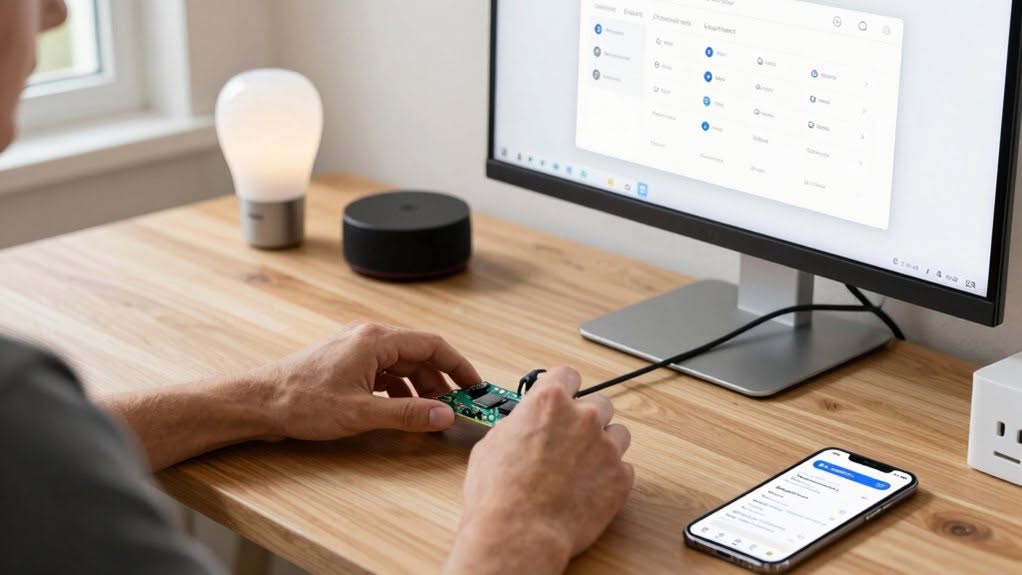
Now that your Home Assistant instance is up and running, adding your first smart devices will bring your system to life. Start with something simple like smart lights or plugs that allow you to control existing lamps or appliances remotely.
For reliable performance, consider devices that use local protocols such as Zigbee, Z-Wave, Matter, or Thread. You’ll need a compatible USB stick like the Sonoff Zigbee 3.0 Dongle Plus if your Home Assistant device doesn’t have built-in radio capabilities.
Add devices through the “Integrations” section in the Home Assistant interface. Once connected, assign each device to an area like “Living Room” and rename entities to user-friendly names for better organization.
Test each device manually before creating any automations to verify everything works as expected.
Creating Basic Automations Without Coding
Creating automations in Home Assistant doesn’t require any coding skills, thanks to the user-friendly automation editor. You can access this tool through Settings > Automations & Scenes > Create Automation, which provides a blank form to start building your automation.
Each automation consists of three crucial components:
- Triggers – Events that initiate the automation, such as motion detection or specific times.
- Conditions – Optional rules that determine when the automation should run, like time of day.
- Actions – Tasks performed when triggered, such as turning lights on or controlling devices.
For beginners, blueprints offer pre-configured templates for common scenarios like motion-activated lighting. These templates allow you to simply select your devices and customize parameters without understanding the underlying logic.
Securing Your System for Daily Use
After setting up your Home Assistant, securing your system becomes essential to protect your smart home from unauthorized access and potential security threats.
Never expose your Home Assistant directly to the internet. Instead, use Home Assistant Cloud (Nabu Casa) or a VPN solution like WireGuard for remote access. Disable port forwarding in your router settings, especially for port 8123.
Create strong passwords with at least 16 characters and enable multi-factor authentication through tools like 2FAS.com. Remove default accounts and unnecessary user profiles to minimize potential entry points.
Implement SSL encryption with free Let’s Encrypt certificates and enforce HTTPS-only connections. Store sensitive information in a centralized secrets file, separate from your main configuration.
Maintain regular system updates and security patches to address vulnerabilities promptly.
Frequently Asked Questions
Can I Move Home Assistant to Different Hardware Later?
Yes, you can move Home Assistant to different hardware later. Just create a backup from your current system, install Home Assistant on your new device, and restore the backup to transfer all your configurations and settings.
Does Home Assistant Work Without Internet Connection?
Yes, Home Assistant works without internet. You’ll maintain control of local devices via Bluetooth, Zigbee, and LAN. However, you’ll lose access to cloud-dependent integrations and some features requiring online services.
Will All My Existing Smart Devices Integrate Automatically?
Not all your existing devices will integrate automatically. While Home Assistant discovers many popular brands, some devices require manual setup due to proprietary protocols or closed ecosystems. Check the compatibility list before expecting seamless integration.
How Much Does Home Assistant Cost After Initial Setup?
Home Assistant software is completely free with no ongoing costs. You’ll only pay for optional services like Nabu Casa Cloud ($6.50/month) if you want remote access or specific integrations with voice assistants.
Can Multiple Family Members Control the System Independently?
Yes, multiple family members can control Home Assistant independently, but you’ll face limitations. You can create separate user accounts, but you can’t restrict specific devices or rooms to individual users by default.
Final Thoughts
You’ve now successfully set up your Home Assistant system in under 30 minutes. With your hardware connected, software installed, and basic automations running, you’re ready to expand your smart home. As you grow more comfortable, you can add more devices and create complex automations. Remember to maintain proper security practices to keep your system protected. The foundation you’ve built today will serve as your gateway to home automation.


