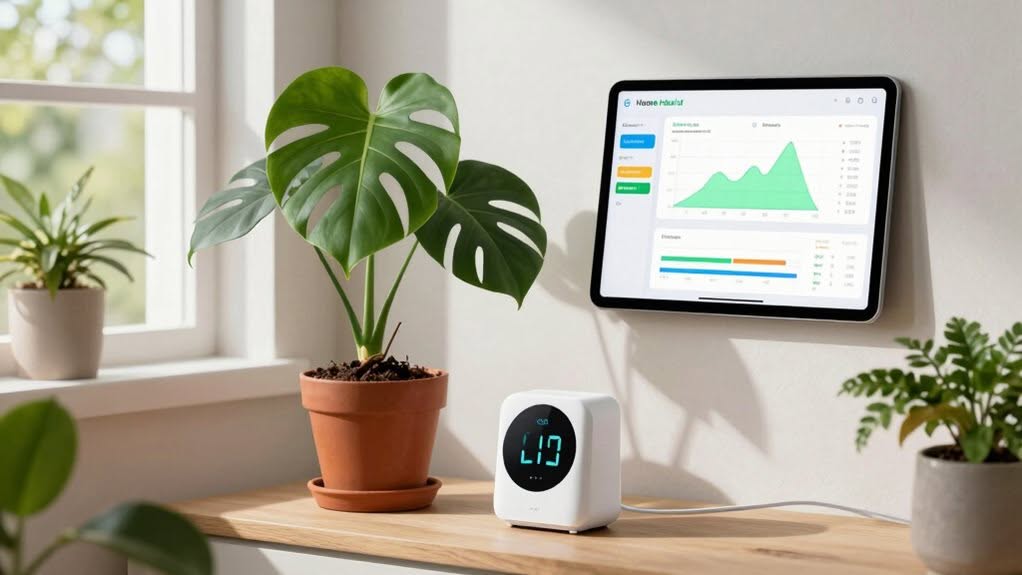
You can transform your gardening experience by connecting plant sensors to Home Assistant. Compatible options include Wi-Fi sensors with ESP32 chips, Zigbee devices through ZHA or Zigbee2MQTT, and Bluetooth-based sensors like Xiaomi Mi Flora. Create custom dashboards with specialized cards that display color-coded indicators for moisture, light, and temperature. Set up automations based on sensor thresholds to control grow lights, fans, or irrigation systems automatically. The integration of real-time data enables precision care for healthier plants.
Understanding Plant Sensor Types Compatible With Home Assistant
When selecting plant sensors for your Home Assistant setup, it’s important to understand the various types available that can monitor your plants’ health.
Capacitive soil moisture sensors offer better accuracy and durability than resistive options, measuring moisture in percentages that can trigger automations. They typically include conformal coating to resist environmental damage and extend sensor longevity.
Temperature and humidity sensors, often using chips like AHT20-F, track both air and soil conditions. These measurements help optimize growing environments through automated controls.
Light and UV sensors measure LUX and UV exposure, guaranteeing your plants receive appropriate light levels. These can trigger automation rules for grow lights or shading systems.
For connectivity, you can use Wi-Fi sensors with ESP32 chips or MQTT-connected devices that integrate with Home Assistant through ESPHome or native MQTT support. Many plant monitoring sensors allow setting minimum and maximum thresholds for metrics like moisture, temperature, and brightness to better define healthy plant conditions.
Setting Up Zigbee Plant Sensors Through ZHA and Zigbee2MQTT
Setting up Zigbee plant sensors in Home Assistant requires choosing between two primary integration methods: ZHA (Zigbee Home Automation) and Zigbee2MQTT.
With ZHA, you’ll need a compatible Zigbee radio module connected to your system. After restarting Home Assistant, proceed to Settings → Devices & services → Add Integration → Zigbee Home Automation to begin configuration.
ZHA automatically creates a network and discovers your sensors. Some sensors require pressing a pairing button on the device to initiate discovery, similar to the process described for the AliExpress soil moisture sensor.
Zigbee2MQTT operates through a USB coordinator that connects your sensors to Home Assistant. Place your sensors in pairing mode, preferably in their final locations, for best connection stability.
Once connected, sensors appear as MQTT entities in Home Assistant. These sensors can measure soil moisture levels to help determine when your plants need watering.
For both methods, it’s recommended to use USB extension cables and minimize USB 3.0 interference by positioning your coordinator away from such devices.
Xiaomi Mi Flora: Configuration and Data Collection Methods
Connecting your Xiaomi Mi Flora sensors to Home Assistant requires a compatible Bluetooth receiver that can passively listen for the sensor’s BLE broadcasts without prematurely draining its battery.
You’ll need to identify each sensor by its unique Bluetooth MAC address, after which Home Assistant can automatically detect and display soil moisture, temperature, light, and fertility readings.
For best plant care, you can configure species-specific thresholds from Home Assistant’s database of over 6,000 plants, allowing the system to alert you when conditions fall outside your plant’s ideal range. The Mi Flora is powered by CR2032 battery that typically lasts several months before requiring replacement. The sensor offers high accuracy readings for various soil conditions that are essential for proper plant growth and maintenance.
Bluetooth Connection Methods
To establish communication with your Xiaomi Mi Flora plant sensors, you’ll need to take into account the capabilities and limitations of Bluetooth Low Energy (BLE) technology.
This connection method requires modern BLE-compatible adapters, as older Bluetooth versions won’t work with these devices. Operating on a CR2032 battery, the sensor provides over a year of runtime while monitoring moisture, light, temperature, and soil conductivity. You can enhance the sensor functionality by ensuring it runs firmware version 3.2.1 or higher, which enables automatic discovery by Home Assistant.
You can connect to your Mi Flora sensors in two primary ways:
- Direct connection – Configure Bluetooth on your Raspberry Pi or ESP32, scan for devices, and use Python scripts with the sensor’s MAC address to poll data directly.
- Indirect via MQTT – Deploy ESP32 devices as Bluetooth proxies to bridge Mi Flora data from BLE to Wi-Fi, extending range beyond the typical 10-meter BLE limitation.
- Home Assistant integration – Configure the platform to scan directly or receive data through MQTT brokers for dashboard integration.
Remember that firmware version 3.2.1 or higher is recommended for maximum compatibility.
Species-Specific Threshold Settings
Now that your Bluetooth connection is established, proper species-specific threshold settings will dramatically improve your plant monitoring accuracy.
Xiaomi’s database contains over 6,000 plant species, each with predefined ideal thresholds for moisture, light, temperature, and soil fertility.
You can either accept the default thresholds from the species profile or customize them for your specific plant variants and local conditions.
The system measures soil moisture as a percentage, light intensity in lux (up to 100,000), and temperature in Celsius. The device uses Bluetooth 4.1 to transmit these measurements to your phone for easy monitoring.
When configuring thresholds, consider both minimum and maximum values.
For instance, set lower and upper moisture percentages to trigger watering alerts, and minimum light levels necessary for proper photosynthesis.
Remember that dry soil conditions may artificially lower fertility readings, so interpret these measurements together.
The Xiaomi MiFlora sensor features a 73mm probe length that allows for accurate deep soil measurements in most potted plants.
Connecting FYTA and Sensoterra Sensors to Your Smart Home
When you’re ready to bring plant data into your smart home ecosystem, both FYTA and Sensoterra sensors offer valuable monitoring capabilities with different integration paths.
FYTA integrates directly with Home Assistant through its open API, updating every 4 minutes with minimal configuration required.
For Sensoterra sensors, you’ll need to bridge them through compatible gateways as they lack native Home Assistant integration. These primarily focus on soil moisture monitoring rather than multiple parameters.
- Install the FYTA integration using either the core component or custom component from GitHub.
- Enter your FYTA account credentials in Home Assistant to establish the API connection.
- Position Sensoterra sensors at root-zone depth for accurate moisture readings that can trigger irrigation automations.
Once connected, you can use these sensors in custom dashboards and automation routines that respond to changing plant conditions.
Creating Custom Plant Monitoring Dashboards With Specialized Cards
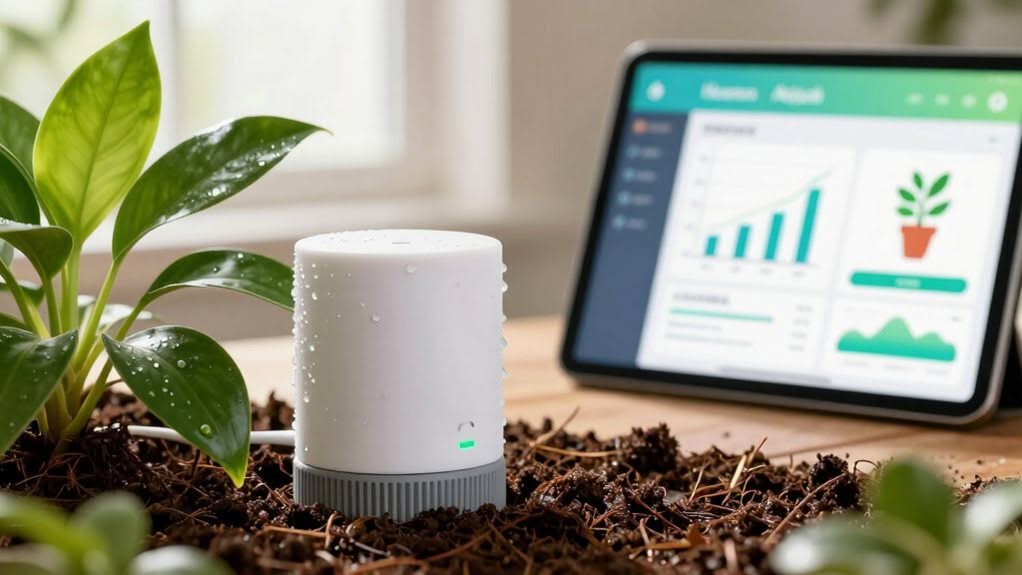
Custom plant monitoring dashboards in Home Assistant come to life with specialized cards that transform raw sensor data into visually appealing displays.
You’ll find options like the FYTA Plant Card and Flower Card particularly useful for showing plant images alongside color-coded indicators that instantly reveal moisture, light, and temperature conditions.
These specialized cards not merely look better than standard sensor displays but additionally provide practical benefits through interactive elements that show critical information at a glance, with red indicators immediately highlighting plants that need your attention.
Creating Custom Plant Monitoring Dashboards With Specialized Cards
Specialized cards form the backbone of effective plant monitoring dashboards in Home Assistant, offering personalized visualization options beyond standard interface elements.
These cards transform raw sensor data into actionable insights through intuitive displays customized to plant care needs.
To create visually effective plant monitoring dashboards:
- Install custom cards like FYTA Plant Card or Plant Diary Card through HACS, adding JavaScript files to your resources section for improved visualization capabilities.
- Configure color-coded status indicators (green/yellow/red) that instantly communicate plant health conditions at a glance without requiring detailed analysis.
- Implement entity-filter cards to dynamically show only plants needing attention, with interactive elements that reveal detailed sensor histories and trend graphs when clicked.
Installation typically requires adding the card to your dashboard directly from device pages or using YAML configuration for advanced customization options.
Flower Card Visual Options
The Flower Card offers a rich array of visual customization options that transform plant monitoring in Home Assistant from a data-heavy task to an intuitive experience.
You’ll immediately notice how sensor data is represented with color-coded indicators that change based on threshold violations, making it easy to spot plants needing attention.
You can display multiple plants in a single card, each with configurable thresholds for moisture, temperature, illuminance, conductivity, and battery levels.
These thresholds don’t require YAML editing—you can adjust them directly in the card’s GUI.
Optional plant thumbnails can be toggled per plant, complete with click-to-enlarge lightbox previews.
The card’s responsive design works well on both desktop and mobile interfaces, maintaining visibility of critical plant health information regardless of your device.
Problem Indicators At-A-Glance
Spotting plant problems quickly becomes effortless when you design custom dashboards with specialized indicator cards in Home Assistant.
Color coding provides instant visual feedback, with green indicating healthy plants, yellow showing potential issues, and red alerting you to urgent problems requiring immediate attention.
For effective plant monitoring at a glance:
- Implement entity-filter cards to display only plants currently experiencing problems, reducing visual clutter and focusing your attention where it’s needed most.
- Configure interactive tooltips that reveal detailed sensor data when you hover over plant cards, keeping your dashboard clean while providing depth when required.
- Add battery status indicators to guarantee you’re alerted before sensor failures leave you blind to plant conditions.
History graphs accessible with a single click allow you to analyze trends and identify recurring issues over time.
Automating Plant Care With Moisture and Light Threshold Triggers
Once you’ve set up plant sensors in Home Assistant, automating your plant care becomes remarkably straightforward through moisture and light threshold triggers.
These automations activate when sensor values cross your predetermined thresholds, initiating helpful actions.
You can configure automations to send notifications when soil moisture drops too low or when plants aren’t receiving adequate light. For example, when moisture levels fall below your set threshold, Home Assistant can send a text message or push notification to remind you it’s watering time.
These triggers can also control smart devices directly. Connect grow lights to turn on automatically during low-light conditions, or integrate with smart plugs to activate small fans when temperature thresholds are exceeded.
Create these automations through Home Assistant’s visual editor or YAML configuration, depending on your preference.
Integrating Smart Irrigation Systems With Soil Moisture Data
Integrating smart irrigation systems with Home Assistant improves your plant care by creating responsive, water-efficient solutions based on real-time soil moisture data.
By connecting capacitance sensors or electrical resistance sensors to your Home Assistant setup, you’ll receive accurate measurements that drive automated watering decisions.
For ideal integration:
- Install sensors at multiple depths (shallow 0-20cm, medium 20-80cm) in representative zones of your garden to capture thorough moisture profiles across root zones.
- Configure bypass irrigation logic with customized thresholds (typically 10-40% volumetric water content) that prevent scheduled watering when soil moisture is sufficient.
- Implement closed-loop automation that continuously adjusts irrigation schedules based on real-time sensor readings, potentially reducing water usage by up to 72%.
This integration creates a data-driven approach that prevents both over-watering and under-watering while conserving resources.
Analyzing Plant Health Trends Through Long-Term Data Visualization
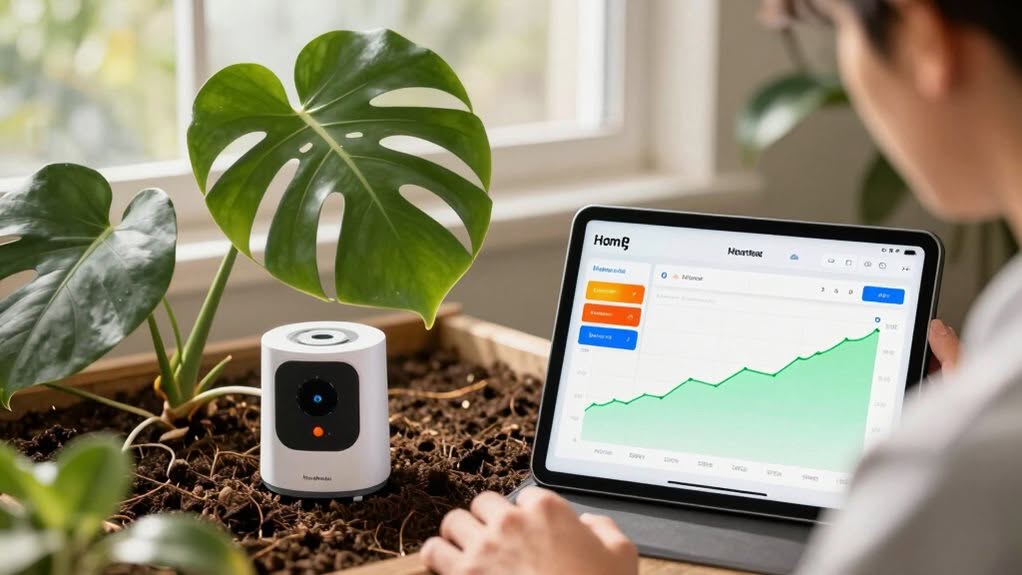
Long-term data visualization transforms the way you understand your plants’ health by revealing patterns that might otherwise remain hidden.
Time series graphs in Home Assistant track critical variables like growth rate, leaf color, and moisture levels, helping you spot emerging issues before they become serious problems.
By comparing current data to historical trends, you’ll detect anomalies such as slow growth or nutrient deficiencies early. The visualization of continuous sensor data improves your understanding of gradual changes that manual observation might miss.
Home Assistant’s historical playback features allow you to benchmark performance year over year, revealing recurring seasonal stress events.
Regular trend analysis helps you predict ideal harvesting times and plan interventions well in advance, greatly enhancing your long-term plant care results.
Frequently Asked Questions
Can Plant Sensors Work Reliably Without Internet Connection?
Yes, your plant sensors can work reliably without internet, measuring moisture, temperature, and light. You’ll need to access data locally and won’t have remote notifications or cloud analytics, but basic functionality remains intact.
How Often Should Plant Sensors Be Recalibrated for Accuracy?
You should recalibrate your plant sensors annually or bi-annually for most types. Check soil moisture sensors yearly or after environmental changes. For critical applications or sensors showing drift, increase frequency to maintain accuracy.
Do Plant Sensors Drain Batteries Faster in Humid Environments?
Yes, your plant sensors will drain batteries faster in humid environments. Moisture accelerates chemical reactions in batteries, causing corrosion and electrolyte degradation. High humidity also increases electrical leakage in sensor circuits, reducing battery life.
Can Home Assistant Predict Plant Diseases From Sensor Data?
Home Assistant can’t directly predict plant diseases from sensor data. You’ll get alerts for environmental conditions that might stress plants, but you’ll need additional specialized systems for actual disease prediction and diagnosis.
Are There Privacy Concerns With Cloud-Connected Plant Monitoring Platforms?
Yes, you’ll face real privacy risks with cloud plant monitors. They collect data that reveals your habits and home occupancy, while providing limited control over where your information goes and how it’s used.
Final Thoughts
By integrating plant sensors with Home Assistant, you’ve gained powerful tools to monitor and care for your plants. Your custom dashboards now provide real-time data on moisture, light, and health metrics, while your automated routines guarantee ideal growing conditions. As you continue refining your system, you’ll develop deeper insights into your plants’ needs through trend analysis, ultimately creating a smarter, more responsive environment for your indoor garden.