
You’ll find success with Homey’s beginner automation by starting with five crucial apps: Philips Hue for lighting control, Xiaomi/Aqara Zigbee for affordable sensors, and Neo Coolcam Z-Wave devices for reliable motion detection. Create simple flows using trigger-condition-action structure, like morning routines that activate between 4:30-6:30 AM on weekdays, or evening scenes with 10% brightness warm lighting. Avoid Bluetooth devices and prioritize Zigbee/Z-Wave compatibility for peak performance. Master these fundamentals to access advanced automation possibilities.
What Is Homey and Why Beginners Choose It Over Home Assistant?
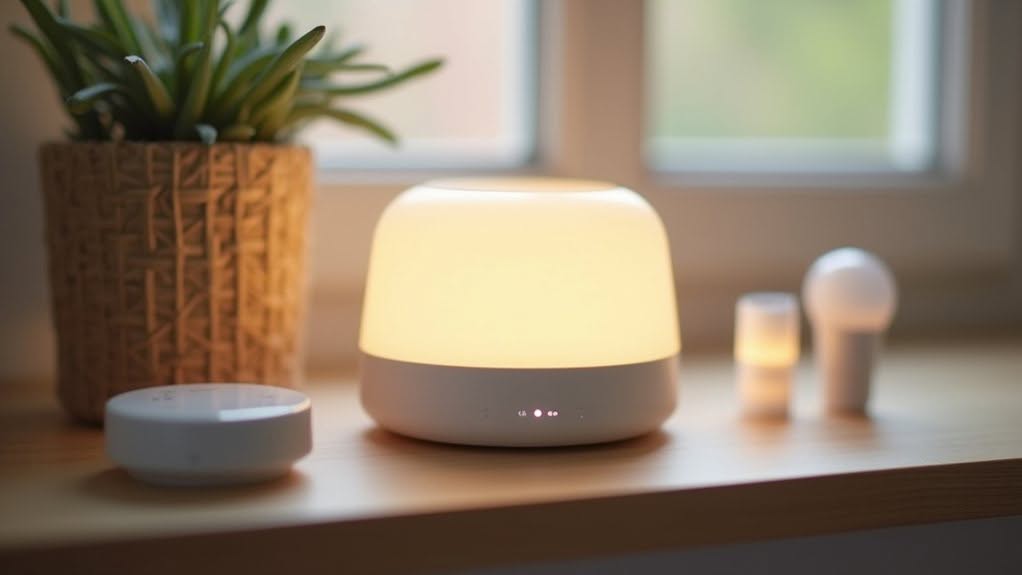
Simplicity defines Homey’s approach to smart home automation, setting it apart from more technical alternatives like Home Assistant. You’ll receive a commercial smart home hub with eight wireless radios and dedicated hardware that works immediately out of the box.
Unlike Home Assistant’s YAML configuration requirements, you can create automations using Homey’s visual drag-and-drop Flows without coding knowledge. The system operates locally while providing automatic updates, professional customer support, and seamless device discovery across multiple brands. The Homey Apps from the official App Store ensure vetted and accessible integrations with platforms like Philips Hue, Sonos, and Nest.
Home Assistant demands extensive technical expertise, hardware assembly, and manual troubleshooting that overwhelms newcomers. You’ll spend considerable time learning YAML scripting and managing complex configurations. While there are many hub devices available for Home Assistant setups, most require additional technical configuration and setup time.
Homey eliminates these barriers with its polished mobile app, intuitive interface, and faster time-to-value, making it ideal for beginners seeking powerful automation without technical complexity. The platform supports multiple protocols including Z-Wave, Zigbee, Bluetooth, Wi-Fi, Infrared, and 433 MHz for comprehensive device compatibility.
Step-by-Step Homey Setup for Complete Newcomers
Setting up your Homey Pro requires three fundamental steps that transform the device from an unopened box into a functioning smart home hub.
You’ll begin by creating your account and connecting to your network, then pair your first devices using protocols like Zigbee or Z-Wave, and finally create a basic automation Flow to test the system. During the initial setup process, your device may install updates automatically before becoming fully operational.
Matter devices offer an exceptionally streamlined alternative since they use QR code setup for fast and consistent onboarding without complicated pairing processes.
This methodical approach guarantees you establish a stable foundation before expanding into more complex home automation scenarios.
Initial Account Setup Process
When you’re ready to begin your Homey adventure, you’ll first need to download the official Homey app from either the iOS App Store or Google Play Store for Android devices.
Alternatively, you can access the web app through any computer or device with browser capability by navigating to my.home.app for full system management.
After installing the app, you’ll need to create your account using a valid email address and secure password.
These authentication credentials will grant you access to both mobile and web interfaces for future use.
Once your account is established, the app will guide you through the sign-in process and enable device selection for setup. The system will automatically detect your powered Homey Pro device once it’s connected to your network.
This account creation step is crucial before you can proceed to connect and configure your Homey Pro device on your home network.
Device Pairing Methods
After establishing your account, you’ll need to connect your smart devices to the Homey hub through various pairing methods.
The pairing process begins when you select a device from the Homey app, which uses driver-defined templates for consistent setup steps.
Navigation controls guide you through each screen change seamlessly.
For Zigbee devices, tap the plus icon and choose the Zigbee option.
Put your device into pairing mode following manufacturer instructions, and Homey will automatically search for available devices.
Z-Wave pairing works similarly through protocol selection, with Homey handling the process internally and auto-discovering your network.
Before pairing any device, install the relevant app from Homey’s App Store.
Update your firmware, reset devices if needed, and verify compatibility to avoid common pairing issues. When no compatible app exists for your device, it will appear as a basic device with only essential functions like on/off control available. If you encounter devices that won’t connect properly after following standard procedures, you can use the repair function to fix connection problems and restore device functionality.
Creating First Automation Flow
How do you transform your connected smart devices into an intelligent, automated home system? The answer lies in creating your first automation flow through the Homey app interface.
Access flow creation immediately after completing app installation without additional configuration requirements.
Proceed to the Flows section in your Homey web or mobile interface to begin building automated sequences.
Each flow operates on a simple trigger-condition-action structure.
Select a trigger event, such as motion detection or time-based scheduling, then define conditions that must be met.
Finally, specify the actions your connected devices should perform when triggered.
Start with basic automations like turning lights on at sunset or adjusting thermostat settings when you arrive home.
These location-based automations prove “really helpful” for smart home convenience and provide immediate value.
For beginners who need more sophisticated logic, advanced flows provide an infinite canvas with logic blocks for complex automation scenarios.
Pairing Your First Smart Devices and Organizing Homey Rooms
Getting your first smart devices connected to Homey requires accessing the Devices tab within the Homey app, where you’ll find the “New Device” option in the upper-right corner.
Search for your device’s brand name to locate the appropriate app, then select your specific device model.
This brand-specific approach provides detailed pairing instructions and activates advanced features beyond basic controls.
Before pairing, confirm your devices are in pairing or learning mode.
Homey Pro supports Matter, Zigbee, Z-Wave, Thread, and Bluetooth protocols simultaneously, automatically scanning for available devices once they enter pairing mode.
Both your Homey hub and devices must operate on the same network connection with strong Wi-Fi signals to prevent connectivity issues.
Keep firmware updated on all devices for maximum compatibility and performance. The LED Ring on Homey Pro provides visual feedback to help you understand your device status throughout the pairing process.
5 Essential Homey Apps Every Beginner Should Install
While Homey’s App Store contains hundreds of applications, selecting the right ones initially can greatly streamline your smart home experience and prevent overwhelming complexity.
Start with these fundamental categories that provide the strongest foundation for beginners:
- Device connectivity apps like Xiaomi/Aqara Zigbee (trusted by 2,300 users) and Neo Coolcam Z-Wave for affordable sensors
- Lighting control apps such as Philips Hue, which ranks among the most popular Homey applications
- Energy monitoring apps like Solar Panels, which connects major inverters including SolarEdge and Enphase
The Xiaomi/Aqara app offers exceptional value through low-cost door sensors, motion detectors, and switches with modern design.
Neo Coolcam provides reliable Z-Wave sensors with neutral aesthetics that fit any interior.
Philips Hue enables local bulb control directly through your Homey Pro, simplifying lighting automation for newcomers.
Simple Homey Flows for Morning and Evening Routines
You can create automated morning and evening routines that transform your daily schedule through strategic flow configuration and device timing coordination.
Morning automation setup involves staggered device activation sequences, while evening scenes require coordinated lighting, temperature, and security system integration.
Understanding trigger options enables you to customize routine activation through time-based schedules, presence detection, or manual smartphone controls.
Morning Automation Setup Guide
Creating a morning automation flow transforms your daily routine from chaotic to seamless by leveraging Homey’s trigger-and-action system.
Your flow structure begins with IF-THEN logic, where motion sensors detect movement between 4:30 and 6:30 AM, triggering sequential actions.
You’ll combine these triggers with weekday constraints using the “Today is a weekday” card to exclude weekends.
Essential morning automation features include:
- Sequential timing controls – Add delays between cards for coffee machines starting 15 minutes early and blinds opening 10 minutes after your alarm
- Smart device coordination – Connect Hue lights, Sonos playlists, and Harmony TV hubs through single trigger events
- Repeat prevention mechanisms – Use time windows and variable states to prevent multiple activations from motion sensors
Test your automation multiple times before relying on it for daily routines.
Evening Scene Configuration Tips
How can evening automation flows transform your home’s atmosphere while protecting your sleep cycle? Motion sensors trigger different lighting scenes based on time-of-day parameters, automatically activating evening modes when darkness falls.
You’ll want to configure forced brightness levels at specific dimming percentages, such as 10%, to prevent full-intensity lights from disrupting your evening routines. This setting should reset to 0 when you manually switch lights on, allowing personal adjustment.
Warm white lighting creates relaxing atmospheres suitable for evening activities, while cold white generates energetic vibes you should avoid during late hours.
Circadian lighting apps enable automatic color temperature shifts throughout the day.
Your flows must execute actions in proper sequence: turn on, set color, then adjust brightness to prevent device communication failures.
Routine Trigger Options Explained
Building upon your evening scene setup, the trigger mechanisms that activate these automated routines determine when and how your smart home responds to daily patterns.
Standard flows use the When…And…Then logic structure, where motion sensors serve as primary triggers for light automation. You’ll select triggers by searching for devices like motion alarms turning on, then add conditions to filter by factors like darkness or waking hours.
Advanced scheduler triggers offer precise timing control through several mechanisms:
- RANDOM triggers select times between your main setting and specified random time for natural variation
- FIRST OF triggers use the earliest time if it occurs before your current triggering schedule
- CONDITIONAL BEFORE triggers remove activation if conditions aren’t met before the specified time
These trigger options provide flexibility for creating responsive morning and evening routines.
Common Homey Beginner Mistakes and How to Avoid Them
Why do so many Homey users struggle with their initial setup and automation projects? Most failures stem from fundamental configuration errors that can be easily avoided with proper planning.
You’ll want to use a 2.4GHz Wi-Fi network during initial setup, as mesh networks often cause connectivity problems. Follow Homey’s specific ethernet adapter diagram exactly to prevent configuration issues.
Avoid Bluetooth devices entirely due to protocol limitations and poor performance. Instead, prioritize Zigbee and Z-Wave devices with established Homey support.
Not all sensors receive full integration, particularly buttons and certain specialty devices.
Design simple automation flows rather than complex ones. Multiple flows triggered by identical events may fail without notifications.
Systems exceeding 100 devices experience substantial performance degradation, including multi-second app response times that worsen with device count.
Frequently Asked Questions
Can Homey Work Offline Without Internet Connection for Basic Automations?
Yes, you can run basic automations offline. Homey’ll continue managing local devices, executing sensor-based flows, and responding to your smartphone app when you’re connected to the same WiFi network during internet outages.
How Many Devices Can Homey Pro Handle Before Performance Starts Declining?
You’ll notice performance declining around 50-80 devices on Homey Pro, though it officially supports up to 100. RAM becomes the limiting factor, and you’ll need router devices to exceed the 15 direct Zigbee connection limit.
Does Homey Support Voice Commands in Languages Other Than English?
Yes, you can use voice commands in other languages. Alexa supports English and German, while Google Assistant works with Dutch. You’ll also get native language support for setup and device management in seven languages total.
Can I Control Homey Remotely When Away From Home Network?
Yes, you can control Homey remotely through the smartphone app from anywhere worldwide. You’ll have full access to manage devices, create scenes, and monitor sensors when away from your home network.
What’s the Monthly Cost for Homey Cloud Services and Backups?
You’ll pay $2.99 monthly for Homey Cloud’s premium features, plus optional cloud backups at €0.99 monthly or $10 yearly for Pro models. Local backups are free on your own storage.
Final Thoughts
You’ve now gained the foundational knowledge to begin your smart home adventure with Homey. Start by installing crucial apps and creating basic morning routines to build confidence. Remember to organize devices properly in rooms and avoid overcomplicating initial flows. Focus on mastering simple automations before advancing to complex scenarios. With these beginner-friendly strategies, you’ll develop a functional smart home system that grows with your expanding technical skills and household needs.


