
To connect devices to Homey, you’ll start by installing the required app from Homey’s App Store for your specific device brand. For Zigbee devices, reset them to factory settings, then activate pairing mode and select the Zigbee option in Homey’s app to begin scanning. Z-Wave devices require activation of inclusion mode in Homey’s dashboard, followed by triple-pressing buttons or following manufacturer instructions while keeping the device very close to your Homey hub. Wi-Fi devices connect through your existing network after confirming both Homey and the device share the same wireless connection. The following sections explore troubleshooting techniques and optimization strategies.
Homey’s Multi-Protocol Capabilities: Zigbee, Z-Wave, and Wi-Fi Support
Homey Pro’s multi-protocol architecture sets it apart from single-protocol smart home hubs by integrating eight different communication standards into one device.
You’ll have access to Wi-Fi (2.4 & 5 GHz), Zigbee 3.0, Z-Wave Plus, Bluetooth LE, Matter, Thread, 433 MHz RF, and Infrared connectivity.
This brand-agnostic approach eliminates ecosystem lock-in, allowing you to connect devices from over 1,000 manufacturers without compatibility concerns.
You can integrate Philips Hue LED strips, IKEA motion sensors, Dyson fans, and Sonoff Zigbee sensors within the same automation system.
The quad-core 1.5 GHz processor handles protocol switching seamlessly, while radio range improvements deliver 1.5x improvement for Zigbee and Z-Wave connections.
You’ll benefit from universal translator functionality that enables cross-protocol communication between different device types. The hub’s local-first architecture ensures your automations continue operating even during internet outages, maintaining full control of your connected devices.
Regular software updates maintain compatibility with emerging technologies and new automation features as your smart home system evolves.
Adding Your First Zigbee Devices to Homey
Once you’ve set up your Homey Pro or Bridge as the network coordinator, you’re ready to begin pairing your first Zigbee devices through the systematic connection process.
The device pairing procedure requires activating pairing mode on your Zigbee device, then using Homey’s “Add Device” interface to detect and connect compatible hardware. The Homey Zigbee App simplifies this pairing process with step-by-step setup guides that enhance accessibility for beginners navigating the Homey interface.
You’ll need to address common connection challenges like network interference, distance limitations, and manufacturer-specific pairing requirements during this initial setup phase. When no compatible app is available for your specific device, you can still connect it as a Basic Zigbee Device with support for essential functions like on/off control, dimming, and RGB color features.
Device Pairing Process
How do you successfully connect your first Zigbee device to your Homey smart hub? The process requires careful preparation and systematic execution to guarantee reliable connectivity.
Begin by checking device compatibility on Homey’s official website and relevant user forums. Reset your Zigbee device to factory settings, then verify that both the device and Homey hub run the latest firmware versions.
Follow these crucial pairing steps:
- Position your Homey hub centrally to minimize signal obstructions
- Activate pairing mode on your Zigbee device per manufacturer instructions
- Open the Homey app and select the Zigbee option from the plus icon
- Allow the app to scan for nearby devices in pairing mode
- Choose your detected device from the list to complete pairing
After successful pairing, customize device parameters through the Homey app’s dashboard interface. The pairing process utilizes Homey’s built-in system templates to ensure consistency and reduce complexity during device discovery and connection. Smart home hub systems offer significant benefits for managing multiple connected devices seamlessly.
Remember that patience is essential when connecting multiple devices, as pairing one device at a time prevents overwhelming the system and ensures more reliable connections.
Troubleshooting Connection Issues
Despite following proper pairing procedures, Zigbee devices sometimes fail to connect to your Homey hub, requiring systematic troubleshooting to identify and resolve the underlying issues.
When Homey displays “Interviewing device” without progressing, you’ll need to manually reset your device before restarting the pairing wizard.
Make certain no other Zigbee devices remain stuck in Learn Mode, as these create interference during the pairing process.
Position devices closer to Homey during initial pairing attempts, as proximity greatly improves connection success rates.
If pairing stalls, place your device in learn mode again after 10-15 seconds while the “device is pairing” message displays.
Network capacity limitations may prevent new connections. Battery-powered devices count toward your direct child limit, which may require removal to accommodate new additions.
Wi-Fi interference can disrupt Zigbee connectivity, so configure your 2.4GHz Wi-Fi channel to 1, 6, or 11 to minimize signal conflicts.
Homey Pro models from 2016-2019 support only 15 direct children, requiring additional mains-powered router devices to expand your network’s capacity.
Connecting Z-Wave Devices Using Homey’s Pairing Process
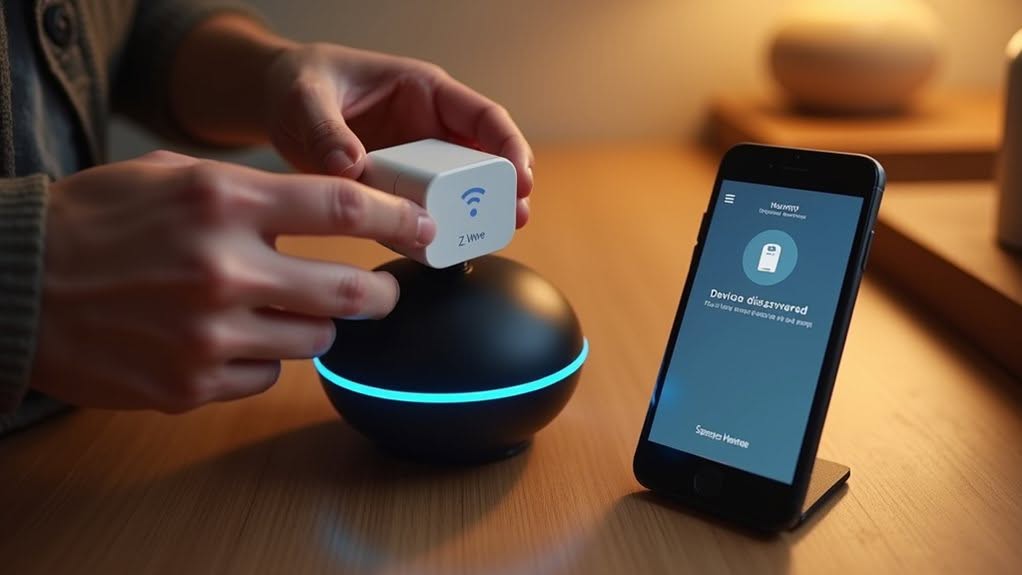
You’ll need to activate inclusion mode on your Homey Pro before it can discover and connect new Z-Wave devices to your smart home network.
The pairing process begins when you access the Z-Wave section in your Homey dashboard and select the device addition option. This process follows the standard Z-Wave inclusion process to establish a secure connection between your device and the Homey hub.
Once you’ve initiated inclusion mode, Homey actively searches for nearby Z-Wave devices that are ready to join your network. For successful pairing, position the Z-Wave device within very close range of your Homey hub during the inclusion process.
Activating Inclusion Mode
When connecting Z-Wave devices to your Homey hub, the inclusion process requires activating pairing mode on both the controller and the target device simultaneously. This dual activation guarantees proper communication between devices during the pairing window.
You’ll need to initiate learn mode on your specific device, which removes any previously assigned Node ID. The activation method differs greatly by manufacturer and model.
Common device activation steps include:
- Triple-pressing physical buttons on switches and sensors
- Quick-clicking switch paddles on wall-mounted devices
- Pressing and holding buttons on battery-powered sensors to wake them up
- Watching for flashing LED lights that indicate pairing readiness
- Consulting device manuals for manufacturer-specific activation sequences
Flashing LED indicators typically confirm that your device has entered inclusion mode and is ready for pairing with Homey.
Device Discovery Process
How does Homey’s interface guide you through the Z-Wave device discovery process once both devices enter pairing mode? The dashboard presents clear on-screen instructions that walk you through each step systematically.
First, you’ll select your specific device from a detailed list displayed in the pairing interface. Homey uses built-in pairing templates that guarantee consistent steps across different device types and manufacturers.
After device selection, the system automatically proceeds to the second step, where Homey begins the automatic addition process. The interface provides real-time feedback during discovery, showing connection status and progress indicators.
Throughout this process, you’ll receive prompts for any additional actions required, such as pressing specific buttons on your device. The guided approach eliminates guesswork and reduces configuration errors.
Linking Wi-Fi Smart Home Devices With Homey
Where Z-Wave and Zigbee protocols require dedicated radio hardware, Wi-Fi smart home devices connect directly through your existing wireless network infrastructure.
This means you can control devices across your entire home using either 2.4GHz or 5GHz frequencies without additional hubs.
Setting up Wi-Fi devices with Homey follows a straightforward process:
- Search the Homey App Store for brand-specific apps supporting your devices
- Install the compatible app, such as Tuya for Smart Life devices
- Put your device in pairing mode following manufacturer instructions
- Make sure both Homey and the device connect to the same network
- Complete pairing through the Homey mobile app tutorial
Homey Pro automatically discovers certain Wi-Fi devices like Philips Hue lights and Sonos speakers.
However, most devices require compatible apps since Homey doesn’t offer generic Wi-Fi support.
Fixing Connection Problems When Devices Won’t Pair
Despite following proper pairing procedures, smart home devices sometimes refuse to connect with Homey due to invisible network conflicts and hardware limitations.
Z-Wave networks develop “unknown nodes” from failed inclusions that block new pairings. You can identify these through https://tools.developer.homey.app/ by selecting the Z-Wave tab. Click three dots next to unknown nodes, select “test” until “node not responding” appears, then press “remove.”
Zigbee pairing faces different constraints. Homey Pro (2016-2019) and Bridge models limit direct children to 15 devices. You’ll need routers like plugs or bulbs to exceed this limit.
Range issues affect both protocols. Z-Wave performance weakens with distance, while high node numbers fail even near repeaters. Always pair devices within a few feet of Homey first.
Managing Device Networks for Better Performance
Why do some smart home networks perform flawlessly while others struggle with delays and connection failures? The answer lies in proper network management and strategic device placement.
Your network’s performance depends on following key principles that guarantee reliable mesh connectivity:
- Add router devices first – Install mains-powered devices like smart plugs before battery-operated sensors to establish a strong mesh foundation
- Position devices permanently – Add devices from their final installation locations to guarantee proper signal integration
- Place battery devices near routers – End devices perform better when connected through nearby mains-powered nodes
- Use clear naming conventions – Organize devices with consistent names to prevent confusion across multiple hubs
- Monitor network capacity – Distribute devices across multiple Homey units to prevent bottlenecks and performance degradation
Sequential installation and strategic positioning create networks that maintain stability and minimize command delays.
Frequently Asked Questions
Can Homey Control Devices From Different Manufacturers Using the Same Protocol?
Yes, you can control devices from different manufacturers using the same protocol. Certified Z-Wave devices interoperate regardless of brand, and you can add any Zigbee device by following manufacturer pairing instructions seamlessly.
How Many Devices Can Be Connected to Homey Simultaneously Across All Protocols?
You can connect hundreds of devices simultaneously across all protocols. Users successfully run 287 total devices, including 150 Z-Wave and 30 Zigbee devices. There’s no official limit, but performance may require optimization tweaks.
Does Homey Require Internet Connection to Control Local Zigbee and Z-Wave Devices?
No, you don’t need internet to control local Zigbee and Z-Wave devices. Homey processes everything locally on-device, and your automation flows will continue running even during internet outages.
Can I Migrate Existing Device Networks From Other Hubs to Homey?
Yes, you can migrate existing networks to Homey. You’ll need to exclude Z-Wave devices from previous hubs first, then factory reset them. Zigbee devices also require resetting before pairing with your new Homey hub.
Which Homey Model Should I Choose for My Smart Home Size?
Choose Homey Bridge for under 5 devices, Homey Pro (2023) for medium setups with up to 100 apps, or Homey Pro (2026) for large multi-room homes requiring complex automations and improved performance.
Final Thoughts
You’ve now learned the fundamental steps to connect Zigbee, Z-Wave, and Wi-Fi devices to your Homey hub. These three protocols give you access to thousands of compatible smart home products. Remember to position your hub centrally, follow each device’s specific pairing instructions, and troubleshoot connection issues systematically. With proper network management, you’ll maintain reliable performance across all your connected devices and enjoy seamless home automation.


