
To connect your Xiaomi Smart Home Hub with Home Assistant, first check hardware compatibility and update your hub’s firmware through the Mi Home app. Configure your hub with the correct region settings, then prepare Home Assistant by updating to version 2024.4.4 or higher. Add the Xiaomi Home integration, authenticate via OAuth 2.0, and select your devices. Create dashboard cards, set up basic automations, and optimize network settings for stability. These steps guarantee a seamless smart home experience with complete local control functionality.
Check Hardware Compatibility Requirements
Four vital compatibility factors must be considered before connecting your Xiaomi hub to Home Assistant.
First, verify your specific model number. The Aqara Hub v1 works seamlessly with Home Assistant, while v2 may require manual API activation. The Mijia Home Hub Gateway Gen4 offers full official integration support.
Next, understand protocol differences. Aqara and Mijia hubs use different Zigbee implementations, affecting which devices will pair properly. Zigbee 3.0 devices typically work more reliably. You’ll benefit from local processing capabilities when properly integrated, eliminating dependency on cloud services. Remember that Home Assistant requires Core version ≥ 2024.4.4 to function properly with Xiaomi devices.
Your hub’s firmware version matters greatly. Newer firmware generally provides better compatibility, though updates don’t guarantee support for all features.
Finally, confirm your region settings match between your Mi Home app and hub configuration. Devices must be added to Mi Home first, not vendor-specific apps.
Update Xiaomi Hub and Device Firmware
Keeping your Xiaomi Smart Home Hub firmware updated guarantees better compatibility with Home Assistant, improves security, and adds new features to your smart home system.
You’ll need to use the Mi Home app to check for available updates, making sure your hub stays connected to the internet throughout the process with the correct region selected.
If you encounter update failures, check your network connectivity, verify your firewall settings aren’t blocking the update, and confirm your hardware is compatible with the latest firmware version. Some users have found that setting a static DNS entry for Xiaomi servers can help bypass connectivity issues during firmware updates. For Xiaomi Smart Hub 2 devices integrated with Zigbee2MQTT, you may experience update failures around 80% completion that might require stopping related services before attempting the update.
Firmware Update Benefits
While smart home hubs work right out of the box, regular firmware updates provide substantial benefits that boost your overall experience.
Updating your Xiaomi Smart Home Hub’s firmware improves stability, reduces crashes, and patches security vulnerabilities that could compromise your devices.
These updates also enhance compatibility with various protocols like ZigBee and Bluetooth, allowing seamless integration of more devices into your ecosystem.
You’ll notice optimized performance with faster device connections and improved efficiency throughout your system.
Firmware updates often introduce new features and refine existing ones, expanding your hub’s capabilities and automation options.
They guarantee reliable remote access to your devices and improve local processing, allowing your smart home to function even without internet connection.
The updates also help manage your data more efficiently, reducing reliance on cloud services.
Firmware updates are essential for maintaining a unified smart home experience by ensuring all your connected devices communicate seamlessly with each other.
Regular firmware updates also support the creation of custom schedules through the Mi Home app, giving you greater control over your automated routines.
Modern smart networking solutions can significantly enhance your home’s connectivity and provide better performance for all your smart devices.
Update Process Steps
Now that you understand the advantages of keeping your system updated, let’s look at how to actually update your Xiaomi Smart Home Hub firmware.
Begin by opening the Mi Home app and locating your Xiaomi Hub in the device list. Select the hub to access its settings page where you’ll see if an update is available.
When you find an update notification, tap it to start the process. Make sure your hub remains powered and connected to Wi-Fi throughout the installation to prevent corruption.
After the hub update completes, check each connected device for available firmware updates. Update them one by one to avoid communication conflicts. This is particularly important for the Mijia home hub which requires proper firmware synchronization with connected devices. Remember that certain gateway models may require re-authentication after updating firmware.
Finally, refresh your Home Assistant integrations to recognize the newly updated devices and adjust any automations that might be affected by firmware changes.
Troubleshooting Update Failures
Despite following the standard update procedures, you may encounter failures when updating your Xiaomi Hub or connected devices. These issues often stem from network configurations or compatibility problems that can be resolved with systematic troubleshooting.
When updates fail, try these effective solutions:
- Check your router’s firewall settings to verify they aren’t blocking connections to Xiaomi servers.
- Power cycle both your hub and connected devices, waiting 30 seconds before restarting.
- Set static DNS entries for Xiaomi domains (like ot.io.mi.com) to bypass regional restrictions.
- Review system logs in Home Assistant for specific error messages that identify the root cause.
Network interference can greatly impact update success. Consider relocating your hub away from other electronic devices and confirming it has a strong Wi-Fi connection for ideal performance during updates. Many users report persistent Bluetooth connectivity issues where devices disconnect after approximately 10 minutes of operation. Many users have found their update process hangs at 0% completion rate, creating connectivity issues with Home Assistant.
Configure Your Xiaomi Hub in Mi Home App
After downloading the Mi Home app and adding your Xiaomi Smart Home Hub, you’ll need to select the correct server region that matches your geographical location for ideal device compatibility.
You can create logical device groups within the app to organize your smart home products by room, function, or usage patterns.
These configurations will guarantee seamless integration with Home Assistant later, as the region setting particularly affects which devices you can add and how they communicate with third-party platforms.
App Region Selection
Selecting the correct region in your Mi Home app serves as a critical first step when setting up your Xiaomi Smart Home Hub. Your hub’s ability to discover and connect to devices depends heavily on matching the region to where your devices were manufactured.
For most Xiaomi hubs purchased in China, you’ll need to select China as your region in the Mi Home app. Find your way to Profile > Settings > Region to make this adjustment.
Key considerations for region selection:
- Devices purchased in China typically require the China region setting
- European devices often work best with Europe or Singapore regions
- Incorrect region settings can prevent device discovery completely
- You may need multiple app instances if you have devices from different regions
After changing regions, restart your app to refresh device visibility.
Create Device Groups
With your region properly configured, you’ll now need to organize your smart devices into functional groups within the Mi Home app. This simplifies control and improves integration with Home Assistant later.
Open the Mi Home app and access your Xiaomi Smart Home Hub. Tap the three-dot menu on the hub’s device card and select “Create device group” or “Create light group.”
Assign a clear, descriptive name to your new group.
Select all the compatible devices you wish to include in this group. You can mix different device types based on location or function. Confirm your selection to complete the group creation.
These groups will appear in your device list and can be controlled collectively. You can edit group membership anytime through group settings and assign groups to specific rooms for better organization.
Prepare Your Home Assistant Environment
Before you can connect your Xiaomi Smart Home Hub, you’ll need to confirm your Home Assistant environment meets the necessary requirements.
Ascertain your system has adequate processing power and memory to handle the additional integration.
For peak performance with your Xiaomi hub connection:
- Verify your Home Assistant is running on hardware with at least 1 GHz processor and 1 GB RAM
- Update to the latest Home Assistant version to confirm compatibility with Xiaomi devices
- Use a stable internet connection to maintain reliable communication between systems
- Consider using an SSD for storage to minimize lag during device interactions
If you’re running Home Assistant OS, you’ll have the advantage of using add-ons that might simplify the integration process.
Monitor your system resources during setup to identify potential bottlenecks.
Add the Xiaomi Home Integration
Three installation methods exist for adding the Xiaomi Home Integration to your Home Assistant system. You can install via Git clone from GitHub, through HACS (Home Assistant Community Store), or manually using Samba or FTPS.
Verify your system meets the requirements: Home Assistant Core version 2024.4.4 or higher and OS version 13.0+.
The integration supports many Xiaomi IoT devices including air purifiers, robotic vacuums, and smart lights. Compatibility varies by model and firmware version, so keep your devices updated.
For hardware compatibility, the Mijia home hub gateway gen1 (ZSWG01LM) works but needs initial setup in the Mi Home app. Newer models like the Xiaomi Hub gateway gen 4 are fully supported.
The integration uses OAuth 2.0 for authentication.
For troubleshooting, consult the official documentation and community forums.
Authenticate With OAUTH 2.0 Login Process
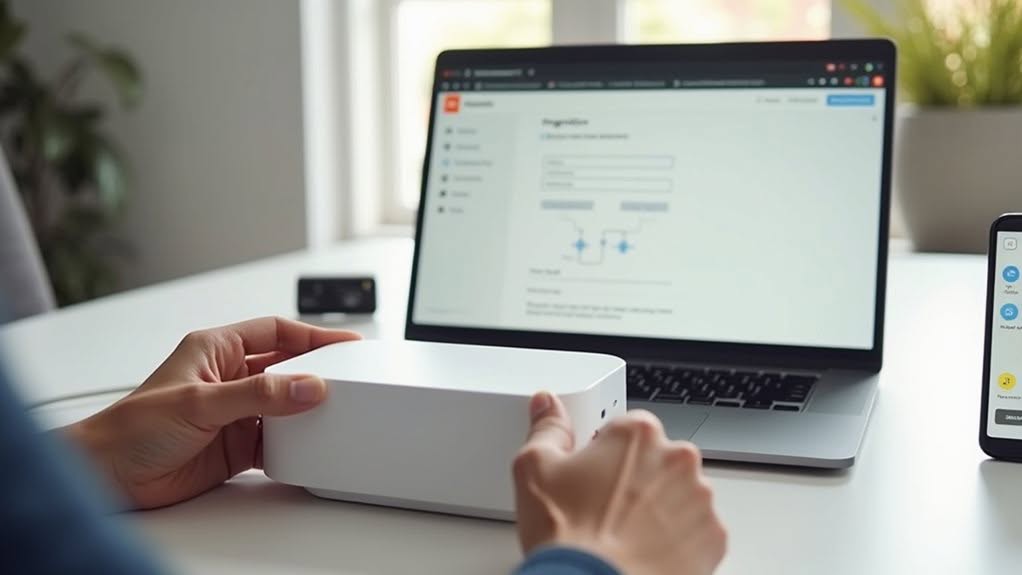
Xiaomi Home Integration uses OAuth 2.0 authentication to establish a secure connection between Home Assistant and your Xiaomi cloud account without storing your password.
You’ll need to authenticate through Xiaomi’s official login page, where you’ll enter your credentials and authorize Home Assistant to access your device information.
After successful authentication, tokens will be stored locally in your Home Assistant configuration, allowing it to communicate with your Xiaomi devices.
OAUTH Authentication Benefits
Security experts widely recommend OAuth 2.0 authentication for smart home integrations like connecting Xiaomi devices to Home Assistant. This protocol offers considerable advantages over traditional password-based authentication methods.
When connecting your Xiaomi hub to Home Assistant using OAuth 2.0, you’ll benefit from:
- Improved security through delegated access permissions, limiting what third-party apps can access without sharing your passwords
- Better user experience with single sign-on capabilities, reducing the need for repeated logins
- Long-lived tokens (up to 10 years) that maintain persistent connections for devices without frequent reauthentication
- Protection against common security threats like credential stuffing and brute force attacks
OAuth 2.0 also supports multifactor authentication and external identity providers, making your smart home system more secure while maintaining convenient access for legitimate users and applications.
Setup Process Walkthrough
Connecting your Xiaomi devices to Home Assistant through OAuth 2.0 involves five main steps that guarantee secure authentication without sharing your password directly.
Begin by steering to Home Assistant’s Settings menu, then Devices & Services, and select “Add Integration.”
Search for “Xiaomi Home” in the list and click Next.
When prompted, choose the option to login via your Xiaomi account.
The system will redirect you to Xiaomi’s official OAuth 2.0 login portal.
Enter your Xiaomi credentials on this secure page.
After successful authentication, you’ll receive access tokens that allow Home Assistant to communicate with your devices.
Once authenticated, you’ll see a “Select Home and Devices” dialog where you can choose which specific devices to import into your Home Assistant environment.
Select and Add Xiaomi Devices to Home Assistant
Once your Xiaomi Home Integration is properly set up, you’ll need to select and add your devices to Home Assistant.
After installation, Home Assistant automatically scans for all Xiaomi devices associated with your account and presents them for selection during the integration process.
You’ll see a device selection screen where you can choose which Xiaomi products to add to your smart home system. The integration works with various device types, including gateways, sensors, and appliances.
- Devices must be pre-configured in the Mi Home app before they appear in Home Assistant
- Match your server region (cn, de, i2, ru, sg, us) to your Mi Home app settings for proper device discovery
- Newly added devices will appear in your Home Assistant device overview for automation setup
- Some Zigbee-based devices require the Aqara Gateway to function properly with Home Assistant
Create Dashboard Cards for Your Xiaomi Devices
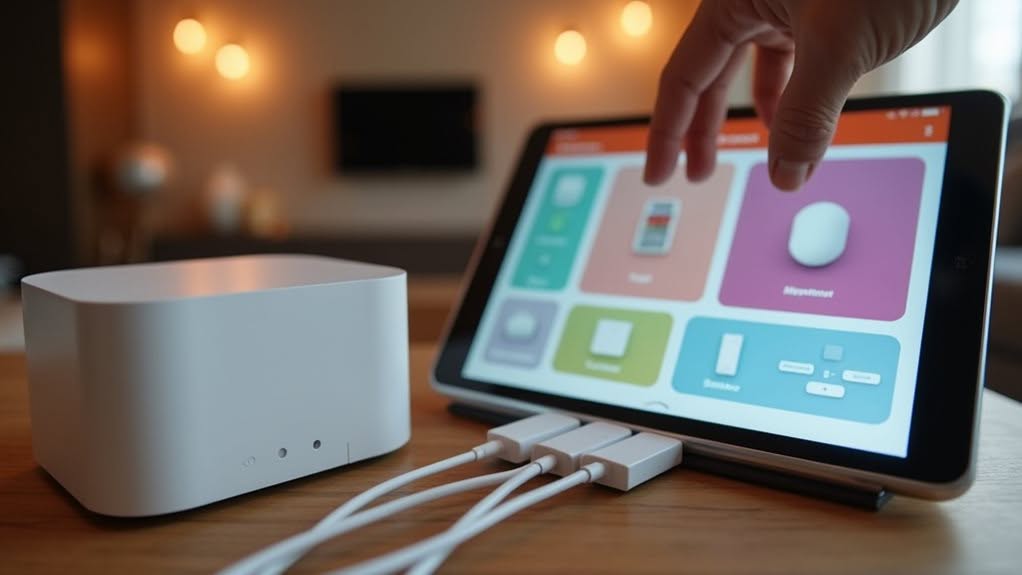
After setting up your Xiaomi devices in Home Assistant, the next step is creating custom dashboard cards to monitor and control them effectively.
These cards offer improved interactivity and visual appeal compared to standard options. You can install specialized cards for Xiaomi through HACS or manual YAML configuration.
The Xiaomi Vacuum Map card is particularly useful, allowing you to select rooms and zones visually, similar to the official Xiaomi app.
Mushroom Cards provide an aesthetically pleasing interface for various Xiaomi devices including vacuums, fans, and climate controls.
These integrate seamlessly with Home Assistant’s dashboard system. To customize cards, use the “Raw configuration editor” under “Edit dashboard.”
Consider organizing cards in vertical stacks for better organization, and always test your layout on the devices you’ll use most frequently.
Set up Basic Automations With Your Xiaomi Devices
Leveraging your Xiaomi devices with Home Assistant automations opens up their full potential beyond basic manual control.
These automations allow your system to respond intelligently to environmental changes, user actions, or time-based triggers.
To create effective automations with your Xiaomi devices:
- Use binary sensors (motion, door/window, vibration) to trigger actions like turning on lights when motion is detected in dark conditions
- Configure button-based automations with Xiaomi Aqara clicks (single, double, long press) for manual control without complex hardware
- Set up sound feedback using the Gateway’s ringtone capabilities for alerts or confirmations
- Create conditional automations that combine sensor data with time or state conditions for smarter responses
Remember to restart Home Assistant after integration setup before attempting to build your automations.
Optimize Network Settings for Reliable Connectivity
While automations bring your Xiaomi devices to life, proper network configuration guarantees they stay reliably connected.
Assign a static IP address to your Xiaomi Gateway to prevent connection disruptions with Home Assistant. This stability is vital for maintaining authentication and device control.
If your gateway and Home Assistant exist on different VLANs, make certain multicast forwarding is enabled on your firewall. The gateway publishes device states via multicast, and blocking this traffic will cause integration failures.
For multi-VLAN setups, configure your network switches with IGMP snooping to optimize multicast delivery without blocking fundamental gateway packets.
Consumer-grade access points sometimes handle multicast poorly, leading to device responsiveness issues.
When troubleshooting connectivity problems, verify that both multicast and unicast traffic flow freely between the VLANs where your gateway and Home Assistant operate.
Frequently Asked Questions
Does Xiaomi Hub Integration Work With Apple Homekit?
Yes, Xiaomi’s HomeKit-compatible hubs let you control your devices through Apple HomeKit. You’ll have direct access via the Apple Home app, though some models may require third-party solutions like AddtoHomeKit or HomeBridge.
Can I Use Xiaomi Devices Offline Without Internet Connection?
Yes, you can use certain Xiaomi devices offline. Zigbee devices with Aqara Hub and Bluetooth devices work locally. However, initial setup requires internet, and some newer models may still need cloud connectivity for full functionality.
How Do I Troubleshoot Connectivity Drops Between Hub and Home Assistant?
Check that your devices share the same subnet, verify UDP port 9898 is open, power cycle both hub and Home Assistant, and consider increasing discovery_retry in your configuration. Consistent disconnections may need network optimization.
Can I Migrate Devices From One Hub to Another?
Yes, you can migrate devices, but it’s a manual process. You’ll need to unlink each device from the old hub first, then re-pair them with your new hub and recreate all automations.
Will Changing My Xiaomi Account Password Break the Integration?
No, changing your Xiaomi account password won’t break the integration permanently. You’ll need to re-authenticate in Home Assistant using OAuth 2.0, but your devices and configurations will remain intact after you log in again.
Final Thoughts
You’ve now successfully integrated your Xiaomi Smart Home Hub with Home Assistant. This powerful combination gives you centralized control over all your smart devices. While the process requires several technical steps, the result is a customizable, responsive smart home system. Remember to regularly update both platforms to maintain connectivity and security. As you become more comfortable with the setup, explore advanced automations to truly maximize your smart home’s potential.


