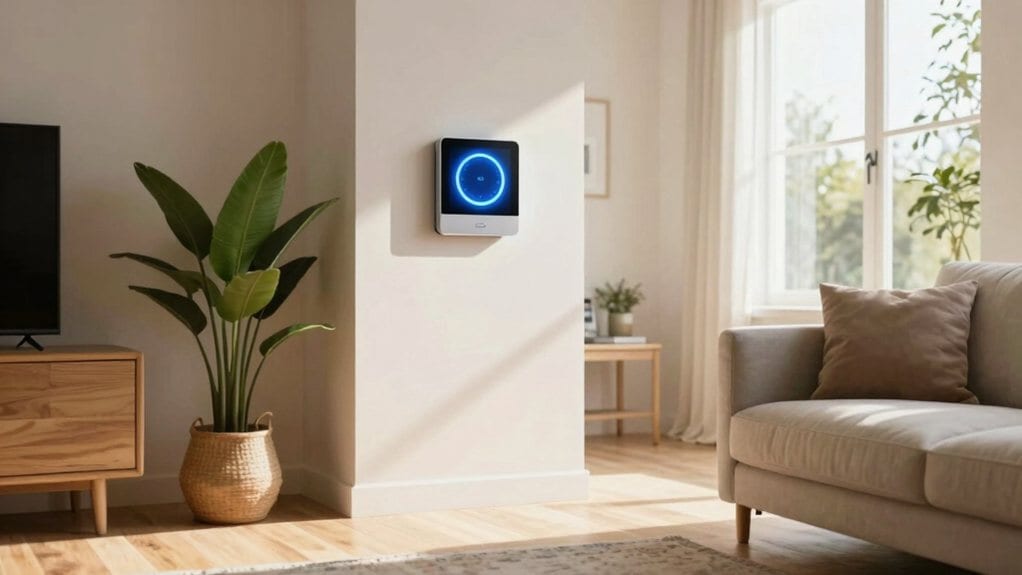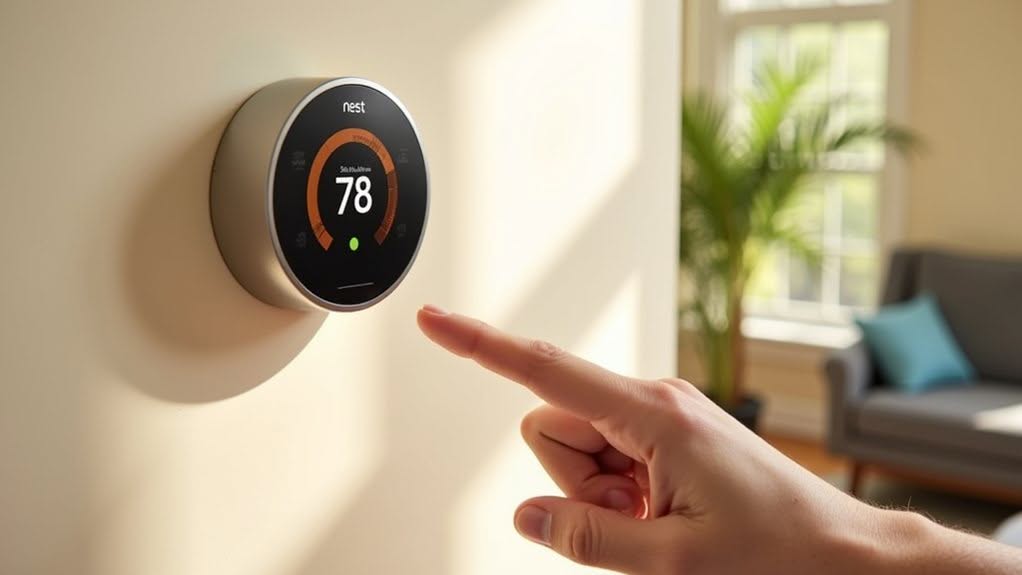
To maximize your Nest Learning Thermostat, follow these five crucial steps: First, familiarize yourself with the interface, including temperature displays and touch controls. Next, set up your personalized temperature schedule through the app or device. Then activate energy-efficient features like Eco mode and Seasonal Savings. Fourth, configure remote control capabilities through the Google Home app for anywhere access. Finally, integrate your thermostat with other smart home devices for coordinated automation. These fundamentals will release your thermostat’s full potential.
Getting Familiar With Nest’s User Interface
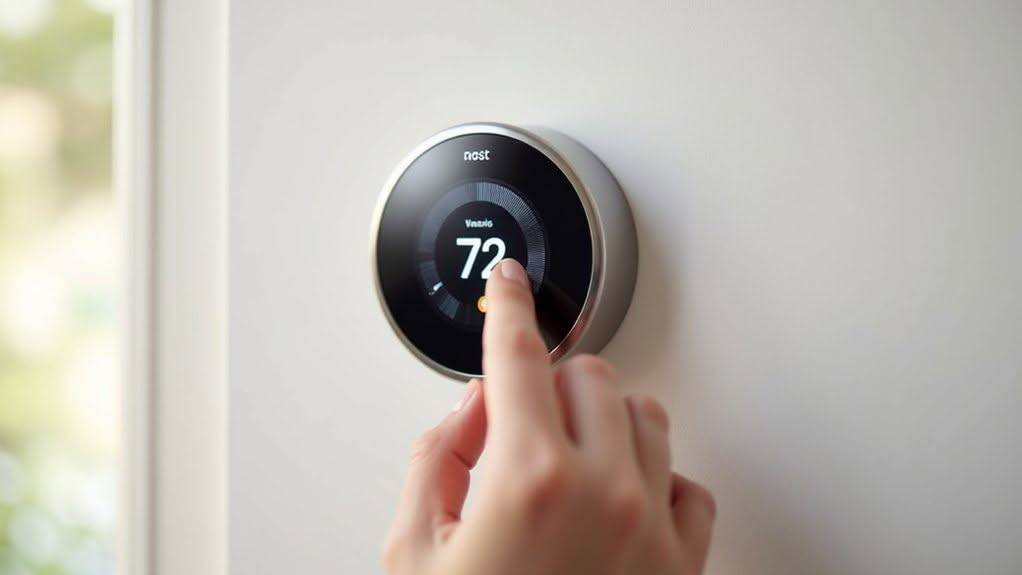
Five key elements make up the Nest thermostat’s intuitive interface, starting with the Temperature Screen. This display shows current and target temperatures, energy-saving Nest Leaf icons, and important system notifications in real time.
The Quick View Menu provides access to heating, cooling, and off modes by pressing the ring or touch bar. You’ll find options for temperature schedules and Wi-Fi settings here. When the heating is active, the display will turn orange in color to clearly indicate your boiler is running.
Farsight Display, available on 3rd and 4th generation models, activates when it detects movement, showing large-format information like time or weather from across the room. You can also access the thermostat features through the smartphone app for convenient remote control from anywhere.
Temperature adjustments are made using Touch Bar and Ring Controls. Swipe up or down on the touch bar, or turn the ring on newer models. For maximum convenience and efficiency, consider upgrading to a HomeKit compatible thermostat that integrates with your entire smart home ecosystem.
System Alerts appear on-screen when issues arise, with icons remaining visible after notifications are dismissed.
Setting Up Your First Temperature Schedule
Setting up your first temperature schedule on your Nest Learning Thermostat creates a customized heating and cooling routine that adapts to your daily life.
You’ll start by accessing the schedule interface through either the Nest app or directly on your thermostat device.
To create an effective schedule quickly:
- Add temperature setpoints by tapping “Add” in the app or selecting “New” on the thermostat, then set your preferred times and temperatures.
- Edit existing setpoints by tapping and holding them in the app or pressing the dial on the thermostat to adjust as needed.
- Copy schedules between days by using the copy/paste function to maintain consistency without repetitive setup.
Remember that the schedule displayed on your thermostat will always correspond to the current mode selected whether it’s heating or cooling.
You can easily distinguish between heating and cooling settings with color indicators, as heating appears orange and cooling appears blue on both the thermostat and app interfaces.
You can always remove unwanted setpoints later by selecting “Remove” and confirming your changes when the schedule needs adjustment.
Maximizing Energy Efficiency Features
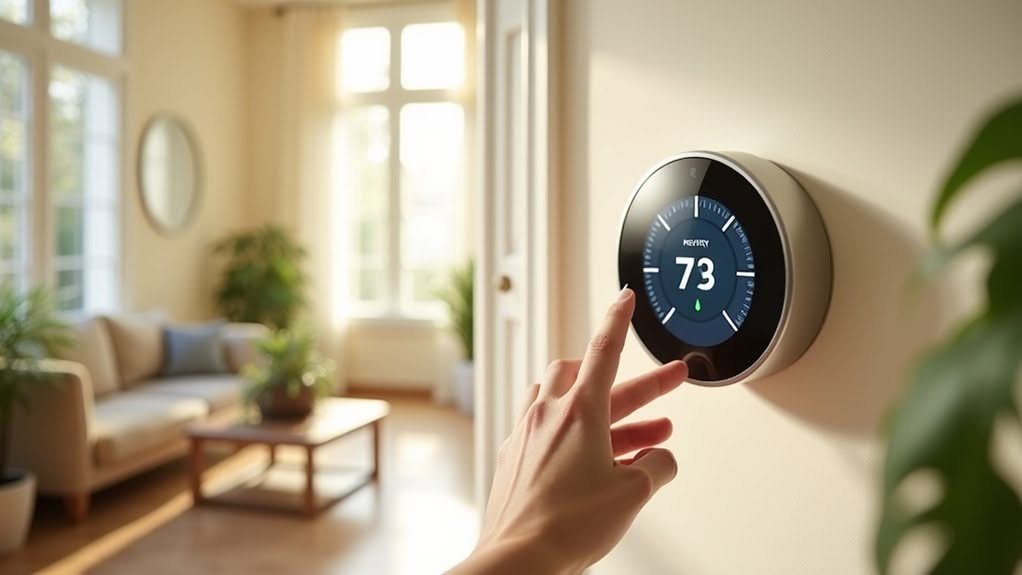
With your temperature schedule in place, your Nest Learning Thermostat offers powerful features to reduce energy consumption and lower utility bills.
Consider enrolling in Nest Renew to shift your energy usage to times when cleaner energy sources like wind and solar are available. This feature pre-heats or pre-cools your home during renewable energy peaks.
Rush Hour Rewards partners with your utility company to adjust temperatures during high-demand periods, earning you credits while maintaining override control for comfort.
Enable Seasonal Savings to allow gradual temperature adjustments that adapt to changing weather patterns. These small changes help your body acclimate while reducing energy use. The program makes subtle adjustments during early winter and summer seasons for optimal efficiency gains.
Take advantage of the Adaptive Eco mode, which automatically adjusts temperatures when you’re away based on presence sensing through your phone location or motion detection. The thermostat also uses Dynamic Farsight technology to display different information when you’re nearby, ensuring you always have relevant data at a glance.
Controlling Your Thermostat Remotely
One of the most convenient features of your Nest Learning Thermostat is the ability to control it remotely from anywhere in the world. This functionality requires a stable Wi-Fi connection, the Google Home or Nest app installed on your smartphone, and registration with a Google/Nest account.
From your mobile device, you can manage your home’s climate with ease through:
- Temperature adjustments by simply swiping or tapping the app controls
- Mode switching between heating, cooling, or off with quick app commands
- Activation of energy-saving features like Eco Temperatures and Away mode
Your remote access is protected with secure login requirements and encrypted data transmission.
The thermostat also sends helpful notifications about system health and maintenance reminders, keeping you informed even when you’re away from home. The app provides a comprehensive Energy Dashboard that tracks your thermostat usage and accumulation of leaf icons indicating energy savings. Your thermostat’s Farsight feature makes it easy to read the display from across the room, complementing the remote control capabilities.
Integrating Nest With Other Smart Home Devices
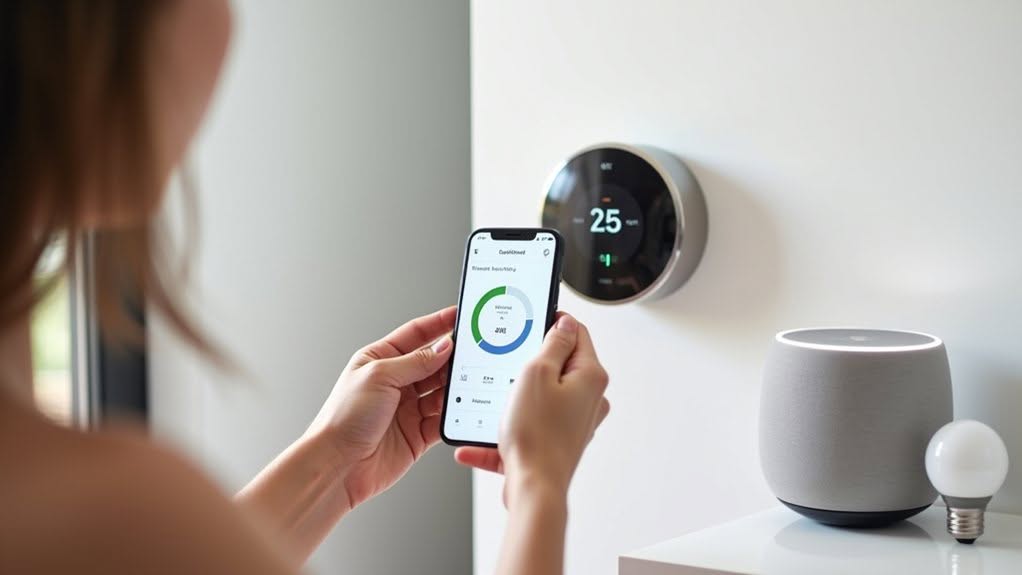
Your Nest Learning Thermostat serves as a powerful hub within a broader smart home ecosystem, allowing you to create a more intelligent and responsive living environment.
To integrate your Nest with Google Home, use the Home app to scan the QR code on your device or enter it manually. This central interface manages all your connected devices and enables automation capabilities.
For third-party platforms like Alarm.com, you’ll need to link your primary Google Nest account for authentication. Note that while basic functions like temperature control work across platforms, specialized features such as Eco mode may have limitations.
Create customized routines by coordinating your Nest thermostat with compatible devices such as smart blinds, lights, and sensors. Before making any connections, always ensure you turn off power at the circuit breaker for safety during installation. Take a photo of your existing thermostat wiring to use as a reference point if you need to reinstall it later.
These multi-device automations can improve both comfort and energy efficiency throughout your home.
Frequently Asked Questions
How Do I Reset My Nest Thermostat to Factory Settings?
Go to Settings, find Reset, then choose “All Settings.” Confirm your selection. This factory resets your Nest thermostat, erasing all personal data. You’ll need to set it up again afterward.
Can Nest Thermostats Work Without Wi-Fi Connection?
Yes, your Nest thermostat works without Wi-Fi. It’ll continue running your programmed schedules and you can still adjust temperatures manually on the device. You’ll just lose remote control and smart features requiring internet connectivity.
Why Does My Nest Display “Delayed” Mode Occasionally?
Your Nest displays “delayed” mode to protect your HVAC system from short cycling, when it’s experiencing power supply issues, during temperature adjustments, or when connectivity problems occur. It’s a normal protection feature, not a malfunction.
How Often Should I Replace the Nest Thermostat’s Battery?
You’ll need to replace batteries in standard Nest Thermostats every 1-2 years. If you’re experiencing frequent battery drain, check your wiring. Nest Learning and E models have non-replaceable rechargeable batteries designed to last the device’s lifetime.
What Should I Do if My Heating Turns on Unexpectedly?
If your heating turns on unexpectedly, check for software updates, review your schedules and automation settings, inspect energy history to identify patterns, and verify your wiring connections. These steps will help pinpoint what’s triggering your system.
Final Thoughts
You’ve now mastered the fundamentals of your Nest Learning Thermostat. By understanding the interface, setting schedules, utilizing energy-saving features, accessing remote controls, and connecting with other smart devices, you’re equipped to maximize your home’s comfort and efficiency. These five steps transform your thermostat from a simple temperature controller into an intelligent home management system that saves energy while maintaining your preferred environment.