
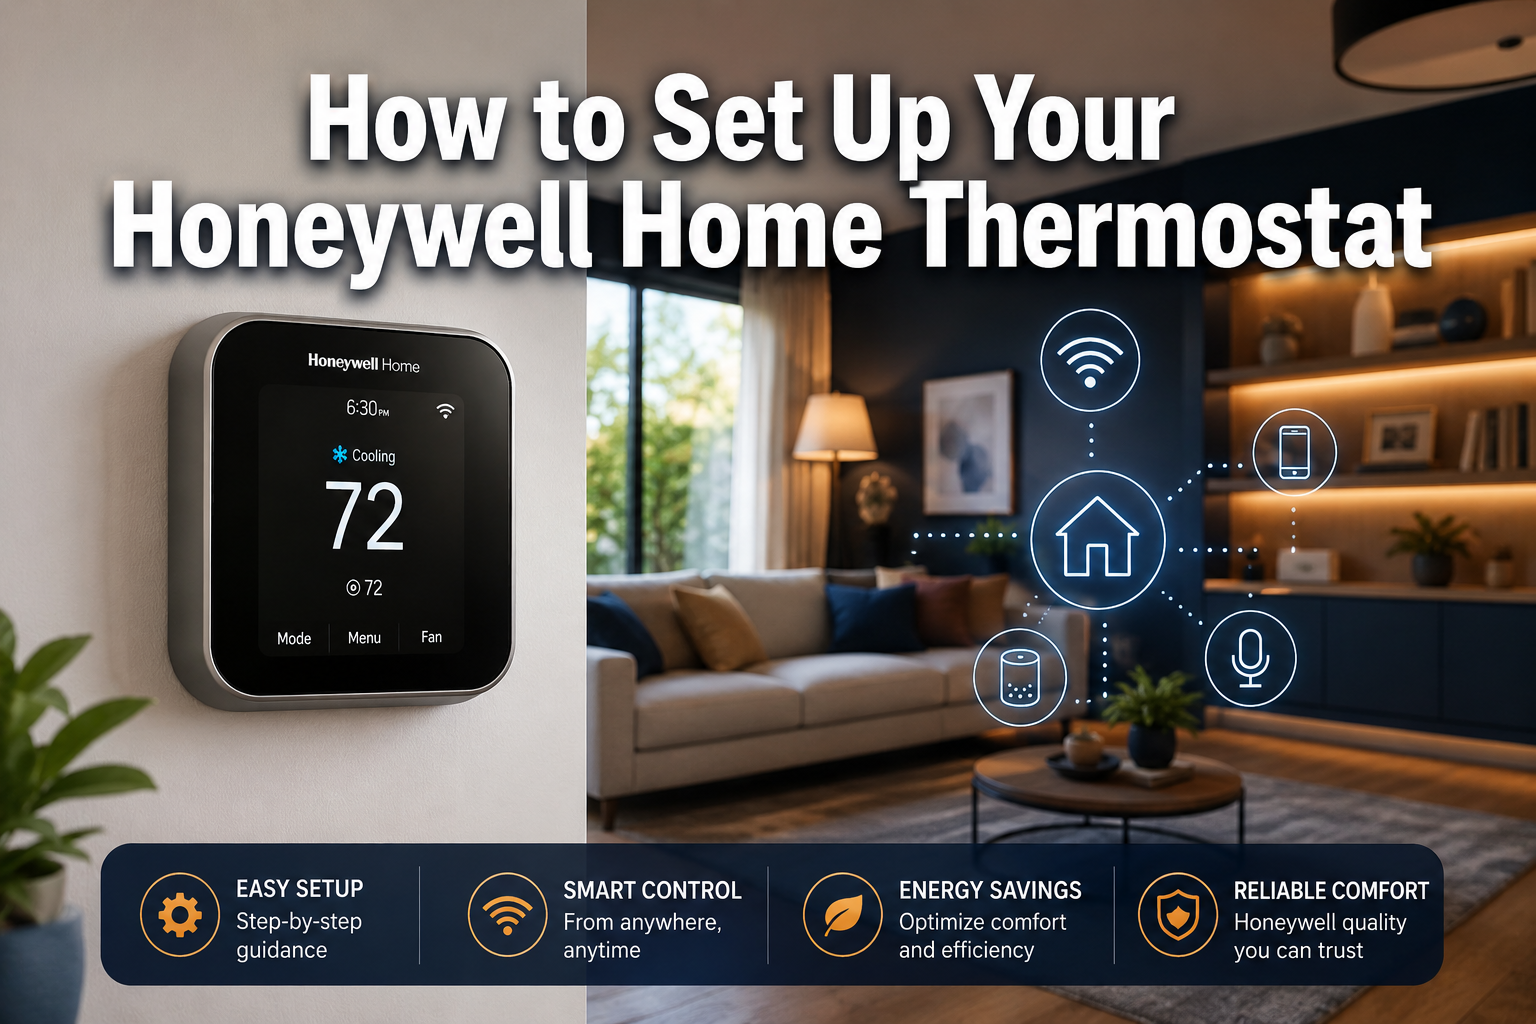
Smart thermostats can cut annual energy bills by up to 8% simply by optimising heating and cooling schedules around your daily routine. That single fact makes a proper honeywell thermostat setup one of the highest-value upgrades any homeowner can make — and the good news is it takes less than an hour to do it yourself.
Whether you have just unboxed a brand-new Honeywell Home X2S, T9, or R9000, or you are finally connecting an older model to Wi-Fi, this guide walks through every stage clearly and confidently. Smart living made simple starts right here.
Key Takeaways
- Most Honeywell Home thermostats install in under an hour with basic tools and no electrician required.
- Wi-Fi connection and the Resideo app unlock scheduling, remote control, and energy-saving features.
- Newer models like the X2S and X8S support Matter, Amazon Alexa, and Google Assistant for full voice control.
- Setting a personalised heating and cooling schedule is the fastest way to start saving on energy bills.
- The Resideo app’s “Find a Pro” feature connects you with local HVAC contractors if you prefer professional help.
Choosing the Right Honeywell Home Thermostat
Not every thermostat suits every home, so picking the right model is the first step toward smarter everyday living.
| Model | Best For | Key Feature |
|---|---|---|
| T6 Pro Wi-Fi | Budget-conscious buyers | Simple scheduling, app control |
| T9 | Multi-room homes | Remote room sensors |
| R9000 | Adaptive comfort seekers | Learning temperature control |
| X2S | Eco-focused households | Matter-enabled, ENERGY STAR® certified |
| X8S | Feature-rich connected homes | 5-inch touchscreen, air quality monitoring |
The X2S, introduced at CES 2025, is a standout choice for energy-efficient living — it is Matter-enabled, meaning it works seamlessly across different smart home platforms without compatibility headaches. The X8S goes further, adding a 5-inch customisable touchscreen, live video streaming from compatible doorbells, and indoor air quality monitoring, making it a genuine control hub for a connected home.
The T9 is ideal if your home has rooms that heat or cool unevenly. Its remote sensors monitor multiple rooms simultaneously and feed data back to the thermostat, so comfort is always tailored to your routine.
For those who want adaptive, hands-free convenience without complex rewiring, the R9000 learns daily patterns over time and adjusts temperatures automatically.
Explore the full range of Honeywell thermostat options to find the model that fits your home best.
🌡️ Find Your Ideal Honeywell Thermostat
What You Need Before You Start
Gather these items before beginning the honeywell thermostat setup process:
- ✅ Your new Honeywell Home thermostat (with mounting hardware included)
- ✅ A flat-head and Phillips screwdriver
- ✅ A smartphone with the Resideo app downloaded (iOS or Android)
- ✅ Your home Wi-Fi network name and password
- ✅ A photo of your current thermostat’s wiring (take this before removing the old unit)
💡 Pro tip: Turn off power to your heating and cooling system at the circuit breaker before touching any wires. Safety first, always.
Check your existing wiring for a C-wire (common wire). Most modern Honeywell Home models need it for continuous power. If your current setup lacks a C-wire, Honeywell Home includes a C-wire adapter kit with several models — check the box contents before assuming you need an electrician.
Step-by-Step Honeywell Thermostat Setup and Installation
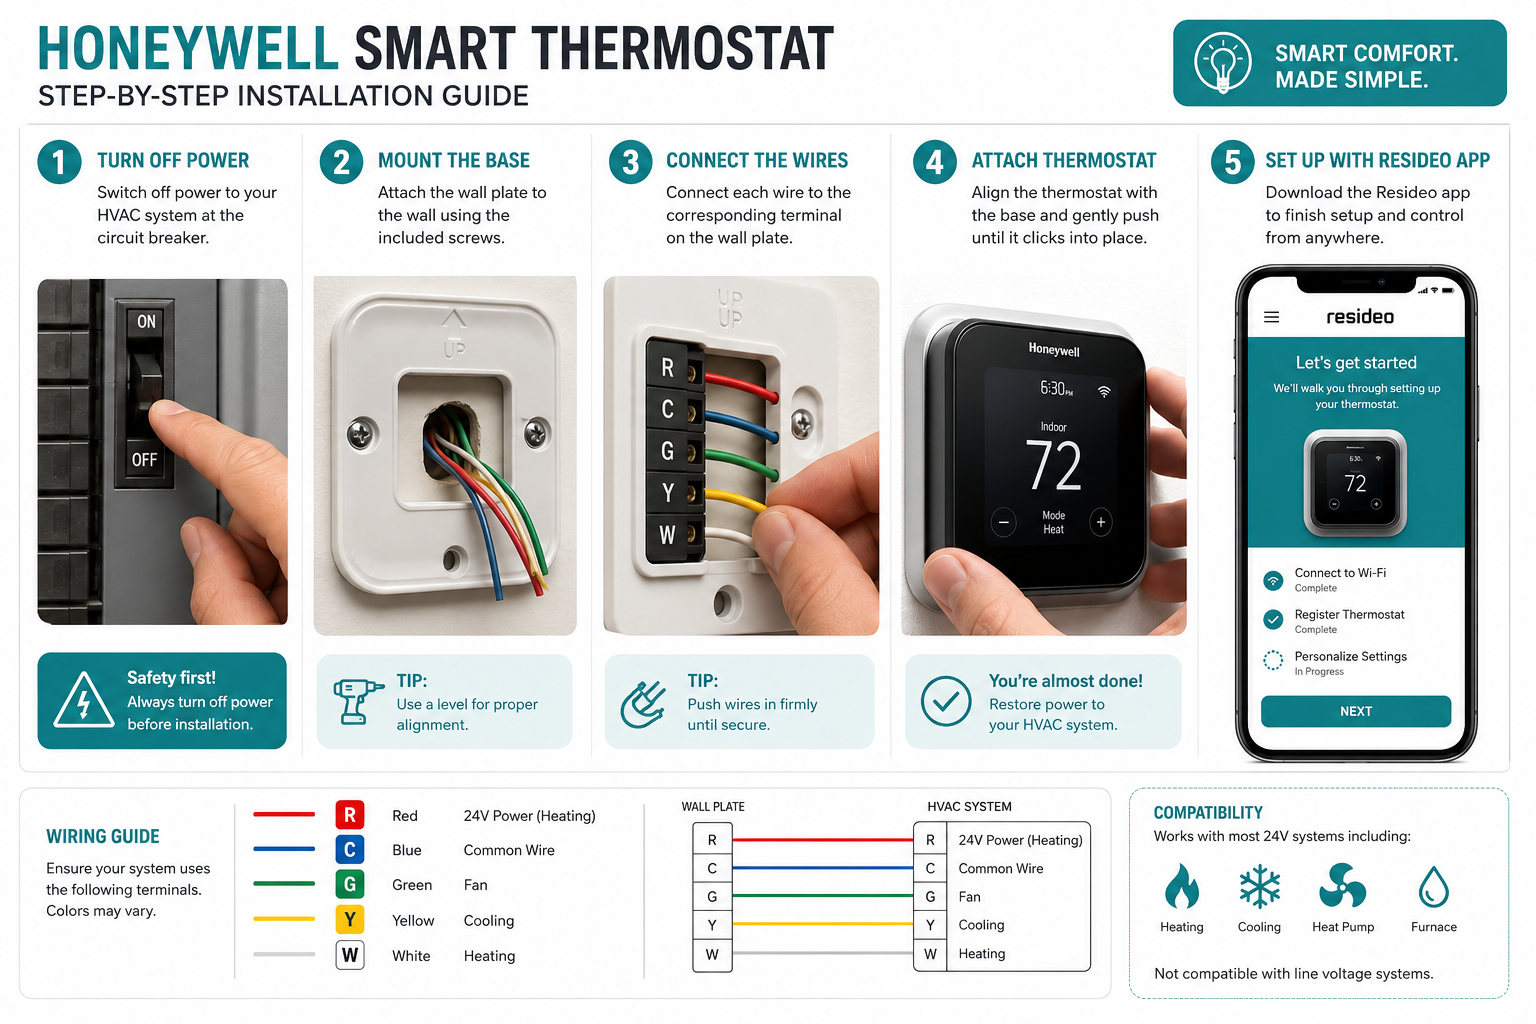
Follow these steps for a clean, confident installation.
Step 1 — Remove the Old Thermostat
Switch off power at the breaker. Remove the old thermostat’s faceplate, photograph the existing wiring clearly, then label each wire with the terminal letter it was connected to (R, C, G, Y, W). Detach the wires and remove the old backplate from the wall.
Step 2 — Mount the New Backplate
Hold the new backplate against the wall, use a spirit level to make it straight, and mark the screw holes. Drill if necessary, then screw the backplate firmly into place.
Step 3 — Connect the Wires
Match each wire to its corresponding terminal on the new thermostat, using your photo as a reference. Push each wire firmly into its terminal until it clicks. Colour coding helps here — red to R, white to W, green to G, and yellow to Y are the most common assignments.
Step 4 — Attach the Thermostat Display
Snap or slide the display unit onto the backplate. Restore power at the breaker. The thermostat should power on within seconds.
Step 5 — Follow the On-Screen Setup Wizard
Most Honeywell Home models launch a guided setup wizard on first boot. Follow the prompts to set your system type (heat only, cool only, or heat/cool), fuel type, and time zone. This takes around five minutes.
For detailed guidance on home installation projects like this, it always pays to double-check your wiring before restoring power.
Connecting Your Thermostat to Wi-Fi
Wi-Fi connectivity is where the real magic of a smart thermostat begins — control at your fingertips, from anywhere.
- On the thermostat display, navigate to Settings > Wi-Fi Setup. Some models display “WiFi SETUP” automatically on first boot.
- Open the Resideo app on your smartphone and create or log into your account.
- Tap Add Device and follow the in-app pairing instructions.
- Select your home Wi-Fi network and enter the password when prompted.
- Wait for the thermostat to confirm connection — a Wi-Fi icon will appear on the display.
Once connected, the app gives full remote control: adjust temperatures, view energy usage, and receive alerts — all from your phone. This is energy-efficient living in action.
Setting Up Schedules and Energy-Saving Features
A connected thermostat without a schedule is a missed opportunity. Setting up a personalised programme is the single most effective way to reduce home energy tracking costs.
How to create a schedule in the Resideo app:
- Open the app and select your thermostat.
- Tap Schedule and choose the days you want to programme.
- Add time periods (wake, leave, return, sleep) and set your preferred temperature for each.
- Save and sync — the thermostat updates automatically.
The R9000 goes one step further by learning your routine over time, reducing the need for manual adjustments. The X8S displays energy usage data directly on its 5-inch screen, so you can see the impact of your settings at a glance.
🌿 Energy insight: Dropping your thermostat by just 1°C when you leave the house can reduce home heating costs noticeably over a full winter season.
Integrating with Smart Home Ecosystems
One of the biggest advantages of a modern Honeywell Home thermostat is how well it plays with the rest of a smart home setup.
Compatible platforms include:
- 🗣 Amazon Alexa — ask Alexa to set the temperature without lifting a finger
- 🔍 Google Assistant — works with Google Home routines for automated comfort
- 🍎 Apple HomeKit — available on select models for iOS users
- 🔗 Matter — the X2S supports this universal standard, making cross-platform integration simple
Voice control transforms your thermostat from a wall device into a fully hands-free convenience tool. Say “Hey Google, set the living room to 20 degrees” and it is done — no app, no screen, no effort.
The T9’s room sensors also integrate with smart home routines, so the system can prioritise heating the room you are actually in rather than wasting energy on empty spaces.
Troubleshooting Common Issues
Even the smoothest honeywell thermostat setup can hit a snag. Here are the most common problems and quick fixes.
| Problem | Likely Cause | Fix |
|---|---|---|
| Thermostat won’t power on | No C-wire or dead batteries | Install C-wire adapter or replace batteries |
| Wi-Fi won’t connect | Wrong password or 5GHz network | Use 2.4GHz band; re-enter password |
| App can’t find device | Bluetooth/Wi-Fi off on phone | Enable both and retry pairing |
| Heating not responding | Wrong system type selected | Re-run setup wizard, check system type |
| Schedule not saving | App not synced | Force-close app, reopen, and re-save |
For more detailed smart home troubleshooting advice, check the dedicated support section on the Honeywell Home website or use the “Find a Pro” feature in the Resideo app to connect with a local HVAC professional.
FAQ
Q: Do I need a C-wire for all Honeywell Home thermostats? Most Wi-Fi-enabled models do require a C-wire for continuous power. However, many Honeywell Home thermostats include a C-wire adapter in the box, and some models can draw power through existing wiring without one. Check your model’s specifications before installation.
Q: Can I control my Honeywell thermostat when I am away from home? Yes. Once connected to Wi-Fi and paired with the Resideo app, you can adjust temperatures, change schedules, and monitor energy use from anywhere with an internet connection.
Q: How long does a typical honeywell thermostat setup take? Most homeowners complete the full process — hardware installation, Wi-Fi connection, and schedule setup — in 30 to 60 minutes.
Q: Is the Honeywell X2S compatible with my existing smart home system? The X2S supports the Matter standard, which means it works with Amazon Alexa, Google Home, Apple HomeKit, and other Matter-compatible platforms without needing a separate hub.
Q: What if my heating system is not compatible? Use the compatibility checker on the Honeywell Home website before purchasing. Most standard gas, oil, and electric systems are supported. Heat pump and multi-stage systems may require specific models.
Q: Can I use Honeywell Home thermostats with voice assistants? Absolutely. Most Wi-Fi models integrate with Amazon Alexa and Google Assistant. The X2S and newer models also support Apple HomeKit and Matter for even broader compatibility.
Conclusion
A proper honeywell thermostat setup is one of the most practical steps toward a smarter, more energy-efficient home. From choosing the right model to connecting it to your Wi-Fi, building a schedule, and linking it to your favourite voice assistant — each stage builds toward a home that genuinely works for you.
Your next steps:
- 📦 Choose your Honeywell Home model using the comparison table above.
- 🔧 Follow the installation steps and take a wiring photo before removing your old thermostat.
- 📱 Download the Resideo app and complete Wi-Fi pairing.
- 📅 Set a personalised schedule to start saving on energy bills immediately.
- 🗣 Connect to Alexa or Google Assistant for full hands-free convenience.
Smart living made simple is not a distant goal — it is a thermostat on your wall and an app in your pocket. Start today and feel the difference by tonight.


