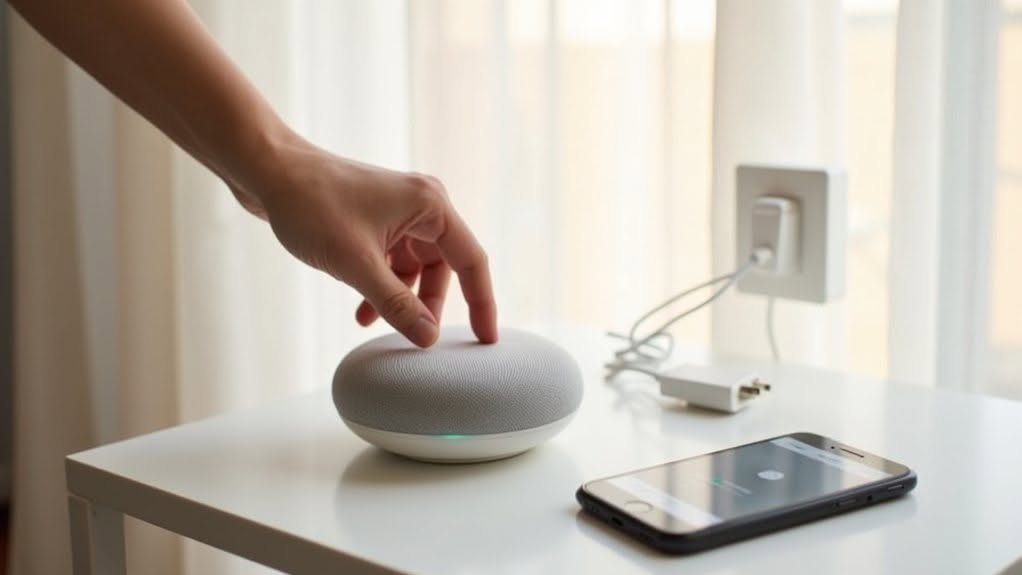
To set up your Google Nest Mini, unbox the device and plug it into a power outlet. Download the Google Home app on your smartphone and sign in with your Google account. Open the app, tap the plus icon, and select “Set up device.” Follow the on-screen instructions to connect to Wi-Fi, train Voice Match for personalized responses, and assign the device to a room. Test your setup by asking Google Assistant a simple question. The detailed steps will guarantee your smart speaker operates at its best.
What’s in the Box: Unboxing Your Google Nest Mini
Excitement builds as you open your new Google Nest Mini package, revealing everything needed to start your smart home adventure.
Inside, you’ll find the compact, fabric-covered Nest Mini device available in Charcoal, Chalk, Coral, or Sage colors.
The box contains a power adapter with a USB-C plug and a 1.5-meter charging cable.
You’ll also discover the Quick Start Guide along with safety and warranty information.
The Nest Mini features four indicator lights on top and touch-sensitive controls for volume adjustment on the sides.
While the device is wall-mountable thanks to a rear mounting hole, no wall mount is included with your purchase.
The minimalist packaging secures all components neatly, protecting your new smart speaker during transit.
Remember that the device requires constant power connection as it doesn’t include a built-in battery.
The power adapter features a flat design that helps save valuable space on power strips and outlets.
Preparing for Setup: Power and Placement
Now that you’ve unpacked your Google Nest Mini, it’s time to set up its power and find the ideal spot for it in your home.
Begin by verifying your outlet is compatible with the 15W power adapter, which works with 100-240V power systems worldwide. If you’re setting up in India, your adapter is fully compatible with 220V outlets without requiring any voltage converter. Use only the official adapter that came with your device for safety reasons.
Place your Nest Mini on a flat, stable surface away from direct heat sources, high humidity, and direct sunlight. Position it centrally in your room at ear level or slightly above for optimal sound distribution and voice recognition.
Maintain at least one foot of clearance from walls and large furniture to allow for 360-degree sound emission. Avoid placing it near Wi-Fi routers or other electronics that might cause interference with connectivity.
Keep the power cable away from high-traffic areas to prevent tripping hazards. You can also take advantage of the Nest Mini’s wall mounting cutout on the back, which eliminates the need for additional accessories if you prefer to save surface space.
Getting the Google Home App Ready
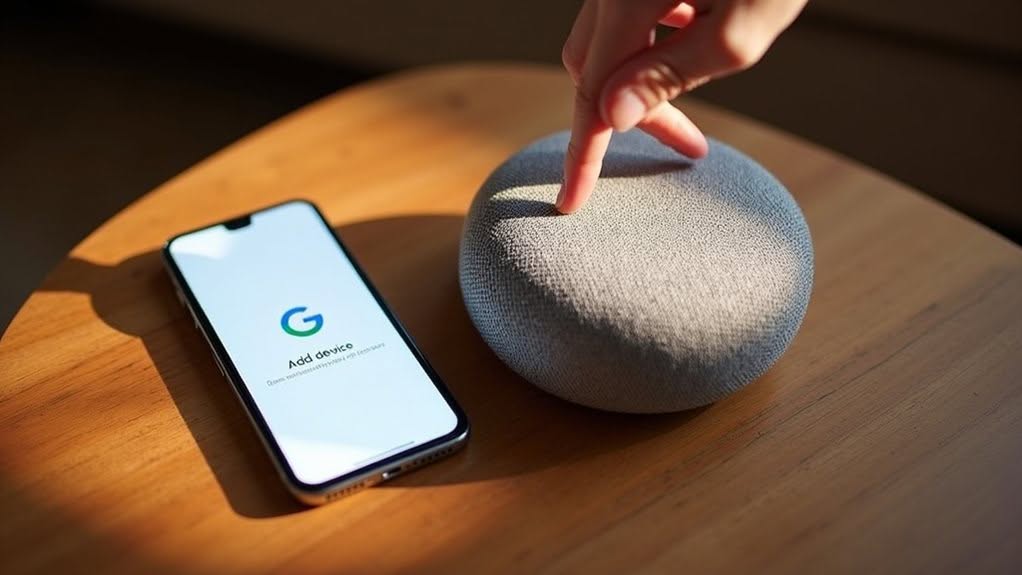
To set up your Nest Mini, you’ll need to download the Google Home app on an Android device (version 9.0+) or iOS device, then sign in with your Google account or create a new one.
The app’s interface walks you through connecting your device, requiring you to grant necessary permissions for Bluetooth, location services, and notifications during setup. Make sure your mobile device is on the same Wi-Fi network as your Google Nest Mini for proper connection. If you encounter connection issues, you might need to factory reset your device before attempting setup again.
You can familiarize yourself with the app dashboard by exploring its features, including device management, room organization, and favorites customization options before adding your Nest Mini.
App Download Requirements
Before setting up your Google Nest Mini, you’ll need to prepare your mobile device with the Google Home app. This crucial application allows you to control your smart device and integrate it with your home network.
- Android users need devices running Android 9.0 or later
- iPhone/iPad users require iOS 16.1 or later
- You must have an active Google Account for installation
- The app can only be downloaded from official sources (Google Play Store or Apple App Store)
- A stable home Wi-Fi network connection is required during setup
Remember that the Google Home app can’t be used on computers for device setup or control.
Keep your app updated to the latest version to avoid any setup issues or limited functionality. Mobile data connections won’t work for the initial setup process—Wi-Fi is mandatory. Be aware that some devices may have compatibility issues with certain features like casting from Chrome.
Account Creation Process
Once you’ve downloaded the Google Home app, you’ll need to connect it to a Google account to properly set up your Nest Mini. Open the app and tap “Get Started” to begin the setup process.
You can select an existing Google account if you already have one. If not, choose “Use another account” followed by “Create account” to set up a new one. This step is crucial since a Google account is required for all Nest device functionality.
During setup, you’ll create a “home” environment to organize your devices logically. The app will guide you through permissions for features like Voice Match and Personal Results.
Your Google account guarantees personalized experiences across all connected devices and enables remote management through the Google Home app dashboard.
Interface Familiarization Tips
After connecting your Google account, you’ll need to become familiar with the Google Home app interface to effectively manage your Nest Mini. The app’s design makes it straightforward to control all your smart devices from one central location.
- Access the Favorites tab for quick access to your most frequently used devices and automations.
- Use the main interface to add new devices, view current ones, or organize them by room or function.
- Access device-specific settings to adjust volume, brightness, and voice recognition features.
- Enable sound notifications and status indicators to monitor your Nest Mini’s activity.
- Review privacy controls under settings to manage permissions, data sharing, and access levels for family members.
The app works across multiple platforms including smartphones, tablets, and browsers, giving you flexible control options.
Connecting Your Nest Mini to Your Account
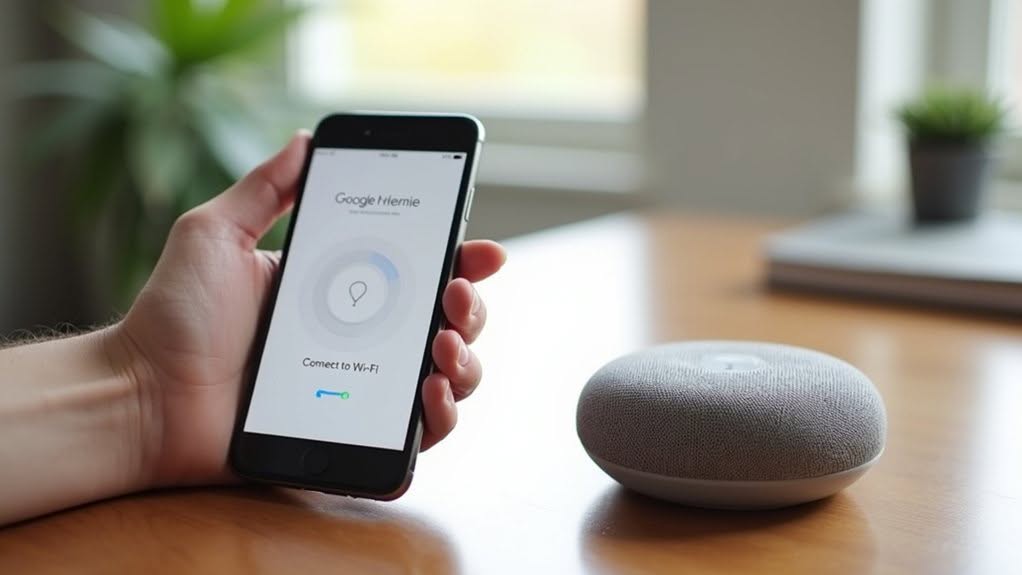
Connecting your Nest Mini requires a valid Google account, which serves as the foundation for device management and personalized features.
To associate your device, sign into the Nest app with your Google credentials and follow the guided process to identify and register your Nest Mini.
You can later add multiple users to your Nest Mini through Voice Match, allowing each household member to access their personalized content and settings.
The setup process requires you to download the Google Home application on your smartphone before beginning the configuration.
For easier identification within your smart home ecosystem, you’ll need to assign your Nest Mini to a specific room location during setup.
Google Account Requirements
Before you can enjoy your Google Nest Mini, you’ll need a valid Google Account to complete the setup process. This links your device to Google’s services and enables personalized features.
Your Google Account provides the foundation for your Nest Mini’s functionality. If you already use Gmail, YouTube, or Maps, you can use those same credentials.
- A Google Account must be used with compatible devices (Android 9.0+ or iOS 16.1+)
- You’ll need to install the Google Home or Nest app on your mobile device
- Setup requires accepting Google’s Terms of Service and privacy policies
- Your phone number can be linked for voice calling features
- Setting a home location improves local information accuracy
Computer setup isn’t available—you must use a mobile device with your Google Account credentials. The Nest Mini supports voice matching for up to six different users, allowing each person to receive personalized results for their reminders and calendar events.
Device Association Process
With your Google Account ready, the next step involves linking your Nest Mini to your personal profile.
Begin by opening your Google Home app and tapping the plus icon in the upper corner. Select “Set up device” followed by “New device,” then choose your home location.
The app will scan for nearby devices. When your Nest Mini appears in the list, select it and follow the on-screen instructions. Your speaker will play a confirmation sound that you’ll need to acknowledge in the app.
Next, connect your Nest Mini to Wi-Fi by selecting your network and entering the password when prompted. The device’s LED will pulse during setup and change to a steady color once connected.
After connection, Google Assistant will confirm successful setup, and your device will appear in the app.
Multi-User Setup Options
One of the most powerful features of your Google Nest Mini is its ability to recognize multiple household members and provide personalized experiences for each person. You can add up to six different users, each with their own personalized responses and access to services.
Setting up multiple users improves your Nest Mini experience through:
- Voice Match technology that recognizes individual voices for personalized responses
- Different access levels (Admin or Member) that control what each person can manage
- Individual access to personal calendars, reminders, and preferences
- Separate music streaming accounts for each household member
- Custom settings that protect personal information from other users
To add new users, send an invitation through the Google Home app to their Google account email. Each person must complete voice training to enable the device to recognize their unique voice patterns.
Linking to Your Home Wi-Fi Network
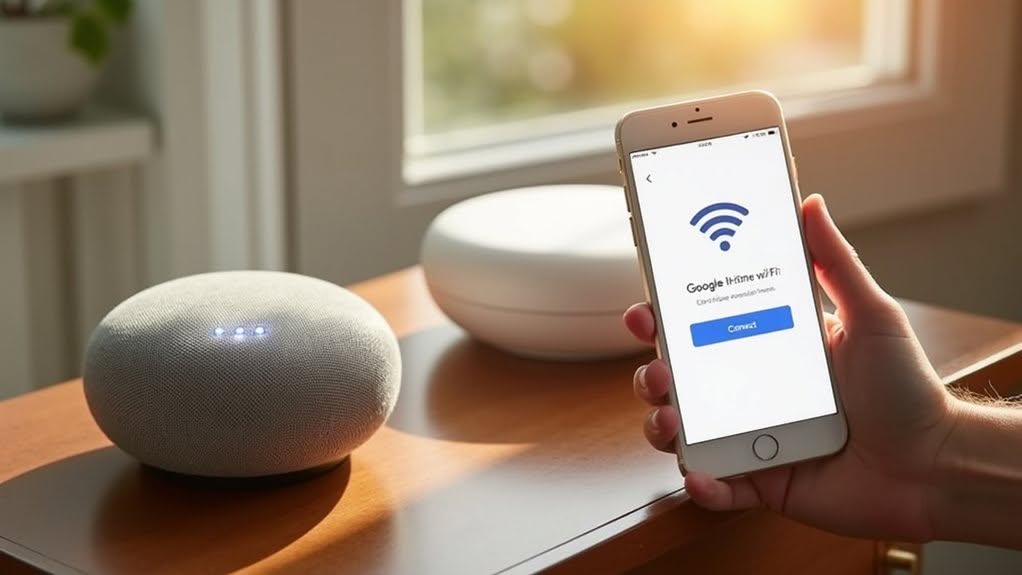
Successfully connecting your Google Nest Mini to your home Wi-Fi network represents a crucial step in the setup process. This connection enables all smart features and voice commands to function properly.
Begin by opening the Google Home app on your smartphone with Bluetooth and location services enabled. Tap the “+” icon, select “Set up device,” and choose your home environment.
The app will search for your powered-on Nest Mini. Once detected, verify the matching setup codes on both devices, then select your Wi-Fi network and enter your password accurately.
For optimal performance across your entire home, consider investing in a smart mesh WiFi system that eliminates dead spots and provides consistent connectivity.
If connection issues occur, try resetting your Nest Mini by holding the center for 10 seconds with the microphone off.
You might also need to restart your router or verify it supports compatible frequency bands.
Customizing Your Voice Assistant Settings
Now that your Nest Mini is connected to Wi-Fi, customizing your voice assistant settings transforms your device from a standard speaker into a personalized smart assistant. You can tailor how your device recognizes and responds to different users.
Start by setting up Voice Match in the Google Home app under device settings. This allows your Nest Mini to recognize individual voices and provide personalized responses.
- Adjust volume by tapping the left or right side of your Nest Mini
- Change the Assistant’s voice through the Google Home app
- Enable Voice Match for multiple household members
- Use the mute switch on the back when privacy is needed
- Retrain Voice Match if recognition accuracy decreases
If you experience voice recognition issues, try rebooting your device or checking your internet connection. Updates to the Google Home app can also improve performance.
Testing and Using Your New Smart Speaker
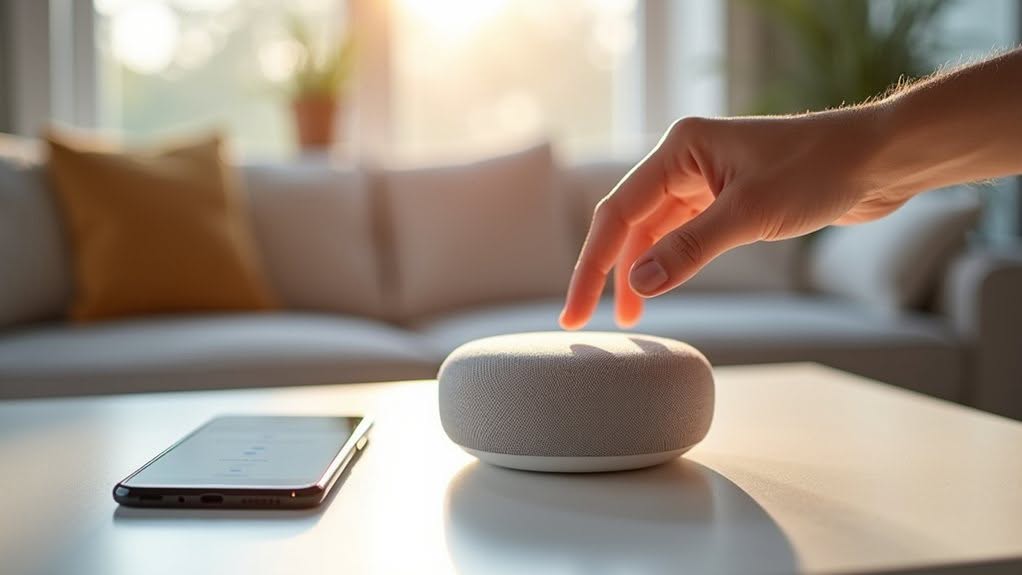
After completing the setup process, it’s time to put your Nest Mini through its paces to guarantee everything works properly.
Start by confirming you hear the welcome chime and see pulsing lights on the device.
Test basic voice commands by asking about the weather or time. The speaker should respond promptly and clearly.
Try playing music with “Play some music” to evaluate sound quality, and adjust volume using voice commands or touch controls.
Connect your smart home devices and test functionality with commands like “Turn on the lights” or “Set thermostat to 72 degrees.”
You can also make hands-free calls if you’ve set up Google Duo.
If you encounter any issues, check your Wi-Fi connection or use the Google Home app’s diagnostic tools for troubleshooting.
Frequently Asked Questions
Can I Use Nest Mini Without a Google Account?
No, you can’t use Nest Mini without a Google account. You’ll need one to complete setup through the Google Home app and access all features. Limited Bluetooth playback might work, but it’s not officially supported.
How Do I Factory Reset My Google Nest Mini?
To factory reset your Nest Mini, turn off the microphone with the side switch, press and hold the center touch area for about 15 seconds until you hear a confirmation sound. The device will automatically restart afterward.
Can Multiple People Use Voice Recognition on the Same Device?
Yes, multiple people can use voice recognition on the same device. You’ll each need separate Google Accounts and must set up Voice Match individually through the Google Home app to get personalized results when speaking.
Does Nest Mini Work With Apple Homekit Devices?
No, your Nest Mini doesn’t work natively with Apple HomeKit devices. You’ll need third-party solutions like Homebridge or Starling Home Hub to create a bridge between the two ecosystems for limited functionality.
How Do I Stop Google From Saving My Voice Recordings?
To stop Google from saving your voice recordings, go to your Google Account’s “Data & privacy” settings, select “Web & App Activity,” uncheck “Include voice and audio recordings,” and save your changes.
Final Thoughts
You’ve successfully set up your Google Nest Mini in just seven straightforward steps. Your smart speaker is now ready to answer questions, play music, control compatible smart home devices, and assist with daily tasks.
Remember to explore additional features through the Google Home app, where you can adjust settings and add new capabilities. As you become familiar with voice commands, you’ll discover more ways to integrate this powerful tool into your everyday routine.