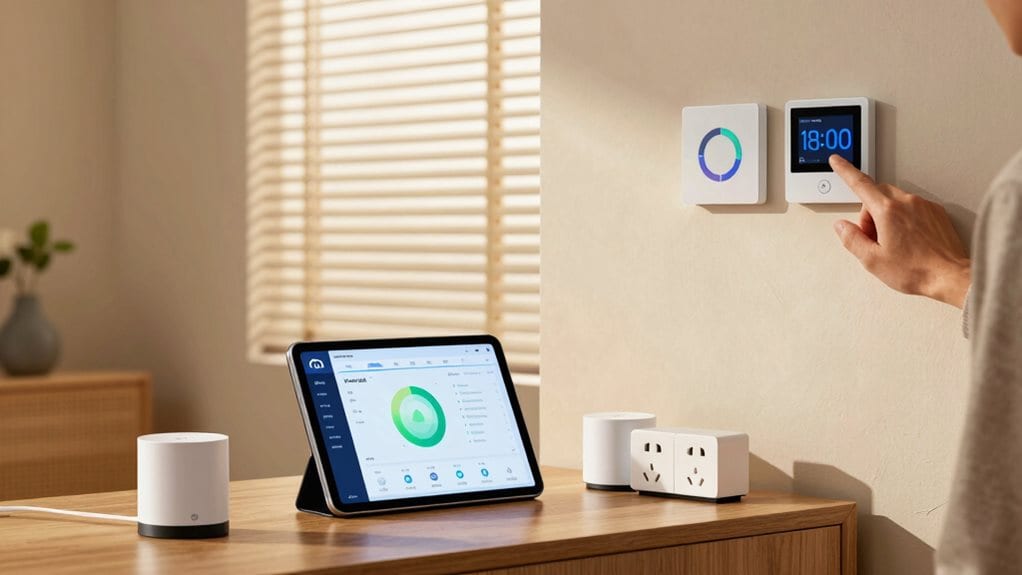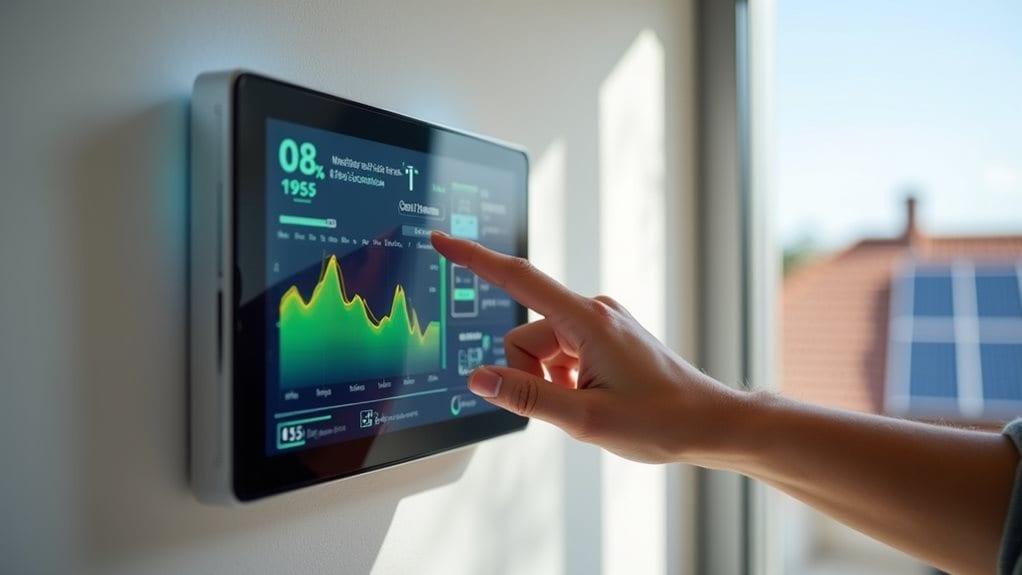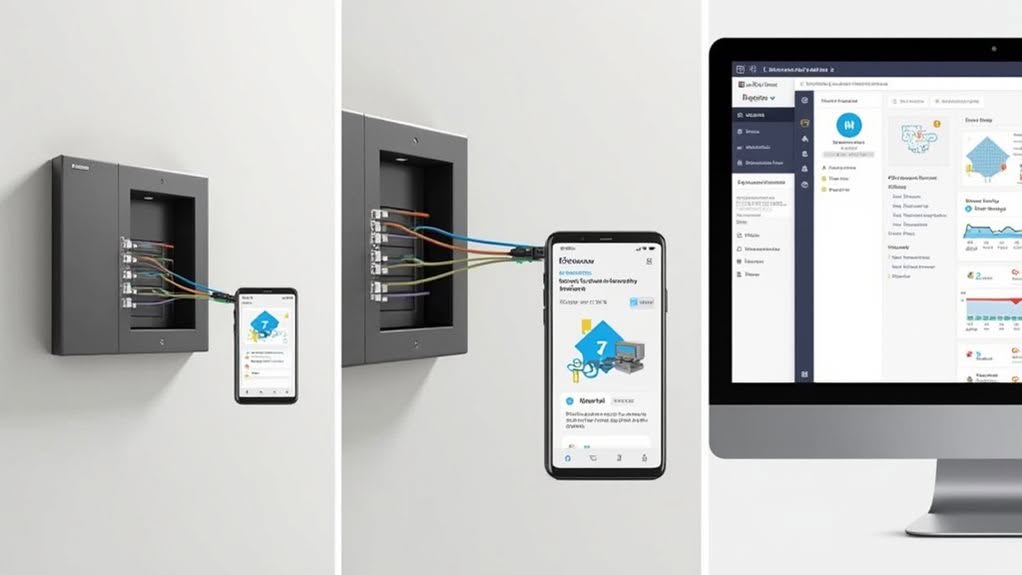
To connect your EcoFlow Smart Home Panel 2 with Home Assistant, follow these three steps: First, install the EcoFlow integration via HACS by adding the custom repository and selecting “Integration” category. Second, configure the connection settings with MQTT broker address (mqtt.ecoflow.com) and input your EcoFlow account credentials. Third, set up an energy monitoring dashboard using Lovelace UI to track grid, battery, and circuit usage. The proper setup enables powerful automations for optimizing your home’s energy management.
Installing the EcoFlow Integration via HACS
The EcoFlow integration for Home Assistant isn’t included in the default installation, so you’ll need to add it through HACS as a custom repository.
Start by accessing the HACS interface from your Home Assistant sidebar. Direct yourself to Integrations and click the three-dot menu to find “Custom repositories.”
Add the EcoFlow integration repository URL and select “Integration” as the category. This properly classifies it within HACS for future management.
Once added, locate the EcoFlow integration in the HACS integrations tab and click “Install.”
After installation completes, restart your Home Assistant system to properly load the new integration.
After restarting, you’ll find EcoFlow available in the standard “Add Integration” dialog under your Configuration menu. The integration will automatically install any required dependencies during setup.
Make sure your EcoFlow devices are on the same network as your Home Assistant instance for proper status synchronization.
During setup, you’ll need to choose between the public API and application API options, with public API generally being more reliable for long-term use.
Configuring Connection Settings and Authentication
Once your EcoFlow integration is installed, you’ll need to configure the proper connection settings and authentication details to establish communication between your Smart Home Panel 2 and Home Assistant.
This critical step guarantees secure and reliable connectivity. The Home Panel contains all necessary control systems and communication antennas to enable seamless integration with your smart home ecosystem. Home Assistant’s open-source platform allows for customized integration with devices from multiple manufacturers like EcoFlow.
Configure these vital elements:
- MQTT Broker Address: Enter `mqtt.ecoflow.com` as your server address in the connection settings
- Authentication Credentials: Input the username and password provided for your EcoFlow account
- Device Identifiers: Enter the unique identifier for your Smart Home Panel 2
- Topic Structure: Set up proper MQTT topics for state updates and commands
- Secure Connection: Enable TLS encryption to protect your connection
Verify your connection settings by checking the MQTT logs for successful handshakes between Home Assistant and your EcoFlow device.
Setting Up Energy Monitoring Dashboard and Automations
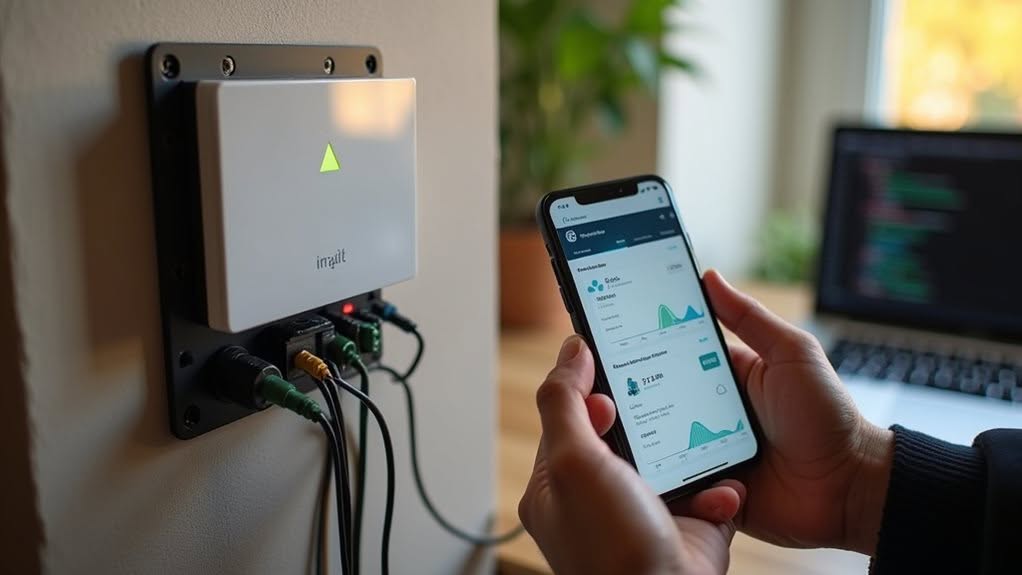
Now that your connection settings are properly configured, you’ll want to create a thorough energy monitoring setup to visualize and automate your EcoFlow Smart Home Panel 2 within Home Assistant.
Access your Home Assistant dashboard by accessing your panel’s IP address (http://panel-ip:8123) in any browser.
Install the EcoFlow integration through the official API or the community-developed BLE integration from GitHub (https://github.com/rabits/ha-ef-ble) for local data collection. Note that the ha-ef-ble integration is currently in alpha version and some users may experience compatibility issues with certain firmware versions.
Utilize Home Assistant’s Lovelace UI to create customized energy dashboards that display real-time metrics of consumption, solar input, and battery status. After installation, click on HACS icon in the left sidebar to manage your custom integrations and repositories.
You can incorporate sensors for grid, battery, and individual circuits using YAML configurations.
Set up automations that leverage the Smart Home Panel 2’s Time of Use feature to switch power sources based on electricity rates, optimize solar charging, and create alerts for energy consumption thresholds.
Frequently Asked Questions
Can I Access Ecoflow Smart Home Panel 2 Remotely Without Cloud Connectivity?
No, you can’t access your EcoFlow Smart Home Panel 2 remotely without cloud connectivity. You’ll only have local control via WiFi or Bluetooth when physically connected to your home network.
How Does Ecoflow Integration Affect Home Assistant’s Overall System Performance?
EcoFlow integration has minimal impact on your Home Assistant system. You’ll notice a slight CPU increase from BLE scanning, but it won’t greatly affect performance unless you’re running on very limited hardware.
Is Z-Wave or Zigbee Communication Possible Between Devices?
No, EcoFlow Smart Home Panel 2 doesn’t support Z-Wave or Zigbee communication. It relies solely on Bluetooth Low Energy (BLE) for local connections and MQTT for cloud integration with Home Assistant.
Will Firmware Updates Break Existing Home Assistant Automation Configurations?
Yes, firmware updates may break your existing Home Assistant automations. You’ll need to backup configurations, monitor changelogs, and be ready to adjust your integrations when EcoFlow updates their Bluetooth protocols or data models.
Can Multiple Users Control the System With Different Permission Levels?
Yes, you can set up multiple users with different permission levels through Home Assistant’s user management system, not directly through EcoFlow’s app which lacks native multi-user permission controls.
Final Thoughts
You’ve successfully integrated your EcoFlow Smart Home Panel 2 with Home Assistant through these three straightforward steps. Now you can monitor your energy consumption, create custom automations, and manage your power distribution all from one interface. This integration gives you greater control over your home’s energy usage while providing valuable data to help optimize efficiency and reduce costs during peak hours.